一、pom.xml
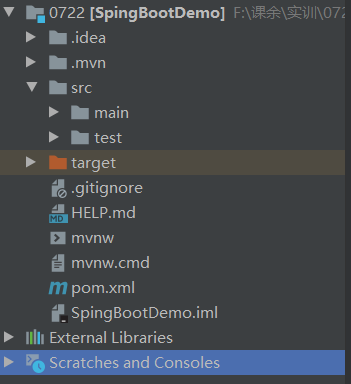
1、文件位置
2、解释说明
这个文件用于声明用到的依赖。因为是springboot项目,所以首先添加父节点<parent></parent>。我们需要什么依赖,就在 <dependencies> </dependencies>添加即可。
Spring boot也是一个maven项目,引入依赖的方法相同。具体查看https://blog.csdn.net/Luowaterbi/article/details/107688072。
主要引入的依赖除springboot的一些之外,还有
mybatis-spring-boot-starter
实现注释操纵MySQL数据库
mysql-connector-java
连接MySQL与Java
pagehelper-spring-boot-starter
前端网页的分页
shiro-spring
前端的权限控制
3、代码内容
<?xml version="1.0" encoding="UTF-8"?>
<project xmlns="http://maven.apache.org/POM/4.0.0" xmlns:xsi="http://www.w3.org/2001/XMLSchema-instance"
         xsi:schemaLocation="http://maven.apache.org/POM/4.0.0 https://maven.apache.org/xsd/maven-4.0.0.xsd">
    <modelVersion>4.0.0</modelVersion>
    <parent>
        <groupId>org.springframework.boot</groupId>
        <artifactId>spring-boot-starter-parent</artifactId>
        <version>2.3.1.RELEASE</version>
        <relativePath/> <!-- lookup parent from repository -->
    </parent>
    <groupId>com.</groupId>
    <artifactId>demo</artifactId>
    <version>0.0.1-SNAPSHOT</version>
    <packaging>war</packaging>
    <name>demo</name>
    <description>Demo project for Spring Boot</description>

    <properties>
        <java.version>1.8</java.version>
    </properties>

    <dependencies>
        <dependency>
            <groupId>org.springframework.boot</groupId>
            <artifactId>spring-boot-starter-thymeleaf</artifactId>
        </dependency>
        <dependency>
            <groupId>org.springframework.boot</groupId>
            <artifactId>spring-boot-starter-web</artifactId>
        </dependency>
        <dependency>
            <groupId>org.mybatis.spring.boot</groupId>
            <artifactId>mybatis-spring-boot-starter</artifactId>
            <version>2.1.3</version>
        </dependency>

        <dependency>
            <groupId>org.springframework.boot</groupId>
            <artifactId>spring-boot-devtools</artifactId>
            <scope>runtime</scope>
            <optional>true</optional>
        </dependency>

        <dependency>
            <groupId>mysql</groupId>
            <artifactId>mysql-connector-java</artifactId>
            <version>8.0.17</version>
        </dependency>
        <dependency>
            <groupId>com.github.pagehelper</groupId>
            <artifactId>pagehelper-spring-boot-starter</artifactId>
            <version>1.2.10</version>
        </dependency>

        <dependency>
            <groupId>org.projectlombok</groupId>
            <artifactId>lombok</artifactId>
            <optional>true</optional>
        </dependency>
        <dependency>
            <groupId>org.springframework.boot</groupId>
            <artifactId>spring-boot-starter-tomcat</artifactId>
            <scope>provided</scope>
        </dependency>
        <dependency>
            <groupId>com.github.theborakompanioni</groupId>
            <artifactId>thymeleaf-extras-shiro</artifactId>
            <version>2.0.0</version>
        </dependency>
        <dependency>
            <groupId>org.apache.shiro</groupId>
            <artifactId>shiro-spring</artifactId>
            <version>1.4.1</version>
        </dependency>
        <dependency>
            <groupId>org.springframework.boot</groupId>
            <artifactId>spring-boot-starter-test</artifactId>
            <scope>test</scope>
            <exclusions>
                <exclusion>
                    <groupId>org.junit.vintage</groupId>
                    <artifactId>junit-vintage-engine</artifactId>
                </exclusion>
            </exclusions>
        </dependency>
    </dependencies>

    <build>
        <plugins>
            <plugin>
                <groupId>org.springframework.boot</groupId>
                <artifactId>spring-boot-maven-plugin</artifactId>
            </plugin>
        </plugins>
    </build>

</project>
二、application.yml
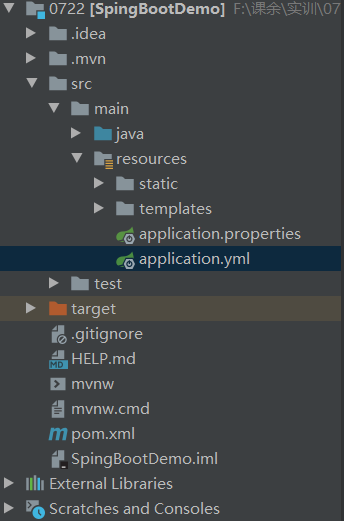
1、文件位置
2、解释说明
application.yml的功能和application.properties是一样的,都是配置项目。最早是写xml,但是xml太过繁琐,properties又会有大量重复代码,而yml文件是树状结构,代码可读性高,写起来也方便,所以现在都用yml。注意yml是需要自己添加这个文件的。一开始符号不是![]() ,不用管,写完就这样了。
,不用管,写完就这样了。
3、代码内容
server:
  port: 8080
#使用8080端口

spring:
  datasource:
    username: root #数据库用户名
    password: 9 #数据库用户密码
    url: jdbc:mysql://localhost:3306/shixun?characterEncoding=utf8&useSSL=false&serverTimezone=UTC&rewriteBatchedStatements=true&allowPublicKeyRetrieval=true #连接数据库,我用的database是“shixun”,自行替换成自己的
    driver-class-name: com.mysql.cj.jdbc.Driver


  thymeleaf:
    cache: false
    prefix: classpath:/templates/    #之后页面html文件的路径前缀
    suffix: .html                    #路径后缀
    encoding: UTF-8
    mode: HTML5
    servlet:
      content-type: text/html
注意缩进!!!类似于python,缩进不可以省略或增加,缩进是区分代码层次关系的唯一关系。
数据库密码不能有前导0!!!我之前就是被这个坑了好久,它不会读入前导0.
另外MySQL8.0与MySQL5.0的url和driver-class-name不一样,自行查阅。