1 概述:
1.1 环境
版本信息如下:
a、操作系统:centos 7.6,amd64
b、kubernetes版本:v1.18.16
c、docker版本:v1.18.06
d、rancher版本:v2.5.6
e、golang版本: v1.14
f、goland版本: 2020.3
2 安装go环境和docker:
省略。
3 编译和构建镜像:
3.1 在裸机环境执行编译构建命令
mkdir -p /opt/ && cd /opt/
# 下载rancher源码
git clone -b v2.5.6 https://github.com/rancher/rancher.git
cd rancher
# 安装开发工具
yum groupinstall "Development Tools" -y
yum install glibc-devel -y
make ci
3.2 在自定义开发容器中执行编译构建命令
mkdir -p /opt/ && cd /opt/
# 下载rancher源码
git clone -b v2.5.6 https://github.com/rancher/rancher.git

# rancher-build:v2.5.6镜像包含了构建rancher所需要的文件(开发工具、docker等)
# 通过挂载的方式将宿主机的sock文件和rancher源码映射进容器内部
docker run -it --rm -v /opt/rancher:/go/src/github.com/rancher/rancher -v /var/run/docker.sock:/var/run/docker.sock registry.cn-shenzhen.aliyuncs.com/gzlj/rancher-build:v2.5.6 bash

# 已经进入容器内部,正好坐落在/go/src/github.com/rancher/rancher,执行一下命令
export GOPROXY="https://goproxy.cn,https://goproxy.io,direct"
cd script
./ci
# 执行成功后,能在宿主机看见新生成的rancher镜像,agent镜像。
4 debug rancher in kubernetes:
4.1 下载rancher源码
在k8s集群的所有节点上都下载rancher的源码,因为本人是用hostPath的本地卷将源码挂载进容器。
mkdir -p /opt/ && cd /opt/
git clone -b v2.5.6 https://github.com/rancher/rancher.git
4.2 在k8s集群中部署若干对象
部署成功后,service对象的NodePort,就是goland IDE远程连接的端口。值得注意的是,在4.3的操作中,delve进程是监听在容器网卡的2345端口,正好和service port对应上。
apiVersion: apps/v1
kind: Deployment
metadata:
  labels:
    app: rancher-debug
  name: rancher-debug
  namespace: default
spec:
  selector:
    matchLabels:
      app: rancher-debug
  template:
    metadata:
      labels:
        app: rancher-debug
    spec:
      serviceAccountName: rancher-debug
      nodeSelector:
        kubernetes.io/hostname: lj
      tolerations:
      - effect: NoSchedule
        key: node-role.kubernetes.io/master
      containers:
      - command:
        - sleep
        - "36000"
        image: registry.cn-shenzhen.aliyuncs.com/gzlj/rancher-build:v2.5.6
        imagePullPolicy: IfNotPresent
        name: rancher-debug
        env:
        - name: GOPROXY
          value: "https://goproxy.cn,https://goproxy.io,direct"
        volumeMounts:
        - name: code
          mountPath: /go/src/github.com/rancher/rancher
        - name: docker
          mountPath: /var/run/docker.sock
      volumes:
      - name: code
        hostPath:
          path: /opt/rancher
          type: ""
      - name: docker
        hostPath:
          path: /var/run/docker.sock
          type: ""

---
kind: ClusterRoleBinding
apiVersion: rbac.authorization.k8s.io/v1
metadata:
  name: rancher-debug
  labels:
    app: rancher-debug
subjects:
- kind: ServiceAccount
  name: rancher-debug
  namespace: default
roleRef:
  kind: ClusterRole
  name: cluster-admin
  apiGroup: rbac.authorization.k8s.io

---
kind: ServiceAccount
apiVersion: v1
metadata:
  name: rancher-debug
  labels:
    app: rancher-debug

---
apiVersion: v1
kind: Service
metadata:
  name: rancher-debug
  namespace: default
spec:
  ports:
  - name: dlv
    port: 2345
    protocol: TCP
    targetPort: 2345
  selector:
    app: rancher-debug
  sessionAffinity: None
  type: NodePort
4.3 安装delve软件
通过kubectl exec命令进入rancher容器,安装delve软件。
go get -u -v github.com/go-delve/delve/cmd/dlv
4.4 debug方式启动rancher
# 在容器中的/go/src/github.com/rancher/rancher/目录下执行
# 此时会打印2345端口,并完全卡住,需要等待delve客户端来连接。
dlv debug --listen=:2345 --headless=true --api-version=2 --accept-multiclient main.go -- --add-local=true -- --k8s-mod=auto
4.5 goland IDE中的设置
4.5.1 设置远程连接信息
在菜单栏中进行点击 Run —> Edit Configurations —> 新增 —> Go Remote —> 确定。设置的IP是k8s集群的其中节点,端口是service NodePort。
4.5.2 设置断点
在窗口中打开rancher项目中的main.go文件,在main.go中的main()的第一行或者其他行设置一个断点。
4.5.3 远程连接
点击4.5.1中设置的远程连接,开始debug。
4.5.4 效果图
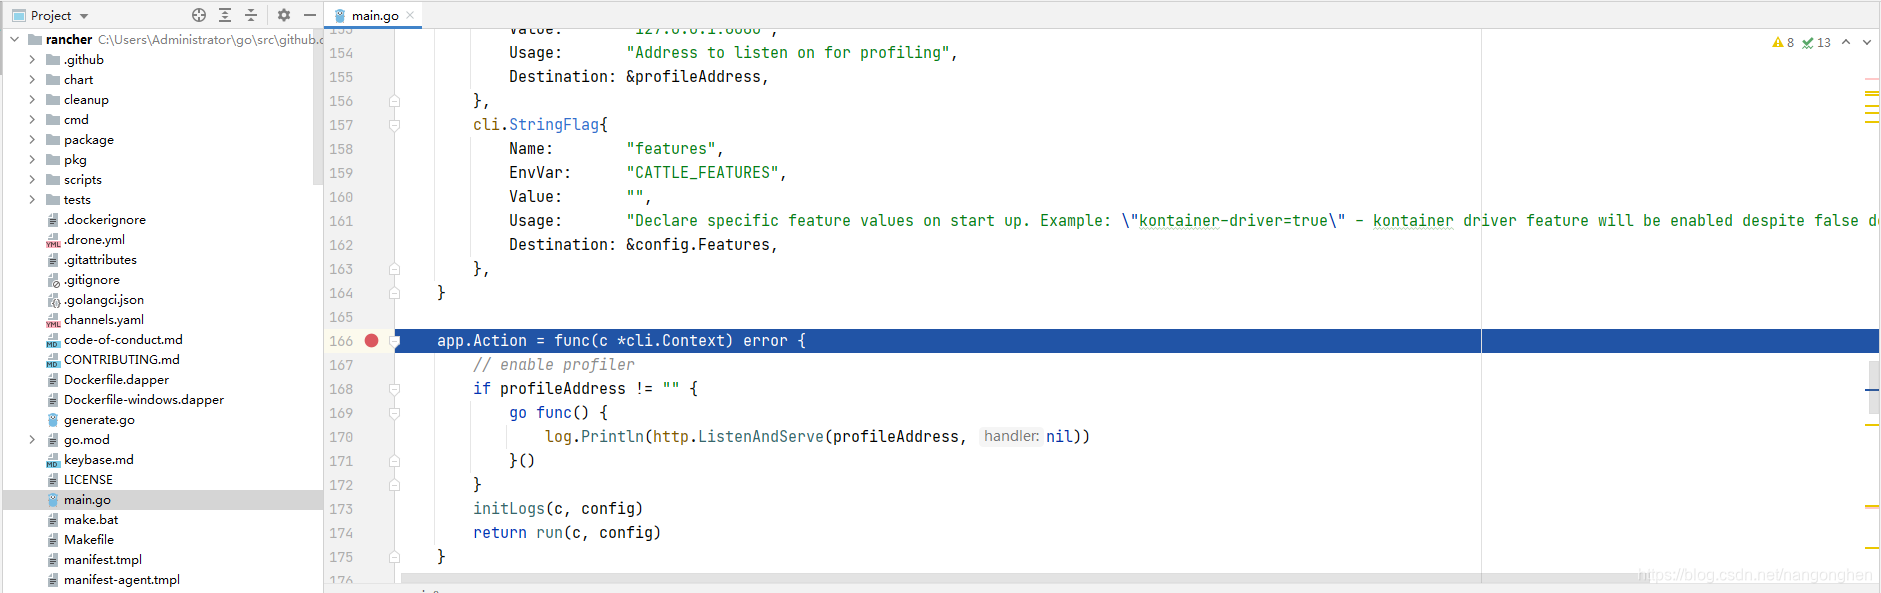
在goland IDE中点击继续运行按钮,则容器的控制台开始打印rancher的日志。

5 总结
编译rancher,构建容器镜像等过程并不复杂。能远程debug位于k8s集群中的rancher服务,这样一来,修改rancher源码的的时候,就不必使用打印语句来打印一些变量了。