文章目录
-
-
- 一、安装步骤
- 二、测试
- 三、一些问题的解决
-
-
- 问题1:关于conda的报错解决: Solving environment: failed with initial frozen solve. Retrying with flexible solve.
- 问题2:anoconda创建虚拟环境报错 CondaHTTPError: HTTP 000 CONNECTION FAILED for url
- 问题3:Conda - Downloaded bytes did not match Content-Length 问题解决方案
- 问题4:nvidia-smi无效
- 问题5:The NVIDIA driver on your system is too old
-
- 四、conda指令
-
一、安装步骤
- 安装anaconda,较简单
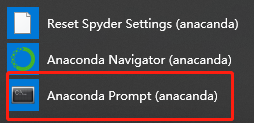
- 打开Anaconda Prompt(anaconda)
- 查看安装的python版本,我这里是3.7版本
python --version
- 创建pytorch入驻的房子
conda create -n pytorch python=3.7
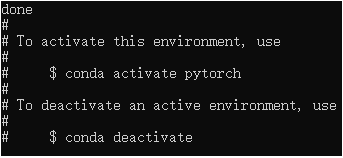
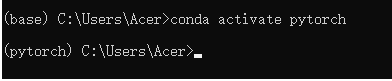
- 激活房子,进入pytorch配置环境
conda activate pytorch
- 切换至清华镜像源的命令语句
conda config --add channels https://mirrors.tuna.tsinghua.edu.cn/anaconda/pkgs/free/win-64/
conda config --add channels https://mirrors.tuna.tsinghua.edu.cn/anaconda/cloud/conda-forge/win-64/
conda config --add channels https://mirrors.tuna.tsinghua.edu.cn/anaconda/cloud/msys2/win-64/
conda config --add channels https://mirrors.tuna.tsinghua.edu.cn/anaconda/cloud/pytorch/win-64/

conda config --set show_channel_urls yes
(这个步骤中网上绝大多数的blog都没有在最后写/win-64/,但是个人觉得加上可能会快一点)
- 清华镜像安装命令语句
conda install pytorch torchvision cudatoolkit=10.1
此处的安装指令可以在官网中进行配置,我选的是10.1的cuda,有blog说如果安装10以下的可能会出现很多奇怪的问题。注意,如果没有英伟达的显卡,就安装纯cpu跑的pytorch,官网上面有写。同时可以自己选定pytorch的版本以及torchvision的版本。如果不选择默认下载的是最新的版本。
以上就是安装pytorch的全部步骤,但是正常情况下都会出现很多奇怪的问题。
以下是三个包的主要安装源,如果网速不够好,可以尝试本地下载之后再导入(我这里没有尝试,因为后出成功安装好了)
三大包的安装源:
pytorch:	 https://mirrors.tuna.tsinghua.edu.cn/anaconda/cloud/pytorch/win-64::pytorch-1.7.1-py3.7_cuda101_cudnn7_0			----746.5Mb

mkl-2020.4                 |     hb70f87d_311       172.4 MB  https://mirrors.tuna.tsinghua.edu.cn/anaconda/cloud/conda-forge::mkl-2020.4-hb70f87d_311

 cudatoolkit-10.1.243       |       h3826478_6       378.0 MB  https://mirrors.tuna.tsinghua.edu.cn/anaconda/cloud/conda-forge/win-64::cudatoolkit-10.1.243-h3826478_6
- 查看结果

- 如果想在刚刚弄好的那个包添加其他的包,可以直接使用指令,此处以pandas为例:
pip install pandas
在Anaconda Prompt(anaconda)进入pytorch目录敲以上命令即可
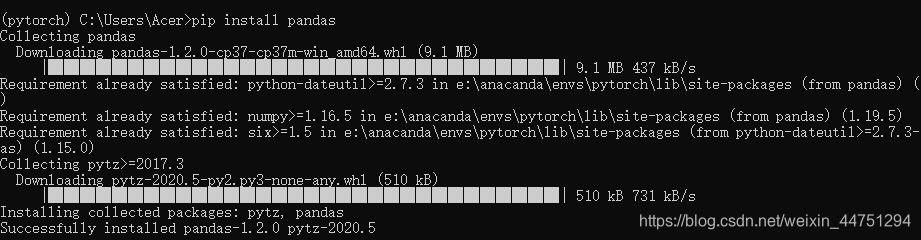
安装成功:
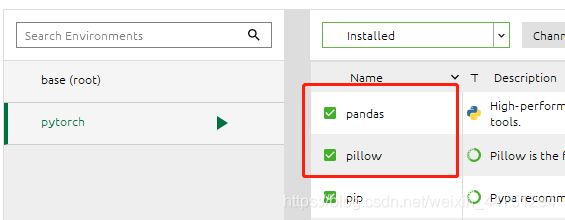
同时其实也可以直接在anaconda上面进行手动管理,如下所示
二、测试
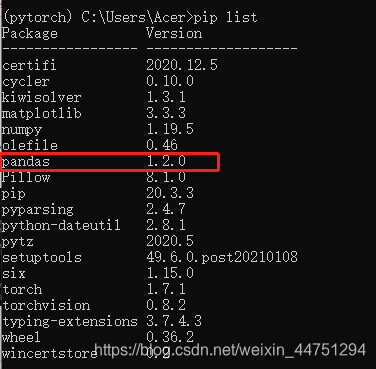
查看安装的版本:
pip list

测试代码:
//输入
python:
//进入python页面
//输入:
import torch
//导入torch 没有错误提示说明导入成功
//输入:
torch.cuda.is_available()
//结果是 Ture 表示电脑的GPU可被torch使用
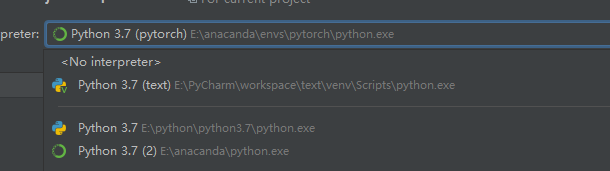
注意,如果是在pycharm中运行,需要配置一下编译器才可以执行
三、一些问题的解决
问题1:关于conda的报错解决: Solving environment: failed with initial frozen solve. Retrying with flexible solve.
更改信道级别:
conda config --set channel_priority flexible
问题2:anoconda创建虚拟环境报错 CondaHTTPError: HTTP 000 CONNECTION FAILED for url
需要配置3个路径:
anocoda配置环境变量:
至少包括Anaconda、Anaconda/Scripts、Anaconda/Library/bin三个目录 !!!
E:\Anacoda3\Library\bin
E:\Anacoda3\Scripts
E:\Anacoda3\
(这里E:\Anacoda3\是楼主安装anoconda的位置)
配置方法:
我的电脑,属性,高级系统设置,环境变量,系统变量,path

问题3:Conda - Downloaded bytes did not match Content-Length 问题解决方案

参考链接:https://blog.csdn.net/sinat_36594453/article/details/89599174
采用方法二:设置conda下载的timeout,然后再进行尝试,如果时长不够可以再设置大一点。
conda config --set remote_read_timeout_secs 600.0
conda config --set remote_read_timeout_secs 10000.0
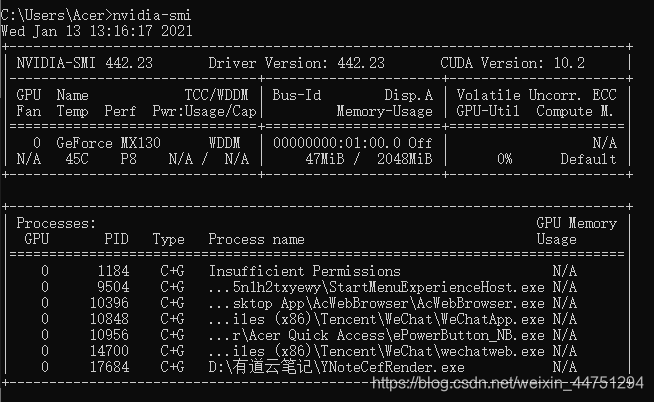
问题4:nvidia-smi无效
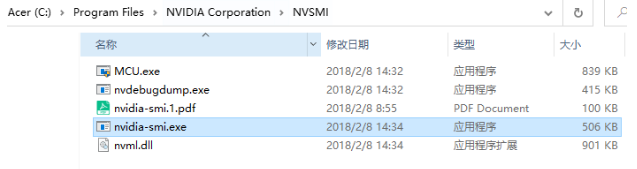
想使用nvidia-smi查看gpu的使用情况时,发现C:\Program Files\NVIDIA Corporation\没有NVSMI文件夹,所以里面的nvidia-smi.exe文件也没有。
解决办法:
链接:https://pan.baidu.com/s/1MsLXsC-Z8OyolxWSpxsj9g
提取码:wy6l
将NVSMI.zip解压到C:\Program Files\NVIDIA Corporation\即可
然后添加环境变量

输入nvidia-smi便可以查看
问题5:The NVIDIA driver on your system is too old
>>> import torch
>>> torch.cuda.is_available()
E:\anacanda\envs\pytorch\lib\site-packages\torch\cuda\__init__.py:52: UserWarning: CUDA initialization: The NVIDIA driver on your system is too old (found version 9020). Please update your GPU driver by downloading and installing a new version from the URL: http://www.nvidia.com/Download/index.aspx Alternatively, go to: https://pytorch.org to install a PyTorch version that has been compiled with your version of the CUDA driver. (Triggered internally at  ..\c10\cuda\CUDAFunctions.cpp:100.)
  return torch._C._cuda_getDeviceCount() > 0
False
**解决方法:**更新驱动
参考链接:https://blog.csdn.net/qq_37163925/article/details/106222654

四、conda指令
- 清理损坏包:
conda clean --packages --tarballs
- 更新指令:
conda update --all
- 强制更新指令:
conda update --strict-channel-priority --all
- 显示通道:
conda config --show channels
更多的conda指令可以查看如下