Swagger主要作用:
接口可以实时更新
给接口增加注解,让前端同事轻松看懂
步骤
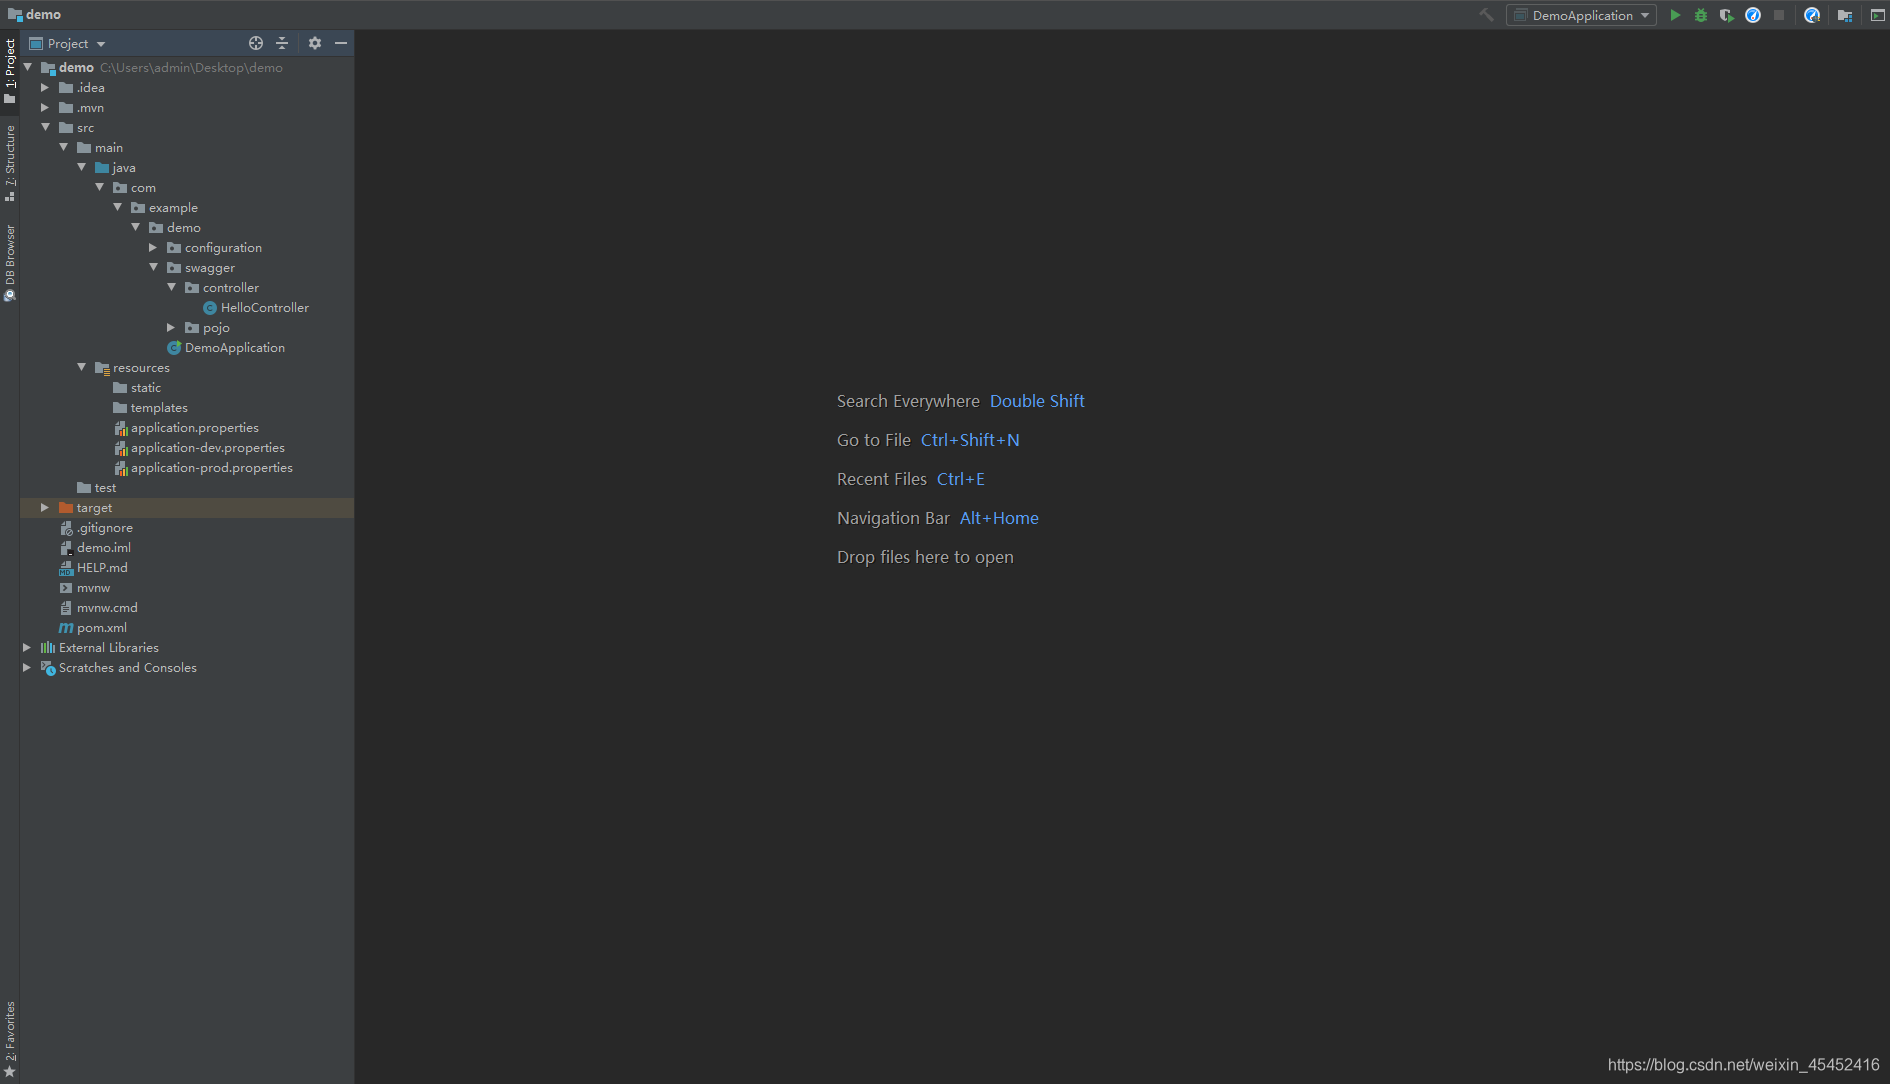
1.新建一个SpringBoot Web项目,项目结构如下
2.导入相关依赖
		<!-- https://mvnrepository.com/artifact/io.springfox/springfox-swagger-ui -->
		<dependency>
			<groupId>io.springfox</groupId>
			<artifactId>springfox-swagger-ui</artifactId>
			<version>2.9.2</version>
		</dependency>

		<!-- https://mvnrepository.com/artifact/io.springfox/springfox-swagger2 -->
		<dependency>
			<groupId>io.springfox</groupId>
			<artifactId>springfox-swagger2</artifactId>
			<version>2.9.2</version>
		</dependency>
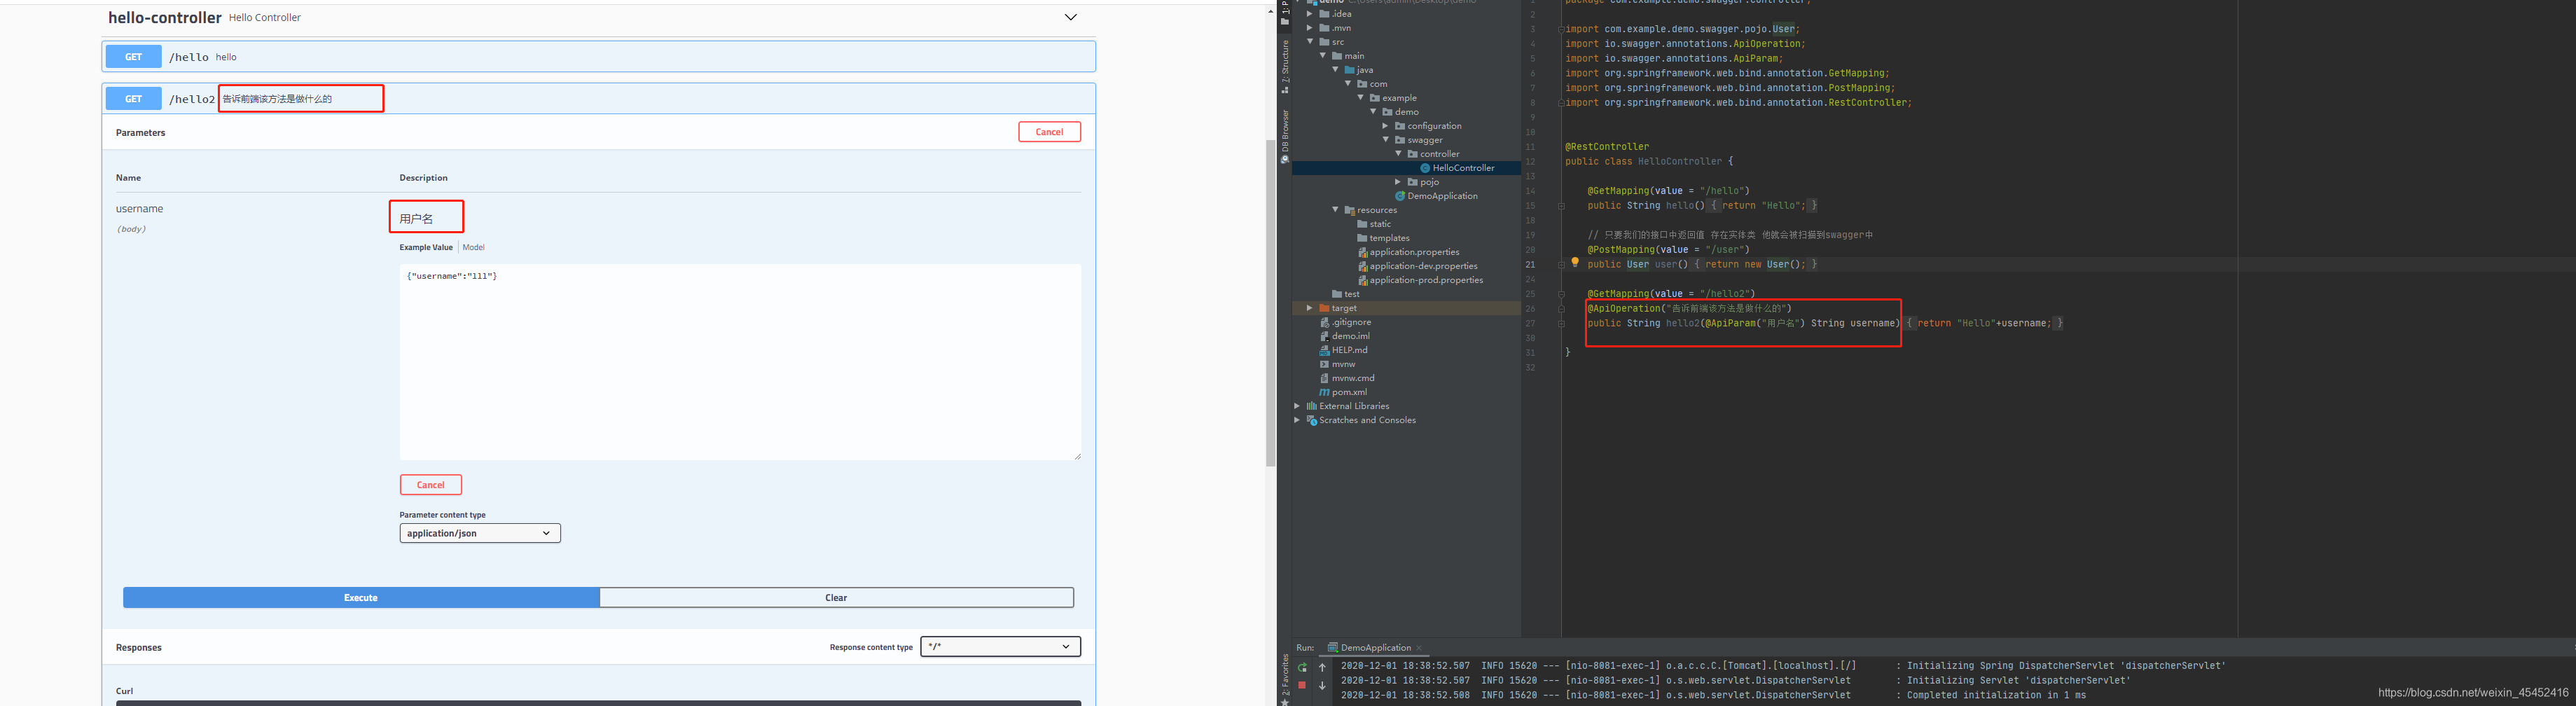
3.写一个HelloController
package com.example.demo.swagger.controller;
import org.springframework.web.bind.annotation.GetMapping;
import org.springframework.web.bind.annotation.RestController;
@RestController
public class HelloController {
@GetMapping(value = "/hello")
public String hello(){
return "Hello";
}
}
4.配置Swagger Configuration
package com.example.demo.configuration;
import org.springframework.context.annotation.Configuration;
import springfox.documentation.swagger2.annotations.EnableSwagger2;
@Configuration
@EnableSwagger2
public class SwaggerConfig {
}
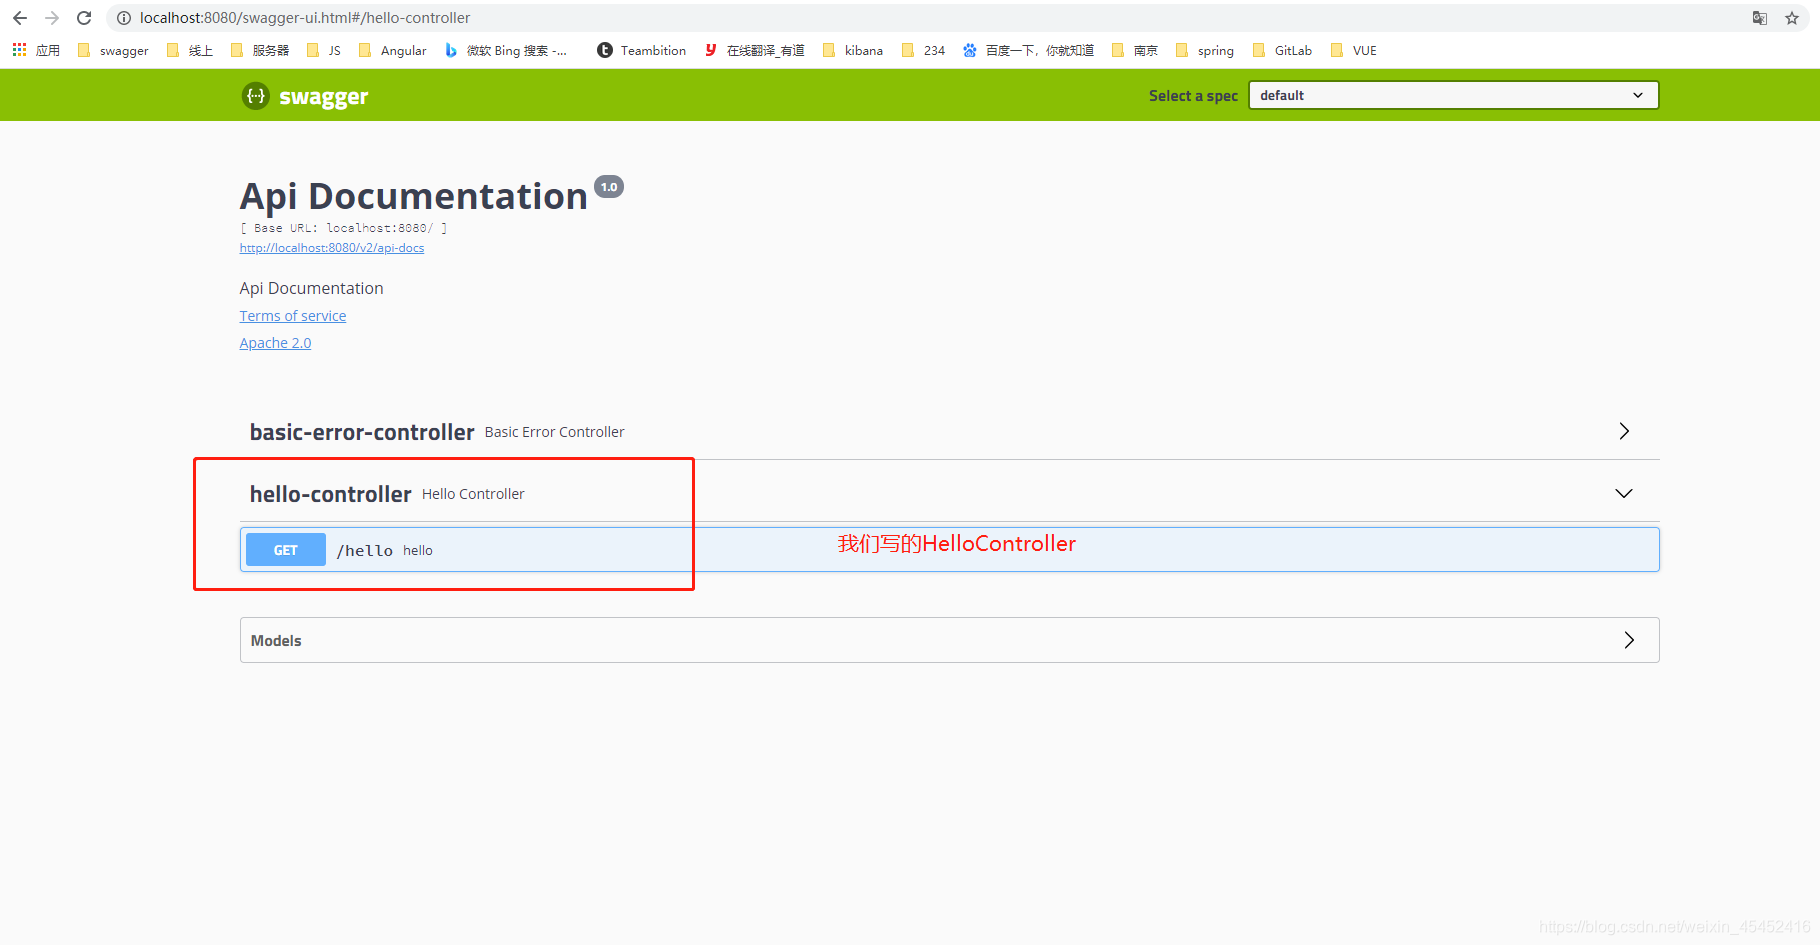
5.测试是否能正常启动:http://localhost:8080/swagger-ui.html,到这边就可以正常使用了
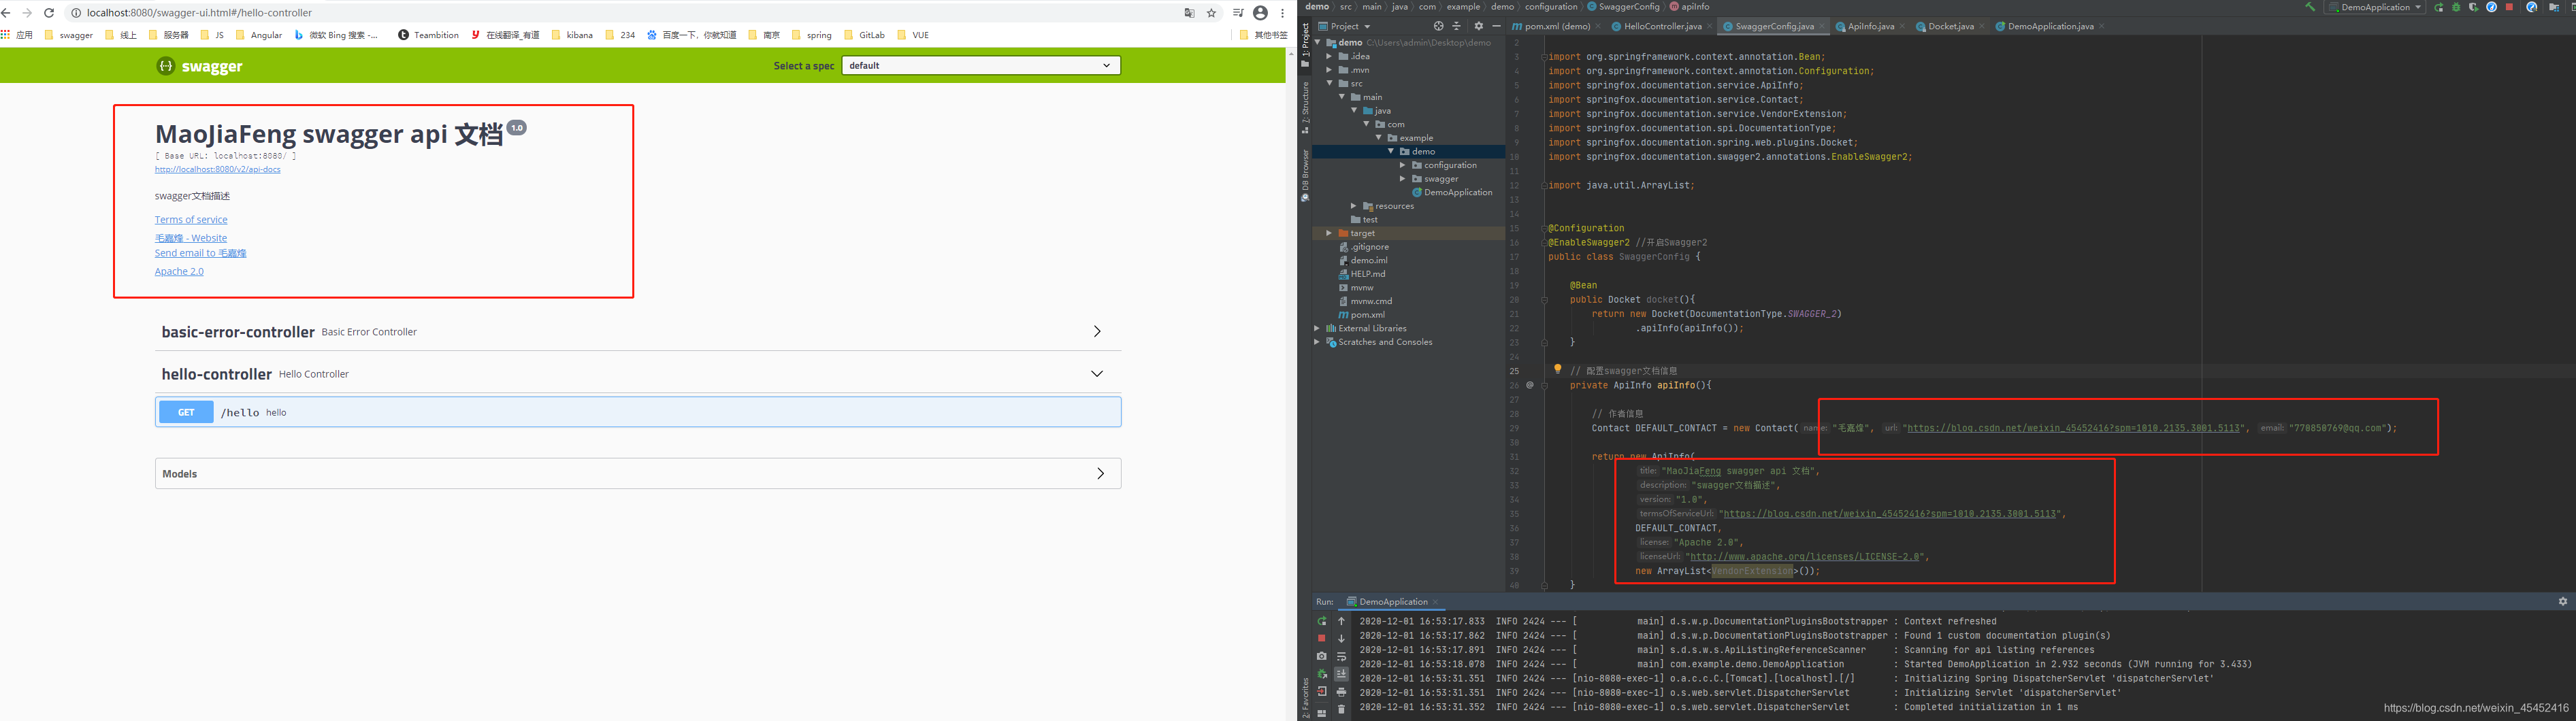
我们可以给Swagger配置一些基础信息:
修改SwaggerConfig配置文件,重启项目,效果图也贴在下面
package com.example.demo.configuration;
import org.springframework.context.annotation.Bean;
import org.springframework.context.annotation.Configuration;
import springfox.documentation.service.ApiInfo;
import springfox.documentation.service.Contact;
import springfox.documentation.service.VendorExtension;
import springfox.documentation.spi.DocumentationType;
import springfox.documentation.spring.web.plugins.Docket;
import springfox.documentation.swagger2.annotations.EnableSwagger2;
import java.util.ArrayList;
@Configuration
@EnableSwagger2
public class SwaggerConfig {
@Bean
public Docket docket(){
return new Docket(DocumentationType.SWAGGER_2)
.apiInfo(apiInfo());
}
private ApiInfo apiInfo(){
Contact DEFAULT_CONTACT = new Contact("毛嘉烽", "https://blog.csdn.net/weixin_45452416?spm=1010.2135.3001.5113", "[email protected]");
return new ApiInfo(
"MaoJiaFeng swagger api 文档",
"swagger文档描述",
"1.0",
"https://blog.csdn.net/weixin_45452416?spm=1010.2135.3001.5113",
DEFAULT_CONTACT,
"Apache 2.0",
"http://www.apache.org/licenses/LICENSE-2.0",
new ArrayList<VendorExtension>());
}
}
Swagger配置扫描接口:
@Bean
public Docket docket(){
return new Docket(DocumentationType.SWAGGER_2)
.apiInfo(apiInfo())
.select()
.apis(RequestHandlerSelectors.basePackage("com.example.demo.swagger.controller"))
.paths(PathSelectors.ant("/mao/**"))
.build(); //
}
我们让swagger只在开发环境中使用,产线上不使用,主要看圈红的地方(生产环境关闭swagger,防止恶意攻击,如果看过我那篇关于gateway的文章,这边可以不关闭的)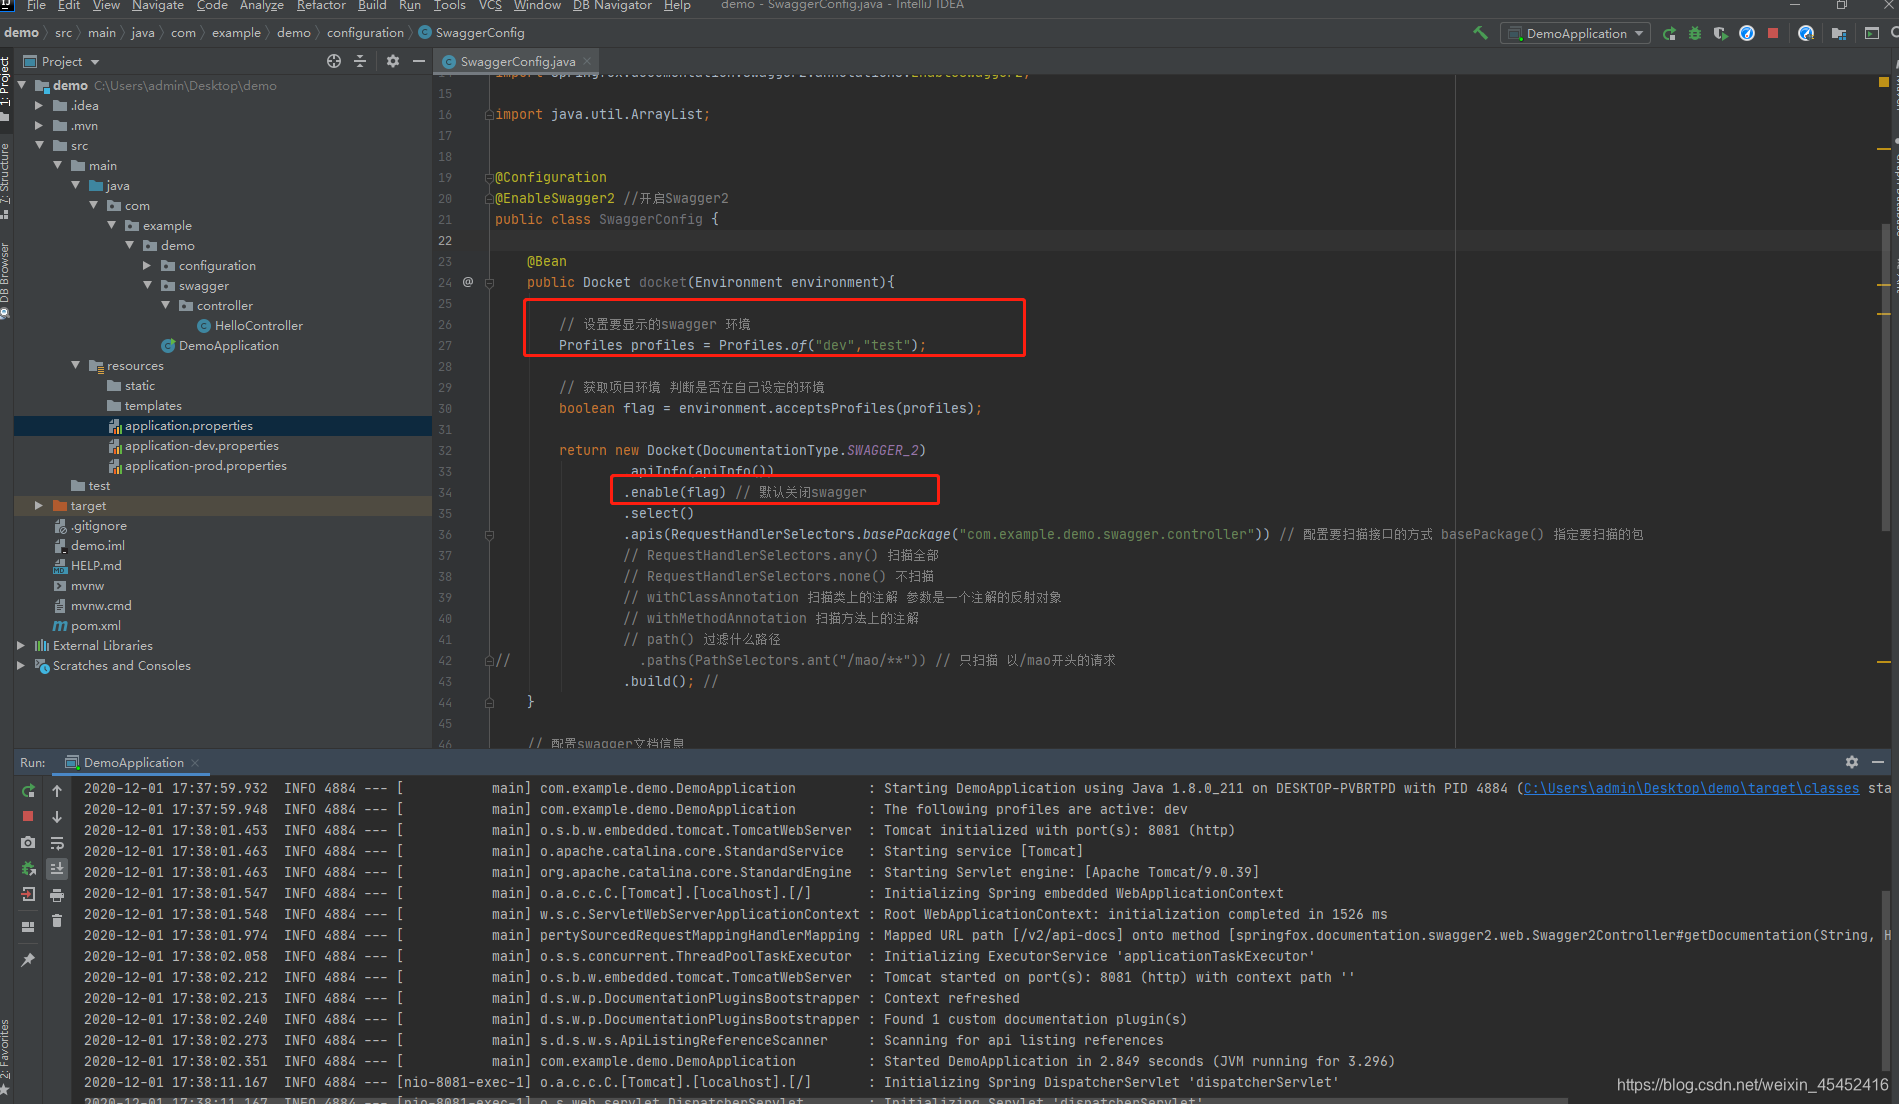
给接口和参数增加注释