ansible说明、安装和使用
ansible 可以实现批量部署主机。
安装前准备:
三台cen虚拟机:
监控节点:192.168.136.12
托管节点:192.168.136.13
托管节点:192.168.136.14
(一切安装在cen7的网络源安装)
安装源
yum search ansible
yum -y install centos-release-ansible-29.noarch
安装ansible
yum -y install ansible
添加主机到清单
vim /etc/ansible/hosts
[webservers]
192.168.136.13
192.168.136.14
配置密钥(实现免密远程登录)
ssh-keygen
ssh-copy-id [email protected]
ssh-copy-id [email protected]
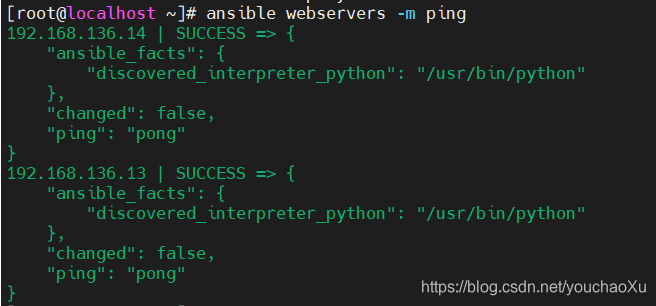
测试被管理主机是否可达
ansible webservers -m ping
批量部署httpd
ansible webservers -m yum -a ‘name=httpd state=installed’
ansible webservers -m systemd -a ‘name=httpd state=started enabled=yes’
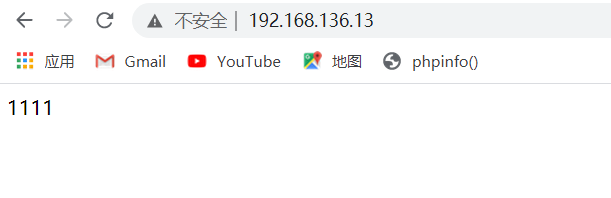
创建一个httpd的测试页面
ansible webservers -m shell -a ‘echo 1111 > /var/www/html/index.html’
(#也可通过组实现批量组服务器部署,也可通过指定服务器部署。以下为指定部署
ansible 192.168.136.13 -m shell -a ‘echo 1111 > /var/www/html/index.html’
ansible 192.168.136.14 -m shell -a ‘echo 222 > /var/www/html/index.html’ )
重启httpd和 开机自启httpd
ansible webservers -m systemd -a ‘name=httpd state=restarted enabled=yes’
关闭防火墙
ansible webservers -m systemd -a ‘name=firewalld state=stopped’
ansible webservers -m shell -a ‘setenforce 0’
查看被管理节点的80端口是否被监听
ansible webservers -m shell -a ‘ss -ntl | grep 80’
浏览器登录验证是否成功