用途:
空xml负样本,用于降低目标检测测试过程中的误检率。
用法:
负样本图片和训练集图片放在同一个文件夹,空xml文件和训练集xml放在同一个文件夹,然后按照正常的目标检测训练流程即可完成训练。
附加功能:
把原有的label为背景的xml文件替换掉(主要用于比赛数据集中的背景label检索和修改)。
上代码(把输入输出文件夹改为自己的即可):
import os
import xml.dom.minidom
import cv2

img_path = 'C:\\Users\\hq\\Desktop\\none_test\\img\\'
xml_path = 'C:\\Users\\hq\\Desktop\\none_test\\xml\\'

# 删除所有label为背景的xml
import xml.etree.ElementTree as ET
for img_file in os.listdir(xml_path):
    filename = os.path.join(xml_path, img_file)
    root = ET.parse(filename).getroot()
    for ob in root.findall('object'):
        name = ob.find('name').text
        #print(name)
    if name=='Background':
        os.remove(filename)
        continue

# 创建新的xml文件(保留所有原有label为非背景的xml)
for img_file in os.listdir(img_path):
    filename = os.path.join(img_path, img_file)
    img_cv = cv2.imread(filename)

    img_name = os.path.splitext(img_file)[0]

    #create an empty dom document object
    doc = xml.dom.minidom.Document()
    #creat a root node which name is annotation
    annotation = doc.createElement('annotation')
    #add the root node to the dom document object
    doc.appendChild(annotation)

    #add the folder subnode
    folder = doc.createElement('folder')
    folder_text = doc.createTextNode('VOC2012')
    folder.appendChild(folder_text)
    annotation.appendChild(folder)

    #add the filename subnode
    filename = doc.createElement('filename')
    filename_text = doc.createTextNode(img_file)
    filename.appendChild(filename_text)
    annotation.appendChild(filename)

    # add the path subnode
    path = doc.createElement('path')
    path_text = doc.createTextNode(img_path + img_file)
    path.appendChild(path_text)
    annotation.appendChild(path)

    #add the source subnode
    source = doc.createElement('source')
    database = doc.createElement('database')
    database_text = doc.createTextNode('Unknown')
    source.appendChild(database)
    database.appendChild(database_text)
    annotation.appendChild(source)

    #add the size subnode
    size = doc.createElement('size')
    width = doc.createElement('width')
    width_text = doc.createTextNode('%s'%img_cv.shape[1])
    height = doc.createElement('height')
    height_text = doc.createTextNode('%s'%img_cv.shape[0])
    depth = doc.createElement('depth')
    depth_text = doc.createTextNode('%s'%img_cv.shape[2])
    size.appendChild(width)
    width.appendChild(width_text)
    size.appendChild(height)
    height.appendChild(height_text)
    size.appendChild(depth)
    depth.appendChild(depth_text)
    annotation.appendChild(size)

    #add the segmented subnode
    segmented = doc.createElement('segmented')
    segmented_text = doc.createTextNode('0')
    segmented.appendChild(segmented_text)
    annotation.appendChild(segmented)

    #write into the xml text file
    #os.mknod(xml_path+'%s.xml'%img_name)
    if not os.path.exists(xml_path+'%s.xml'%img_name):
        with open(xml_path+'%s.xml'%img_name, mode="w", encoding="utf-8") as f:
            fp = open(xml_path+'%s.xml'%img_name, 'w+')
            doc.writexml(fp, indent='\t', addindent='\t', newl='\n', encoding='utf-8')
            fp.close()
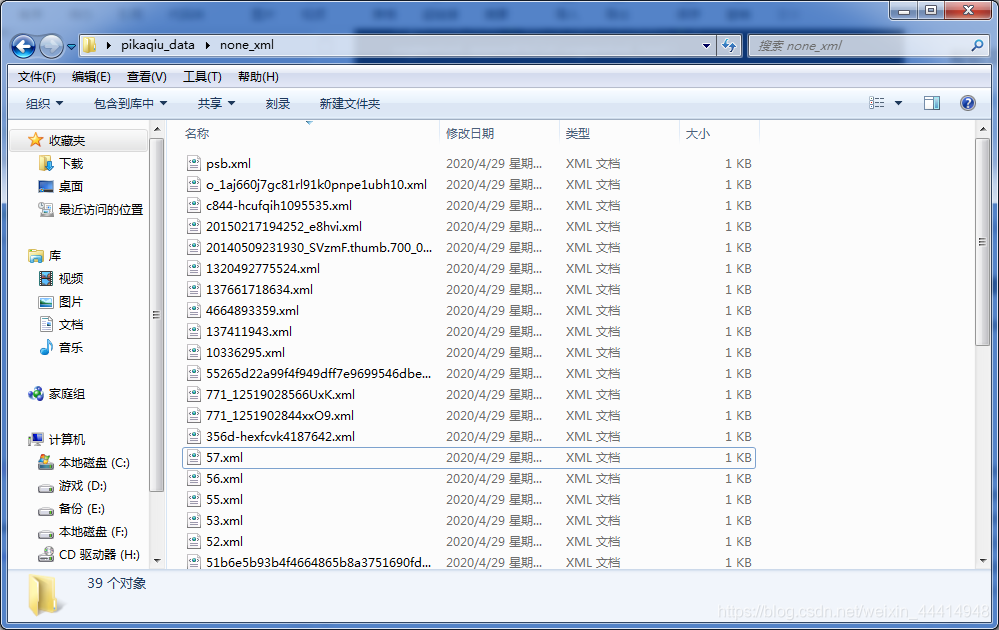
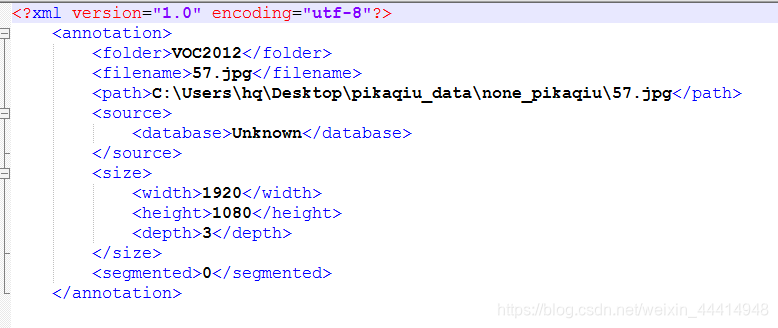
生成结果:
最后:非常感谢这篇大佬博客的启发https://blog.csdn.net/dulingwen/article/details/89669928