1. 首先安装各种依赖包
sudo apt-get install libprotobuf-dev libleveldb-dev libsnappy-dev libopencv-dev libhdf5-serial-dev protobuf-compiler
sudo apt-get install --no-install-recommends libboost-all-dev
sudo apt-get install libatlas-base-dev
sudo apt-get install libopenblas-dev
sudo apt-get install the python-dev
sudo apt-get install libgflags-dev libgoogle-glog-dev liblmdb-dev
2. 下载caffe
网上所搜到的安装caffe 的教程多是git 下载https://github.com/BVLC/caffe
但继承的文件里是有一个caffe3d的文件夹,
在GitHub上caffe3d得到https://github.com/fyu/caffe3d
之后,我在现有的文件夹的readme文件中得到线索信息,
找到了Video-Caffe: Caffe with C3D implementation and video reader,
https://github.com/chuckcho/video-caffe
即 Video-Caffe:具有C3D实现和视频阅读器的Caffe,
在现有的论文中也有提及实验环境 为R-C3D网络基于添加了video处理层的caffe框架搭建,
所以现在姑且认定为GitHub上的Video-Caffe。
3. 修改文件
3.1 Makefile.config
因为make指令只能make Makefile.config文件,而Makefile.config.example是caffe给出的makefile例子。
因此,首先将Makefile.config.example的内容复制到Makefile.config:
sudo cp Makefile.config.example Makefile.config
然后修改 Makefile.config 文件,在 caffe 目录下打开该文件:
sudo gedit Makefile.config
根据个人情况修改 Makefile.config 文件内容:
(1)若使用cudnn,则:
将
#USE_CUDNN := 1
修改成:
USE_CUDNN := 1
(2)若使用的opencv版本是3的,则:
将
#OPENCV_VERSION := 3
修改为:
OPENCV_VERSION := 3
(3)如果是CUDA版本>=9.0的话,则将20和21的算力去除,如下:
CUDA_ARCH := \
#-gencode arch=compute_20,code=sm_20 \
#		-gencode arch=compute_20,code=sm_21 \
		-gencode arch=compute_30,code=sm_30 \
		-gencode arch=compute_35,code=sm_35 \
		-gencode arch=compute_50,code=sm_50 \
		-gencode arch=compute_52,code=sm_52 \
		-gencode arch=compute_60,code=sm_60 \
		-gencode arch=compute_61,code=sm_61 \
		-gencode arch=compute_61,code=compute_61
PS:我这里有之前用过的文件,用的是CUDA8.0,文件上面的已有修改如下:
# For CUDA < 6.0, comment the *_50 lines for compatibility.
#CUDA_ARCH := -gencode arch=compute_20,code=sm_20 \
		-gencode arch=compute_20,code=sm_21 \
		-gencode arch=compute_30,code=sm_30 \
		-gencode arch=compute_35,code=sm_35
CUDA_ARCH := -gencode arch=compute_50,code=sm_50 \
                -gencode arch=compute_52,code=sm_52 \
                -gencode arch=compute_60,code=sm_60 \
                -gencode arch=compute_61,code=sm_61 \
                -gencode arch=compute_61,code=compute_61
(4)若使用python来编写layer,则:
将
#WITH_PYTHON_LAYER := 1
修改为
WITH_PYTHON_LAYER := 1
(5)重要的一项 :将 # Whatever else you find you need goes here. 下面的:
INCLUDE_DIRS := $(PYTHON_INCLUDE) /usr/local/include
LIBRARY_DIRS := $(PYTHON_LIB) /usr/local/lib /usr/lib
修改为:
INCLUDE_DIRS := $(PYTHON_INCLUDE) /usr/local/include /usr/include/hdf5/serial
LIBRARY_DIRS := $(PYTHON_LIB) /usr/local/lib /usr/lib /usr/lib/x86_64-linux-gnu /usr/lib/x86_64-linux-gnu/hdf5/serial
3.2 Makefile 文件
然后修改 caffe 目录下的 Makefile 文件:
sudo gedit Makefile
将:
NVCCFLAGS += -ccbin=$(CXX) -Xcompiler-fPIC $(COMMON_FLAGS)
替换为:
NVCCFLAGS += -D_FORCE_INLINES -ccbin=$(CXX) -Xcompiler -fPIC $(COMMON_FLAGS)
以下面这个改动,在之前的文件中并没有。
将:
LIBRARIES += glog gflags protobuf boost_system boost_filesystem m hdf5_hl hdf5
改为:
LIBRARIES += glog gflags protobuf boost_system boost_filesystem m hdf5_serial_hl hdf5_serial
3.3 编辑host_config.h
编辑/usr/local/cuda/include/host_config.h,将其中的第115行注释掉:
sudo gedit /usr/local/cuda/include/host_config.h
将
#error-- unsupported GNU version! gcc versions later than 4.9 are not supported!
改为
//#error-- unsupported GNU version! gcc versions later than 4.9 are not supported!
4. 编译
make all -j8 #-j根据自己电脑配置决定

编译时出现的错误
(1)出错:编译错误:
Makefile:568: recipe for target ‘.build_release/lib/libcaffe.so.1.0.0-rc3’ failed
解决方法:
https://blog.csdn.net/CAU_Ayao/article/details/84023510
(2)出错:
/usr/bin/ld: 找不到 -lopencv_imgcodecs
/usr/bin/ld: 找不到 -lopencv_videoio

解决方法:
https://blog.csdn.net/w113691/article/details/77942408看这个教程。
https://blog.csdn.net/Dillon2015/article/details/79858116
5. 测试
make test -j8
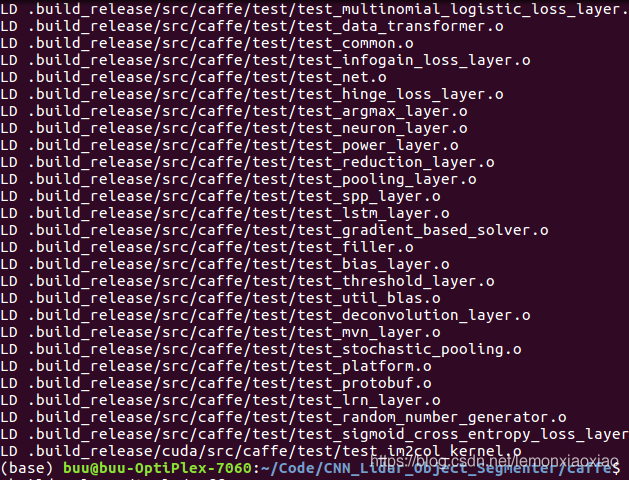
make runtest -j8
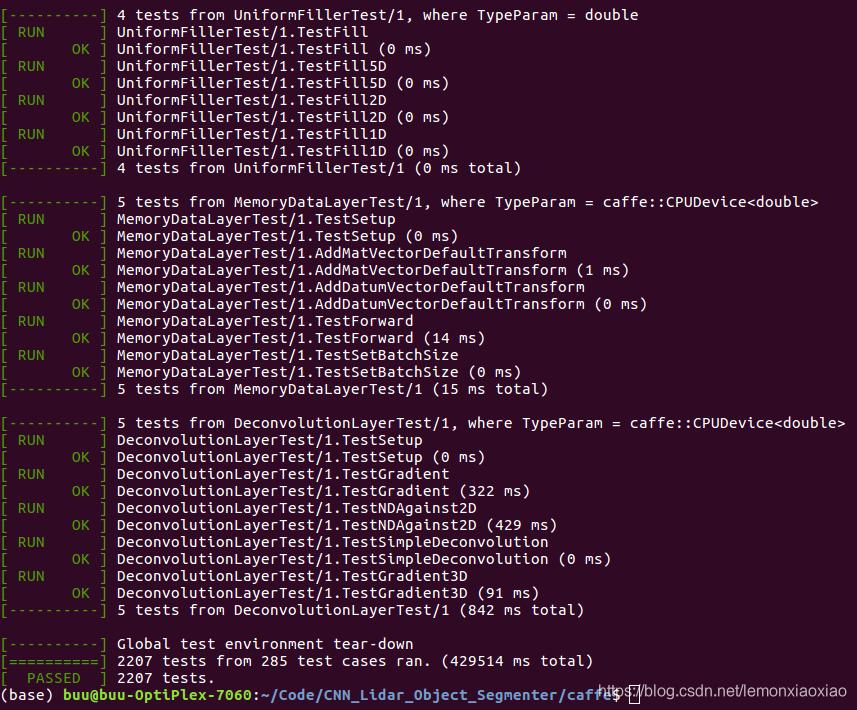
如果显示结果为上图所示,说明caffe安装成功。
出错:recipe for target ‘runtest’ failed
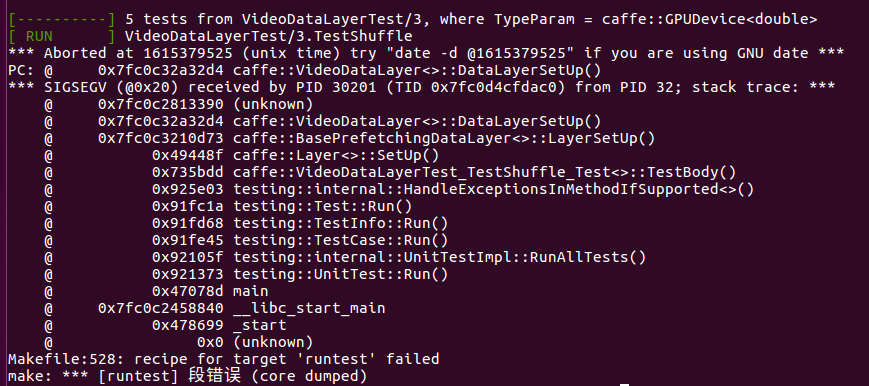
PS:因为runtest老出错,万念俱灰,最后选择使用网上GitHub上下载的viedo-caffe,重新-修改文件-编译-配置
配置pycaffe:
sudo make pycaffe -j16 //配置pycaffe

6. 环境变量配置:
gedit ~/.bashrc
尾部添加:
这里填写你的caffe下面的python目录
export PYTHONPATH=~/caffe/python:$PYTHONPATH
使环境变量生效:
source ~/.bashrc
7. 导包测试
输入python进入python环境,然后继续输入
import caffe
pip安装缺少的包,安装完成后,import caffe完成。
2021年3月12日19点06分
用网上下载的版本仿佛不行,还是安装自带的caffe3d。