项目中经常需要使用到文件的上传下载,这里介绍一下以filezilla作为文件服务器时,文件的上传和下载,虽然是使用filezilla作为ftp服务器,但是如果换为其他服务器代码是一样可以使用的。
首先下载filezilla,地址:https://sourceforge.net/projects/filezilla/files/?source=navbar
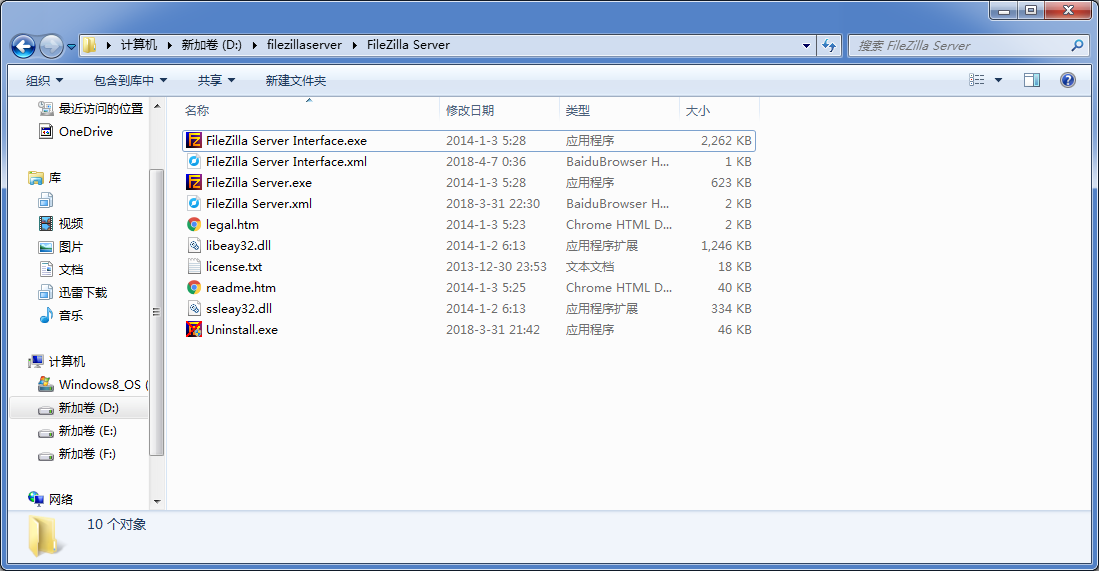
选择filezilla server下载,安装好以后,打开安装路径文件夹如下:
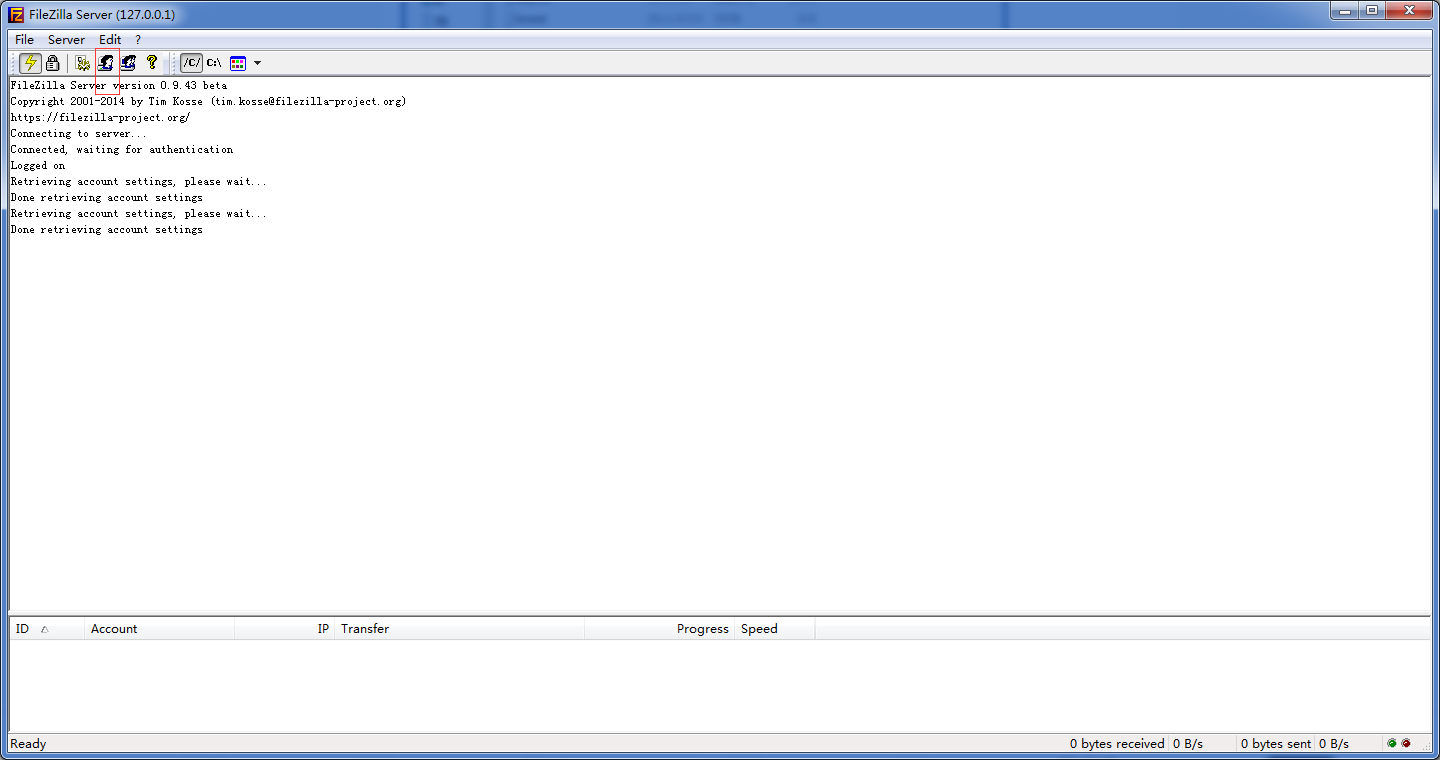
注意用管理员打开filezilla server后,然后点开filezilla server Interface,然后可以看到如下界面:
点击红框中的按钮,可以配置连接服务端的用户和权限,如下图所示:
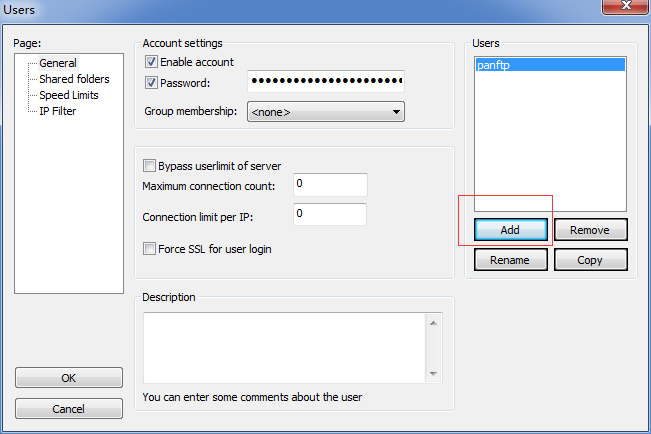
点击add添加账号,输入账号名字点击ok,然后如下图
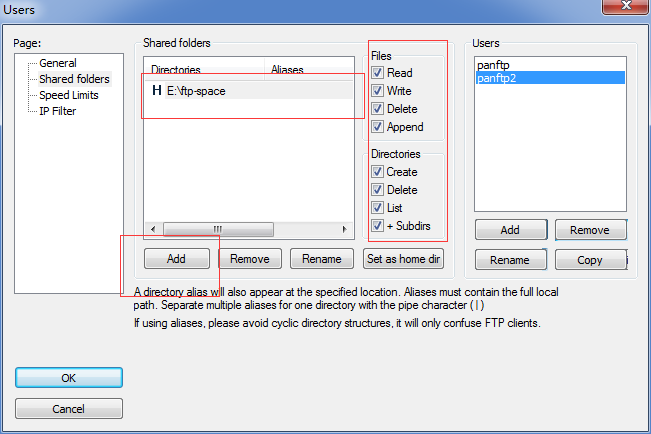
注先点击红框中的add添加主文件夹,然后右边的files下面的几个框代表文件的操作权限,directories代表文件夹的操作权限。设置好以后点击ok然后设置密码之后就完事了。
接着是项目中的使用。
首先pom文件中要有以下的包:
<!-- 封装了各种网络协议的客户端,支持FTP、NNTP、SMTP、POP3、Telnet等协议 -->
		<dependency>
            <groupId>commons-net</groupId>
            <artifactId>commons-net</artifactId>
            <version>3.1</version>
        </dependency>
        <!-- java上传文件 -->
		<dependency>
			<groupId>commons-fileupload</groupId>
			<artifactId>commons-fileupload</artifactId>
			<version>1.2</version>
		</dependency>
接着配置一个文件解析器:
<!-- 配置一个文件上传解析器,此ID是固定的,无法改变的 -->
	<bean id="multipartResolver" class="org.springframework.web.multipart.commons.CommonsMultipartResolver">
		<!-- 单位是byte,例如:10M=10*1024*1024 当设值为:-1时表示不限制容量 -->
		<property name="maxUploadSize" value="-1"></property>
		<!-- 默认字符集编码 -->
		<property name="defaultEncoding" value="UTF-8"></property>
		<!-- 每次读取文件时,最大的内存容量 -->
		<property name="maxInMemorySize" value="1024"></property>
	</bean>
然后是ftp的工具类:
/**
 *
 *@description
 *@auth panmingshuai
 *@time 2018年4月1日上午1:11:27
 *
 */
public class FtpKit {
	// ftp服务器地址
	public static String hostname = "127.0.0.1";
	// ftp服务器端口号默认为21
	public static Integer port = 21;
	// ftp登录账号
	public static String username = "panftp";
	// ftp登录密码
	public static String password = "123456";

	public static FTPClient ftpClient = null;

	/**
	 * 初始化ftp服务器
	 */
	public static void initFtpClient() {
		ftpClient = new FTPClient();
		ftpClient.setControlEncoding("utf-8");
		try {
			ftpClient.connect(hostname, port); // 连接ftp服务器
			ftpClient.login(username, password); // 登录ftp服务器

			int replyCode = ftpClient.getReplyCode(); // 是否成功登录服务器
			if (!FTPReply.isPositiveCompletion(replyCode)) {
				System.out.println("connect failed...ftp服务器:" + hostname + ":" + port);
			}
			System.out.println("connect successfu...ftp服务器:" + hostname + ":" + port);
		} catch (IOException e) {
			e.printStackTrace();
		}
	}

	/**
	 * 上传文件
	 *
	 * @param pathname ftp服务保存地址
	 * @param fileName 上传到ftp的文件名
	 * @param inputStream 输入文件流
	 * @return
	 */
	public static boolean uploadFile(String pathname, String fileName, InputStream inputStream) {
		try {
			initFtpClient();

			ftpClient.setFileType(FTP.BINARY_FILE_TYPE);
			ftpClient.makeDirectory(pathname);
			ftpClient.changeWorkingDirectory(pathname);
			ftpClient.storeFile(fileName, inputStream);

			inputStream.close();
			ftpClient.logout();
			ftpClient.disconnect();
			return true;
		} catch (Exception e) {
			e.printStackTrace();
		}
		return false;
	}

	public static boolean existFile(String path) throws IOException {
		initFtpClient();

		FTPFile[] ftpFileArr = ftpClient.listFiles(path);
		if (ftpFileArr.length > 0) {
			return true;
		}
		return false;
	}

	/**
	 * 下载文件
	 *
	 * @param pathname FTP服务器保存目录 *
	 * @param filename 要删除的文件名称 *
	 * @return
	 */
	public static byte[] downloadFile(String pathname, String filename) {
		try {
			initFtpClient();

			ftpClient.changeWorkingDirectory(pathname);
			FTPFile[] ftpFiles = ftpClient.listFiles();
			for (FTPFile file : ftpFiles) {
				if (filename.equalsIgnoreCase(file.getName())) {
					return IOUtils.toByteArray(ftpClient.retrieveFileStream(file.getName()));
				}
			}
			ftpClient.logout();
			ftpClient.disconnect();
		} catch (Exception e) {
			e.printStackTrace();
		}
		return null;
	}

	/**
	 * 删除文件
	 *
	 * @param pathname FTP服务器保存目录 *
	 * @param filename 要删除的文件名称 *
	 * @return
	 */
	public static boolean deleteFile(String pathname, String filename) {
		try {
			initFtpClient();

			ftpClient.changeWorkingDirectory(pathname);
			ftpClient.dele(filename);
			ftpClient.logout();
			ftpClient.disconnect();
			return true;
		} catch (Exception e) {
			e.printStackTrace();
		}
		return false;
	}


}
然后是controller:
/**
 *
 *@description
 *@auth panmingshuai
 *@time 2018年4月1日上午1:11:27
 *
 */
@Controller
@RequestMapping("test")
public class TestController {

	/**
	 * 上传文件
	 * @param file
	 * @return
	 * @throws IOException
	 */
	@RequestMapping("/upload")
	@ResponseBody
	public ReturnModel upload(MultipartFile file) throws IOException {
		if (file != null) {
			String suffix = file.getOriginalFilename().substring(file.getOriginalFilename().lastIndexOf("."));
			String fileName = UUID.randomUUID().toString() + suffix;
			//指定上传的文件要放到data文件夹下,fileName是存放文件的名字
			FtpKit.uploadFile("data", fileName, file.getInputStream());
			return new ReturnModel(ReturnModel.SUCCESS_CODE, "上传成功");
		}
		return new ReturnModel(ReturnModel.SUCCESS_CODE, "上传失败");
	}

	/**
	 * 下载
	 * @param fileId
	 * @param response
	 * @throws IOException
	 */
	@RequestMapping(value = "/download")
	public void downPhotoByStudentId(String fileId, final HttpServletResponse response) throws IOException{

	    response.reset();
	    response.setHeader("Content-Disposition", "attachment; filename=\"" + fileId + "\"");  //设置文件名
	    response.addHeader("Content-Length", "" + "879394");  //设置文件大小,以B为单位
	    response.setContentType("application/octet-stream;charset=UTF-8");
	    OutputStream outputStream = new BufferedOutputStream(response.getOutputStream());
	    //指明要从哪个文件夹下寻找文件
	    outputStream.write(FtpKit.downloadFile("data", fileId));
	    outputStream.flush();
	    outputStream.close();
	}
}
完毕。