WSL:是Windows Subsystem for Linux,就是Windows下的Linux子系统,比较新版的Win10都可以安装。而且WSL和Windows主系统共享一个文件系统,拷贝文件也非常方便。
1 Windows下的Linux子系统WSL
1.1 安装WSL
(1)启用或关闭Windows功能
首先在搜索栏中搜索并打开“启用或关闭Windows功能”,勾选“适用于Linux的Windows子系统”项。只有开启这项设置才能正常安装WSL。
(2)安装 WSL
下载地址列表【https://www.jianshu.com/p/8a62c020a553】。
如下下载ubuntu18.04。
https://wslstorestorage.blob.core.windows.net/wslblob/Ubuntu_1804.2019.522.0_x64.appx
如下下载ubuntu18.04 arm。
https://wsldownload.azureedge.net/Ubuntu_1804.2018.726.0_ARM.appx
或者通过microsoft store搜索安装

(3)下载完成后直接双击安装即可
安装完成后,在开始菜单中即可找到自己安装的Linux发行版。在这里,每一个Linux发行版都是一个windows 应用。
设置用户名和密码phone/bigdata。
$ sudo passwd root修改密码bigdata。
$ lsb_release -c【Codename:       focal】
$ uname -a
Linux 2SBT3Z2 4.4.0-18362-Microsoft #1049-Microsoft Thu Aug 14 12:01:00 PST 2020 x86_64 x86_64 x86_64 GNU/Linux
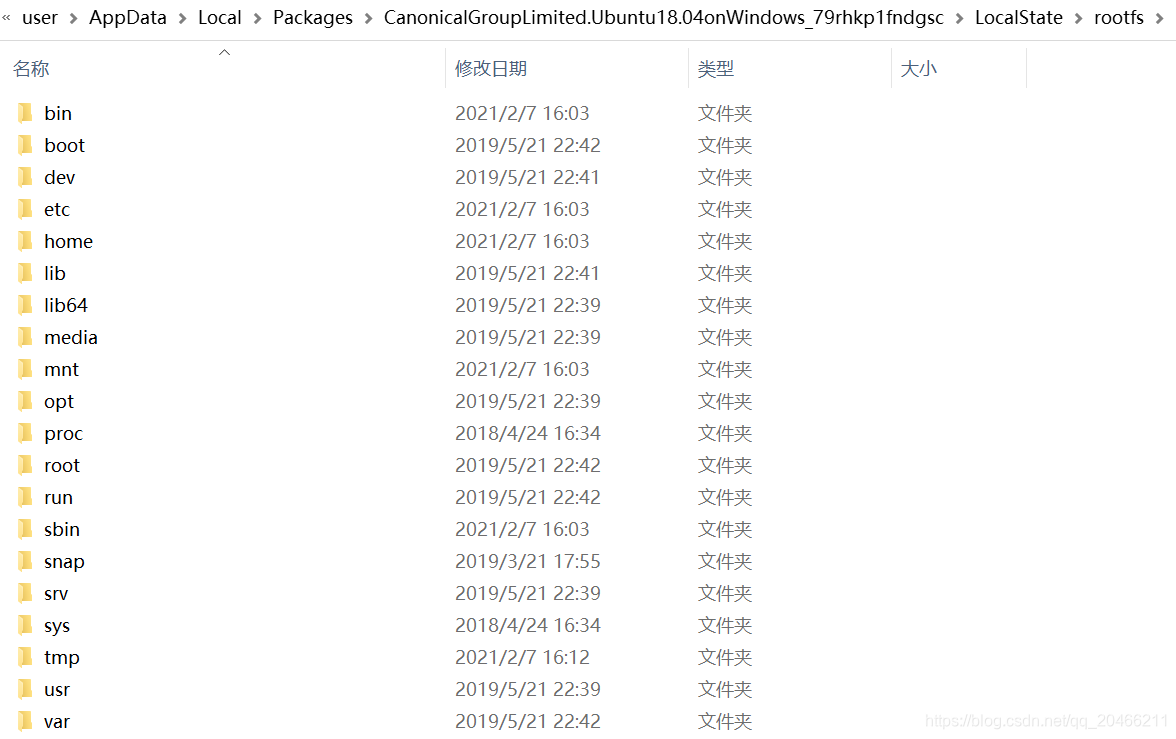
在 Windows 下查看 WSL 文件位置
C:\Users\user\AppData\Local\Packages\CanonicalGroupLimited.Ubuntu20.04onWindows_79rhkp1fndgsc\LocalState\rootfs
 如果想在 Linux 查看其他分区,WSL 将其它盘符挂载在 /mnt 下。
1.2 更新源
(4)更新源
$sudo vim /etc/apt/sources.list
deb http://mirrors.aliyun.com/ubuntu/ focal main restricted universe multiverse
deb-src http://mirrors.aliyun.com/ubuntu/ focal main restricted universe multiverse
deb http://mirrors.aliyun.com/ubuntu/ focal-security main restricted universe multiverse
deb-src http://mirrors.aliyun.com/ubuntu/ focal-security main restricted universe multiverse
deb http://mirrors.aliyun.com/ubuntu/ focal-updates main restricted universe multiverse
deb-src http://mirrors.aliyun.com/ubuntu/ focal-updates main restricted universe multiverse
deb http://mirrors.aliyun.com/ubuntu/ focal-proposed main restricted universe multiverse
deb-src http://mirrors.aliyun.com/ubuntu/ focal-proposed main restricted universe multiverse
deb http://mirrors.aliyun.com/ubuntu/ focal-backports main restricted universe multiverse
deb-src http://mirrors.aliyun.com/ubuntu/ focal-backports main restricted universe multiverse
18.04 bionic
deb http://mirrors.aliyun.com/ubuntu/ bionic main restricted universe multiverse
deb-src http://mirrors.aliyun.com/ubuntu/ bionic main restricted universe multiverse
deb http://mirrors.aliyun.com/ubuntu/ bionic-security main restricted universe multiverse
deb-src http://mirrors.aliyun.com/ubuntu/ bionic-security main restricted universe multiverse
deb http://mirrors.aliyun.com/ubuntu/ bionic-updates main restricted universe multiverse
deb-src http://mirrors.aliyun.com/ubuntu/ bionic-updates main restricted universe multiverse
deb http://mirrors.aliyun.com/ubuntu/ bionic-proposed main restricted universe multiverse
deb-src http://mirrors.aliyun.com/ubuntu/ bionic-proposed main restricted universe multiverse
deb http://mirrors.aliyun.com/ubuntu/ bionic-backports main restricted universe multiverse
deb-src http://mirrors.aliyun.com/ubuntu/ bionic-backports main restricted universe multiverse
python3【3.6.7】
更新和升级
$ sudo apt-get update
$ sudo apt-get upgrade
2 开启root用户登录框
$ sudo passwd root改变root用户密码为bigdata
#gedit /usr/share/lightdm/lightdm.conf.d/50-ubuntu.conf
user-session=ubuntu
greeter-show-manual-login=true
allow-guest=false
注销后可以看到登录框已经显示,可输入用户名
并且关闭了guest用户。

现在用root用户在图形界面登录会显示上述错误,做如下修改:
#gedit /root/.profile
找到mesg n替换为tty -s && mesg n重启即可
