SpringBoot是零配置的,因此只需要做两件事:引入依赖+写入启动类
1.新建Maven Project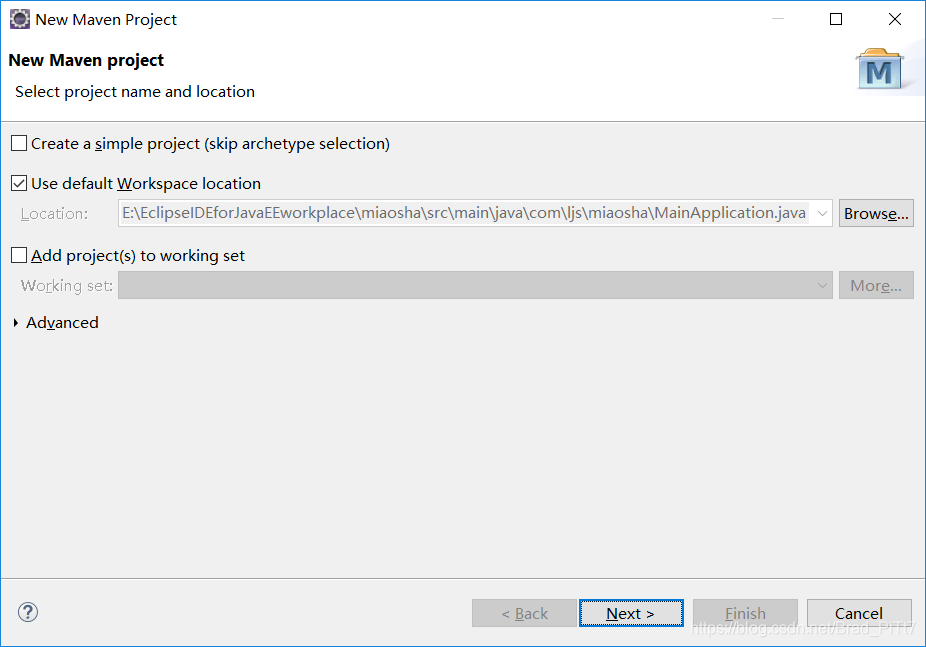
2.选择quickstart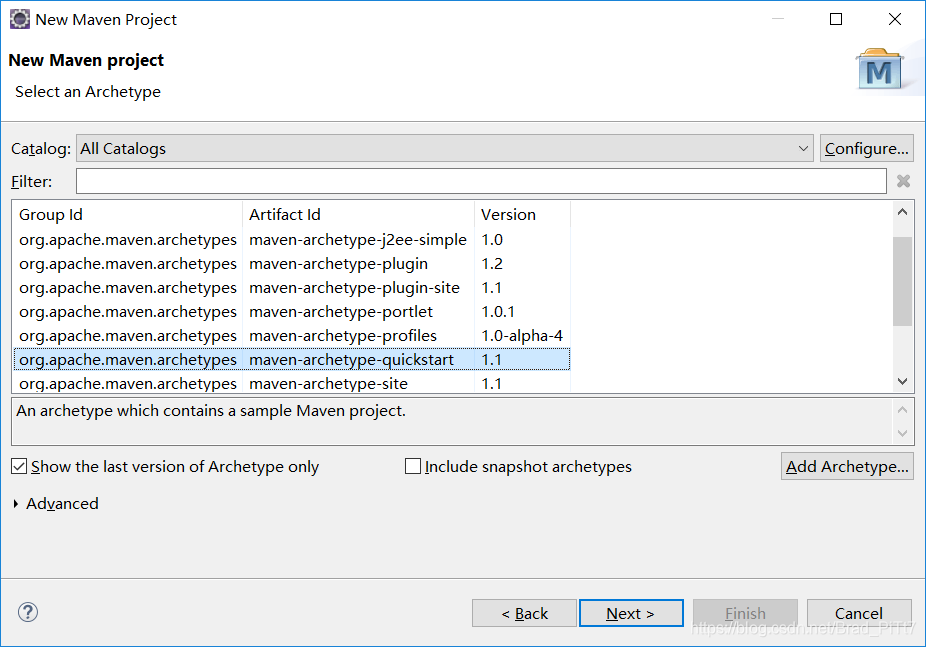
3.打开pom.xml文件,在相应位置添加依赖。
    <parent>
  		<groupId>org.springframework.boot</groupId>
  		<artifactId>spring-boot-starter-parent</artifactId>
  		<version>1.5.9.RELEASE</version>
 	 </parent>

	<dependencies>
 		<dependency>
    		<groupId>org.springframework.boot</groupId>
    		<artifactId>spring-boot-starter-web</artifactId>
    	</dependency>
    </dependencies>
4.新建一个DemoController
	@EnableAutoConfiguration
	@Controller
	public class DemoController {

	@RequestMapping("/")
	@ResponseBody
	public String home() {
		return "hello world";
	}

	public static void main(String[] args) {
		SpringApplication.run(DemoController.class, args);
	}
	}
那么这样就可以测试启动了,访问localhost:8080会响应"hello world"。
但是我们一般开发的时候会单独建一个MainApplication来启动项目。
	@SpringBootApplication
	public class MainApplication {
	public static void main(String[] args) {
		SpringApplication.run(MainApplication.class, args);
	}
	}
改变DemoController 里面的代码,取消注解@EnableAutoConfiguration,拿给MainApplication。
    @Controller
	public class DemoController {
	@RequestMapping("/")
	@ResponseBody
	public String home() {
		return "hello world";
	}
	}
封装数据(Json)
MVC模式Controller类里面一般有两大返回值:
- rest api的json输出
- 页面
一般来说,服务端和客户端要做一个接口的约定。
一般封装的json数据代表意义:
	{
		"code":0      //500100代表库存不足
		"msg":"success"    //代表code对应的相应信息
		"data":"data" 			 //可能是对象,也可能是一个数组
	}
1.新建result包,新建Result结果的封装类。

注意:因为返回的data不知道是什么类型,那么定义一个泛型。
	public class Result<T> {
	private int code;
	private String msg;
	private T data;
	//success
	private Result(T data) {
		this.code=0;
		this.msg="success";
		this.data=data;
	}
	//error
	private Result(CodeMsg cm) {
		if(cm==null) {
			return;
		}

		this.code=cm.getCode();
		this.msg=cm.getMsg();
	}
	//成功
	public static <T> Result<T> success(T data){
		return new Result<T>(data) ;
	}

	// 失败
	public static <T> Result<T> error(CodeMsg sm) {//CodeMsg包含了code和msg
		return new Result<T>(sm);
	}
	public int getCode() {
		return code;
	}
	public void setCode(int code) {
		this.code = code;
	}
	public String getMsg() {
		return msg;
	}
	public void setMsg(String msg) {
		this.msg = msg;
	}
	public T getData() {
		return data;
	}
	public void setData(T data) {
		this.data = data;
	}
新建CodeMsg类,对处理结果成功或者错误的情况做一个CodeMsg的封装。成功的时候,只返回数据。失败的话,那么就返回CodeMsg。(里面包含错误码以及错误信息)
/**
 *
成功的时候,只返回数据。
失败的话,那么就返回CodeMsg。(里面包含错误码以及错误信息)
 *
 */
public class CodeMsg {
	private int code;
	private String msg;
	//通用异常
	public static CodeMsg SUCCESS=new CodeMsg(0,"success");
	public static CodeMsg SERVER_ERROR=new CodeMsg(500100,"服务端异常!");
	public static CodeMsg BIND_ERROR=new CodeMsg(500101,"参数校验异常:%s");
	public static CodeMsg REQUEST_ILLEAGAL=new CodeMsg(500102,"非法请求!");
	public static CodeMsg MIAOSHA_FAIL=new CodeMsg(500103,"秒杀失败!");
	public static CodeMsg ACCESS_LIMIT=new CodeMsg(500104,"达到访问限制次数,访问太频繁!");
	//登录模块异常
	public static CodeMsg SESSION_ERROR=new CodeMsg(500210,"session失效!");
	public static CodeMsg PASSWORD_EMPTY=new CodeMsg(500211,"密码不能为空!");
	public static CodeMsg MOBILE_EMPTY=new CodeMsg(500212,"手机号不能为空!");
	public static CodeMsg MOBILE_ERROR=new CodeMsg(500213,"手机号格式错误!");
	public static CodeMsg MOBILE_NOTEXIST=new CodeMsg(500214,"手机号号码不存在!");
	public static CodeMsg PASSWORD_ERROR=new CodeMsg(500215,"密码错误!");
	//订单模块异常
	public static CodeMsg ORDER_NOT_EXIST=new CodeMsg(500410,"订单不存在!");
	//秒杀模块异常
	public static CodeMsg MIAOSHA_OVER_ERROR=new CodeMsg(500500,"商品秒杀完毕,库存不足!");
	public static CodeMsg REPEATE_MIAOSHA=new CodeMsg(500500,"不能重复秒杀!");
	public CodeMsg(int code,String msg) {
		this.code=code;
		this.msg=msg;
	}
	public int getCode() {
		return code;
	}
	public void setCode(int code) {
		this.code = code;
	}
	public String getMsg() {
		return msg;
	}
	public void setMsg(String msg) {
		this.msg = msg;
	}

	//返回一个带参数的错误码
	public CodeMsg fillArgs(Object...args) {//变参
		int code=this.code;
		//message是填充了参数的message
		String message=String.format(this.msg, args);
		return new CodeMsg(code,message);
	}

	@Override
	public String toString() {
		return "CodeMsg [code=" + code + ", msg=" + msg + "]";
	}

}
Controller里面的代码,使用了封装类之后的返回效果更赏心悦目。注意:@ResponseBody注解,如果返回给前端json数据的时候,需要使用该注解
	@Controller
	@RequestMapping("/demo")//注意!!!加了一个路径
	public class DemoController {
	@RequestMapping("/")
	@ResponseBody
	public String home() {
		return "hello world";
	}
	@RequestMapping("/hello")
	@ResponseBody
	public Result<String> hello() {//0代表成功
		return Result.success("hello sss");
	}
	@RequestMapping("/helloError")
	@ResponseBody
	public Result<String> helloError() {//0代表成功
		return Result.error(CodeMsg.SERVER_ERROR);
	}
	}
@responseBody注解的作用是将controller的方法返回的对象通过适当的转换器转换为指定的格式之后,写入到response对象的body区,通常用来返回JSON数据或者是XML
数据,需要注意的呢,在使用此注解之后不会再走试图处理器,而是直接将数据写入到输入流中,他的效果等同于通过response对象输出指定格式的数据。
   @RequestMapping("/login")
  @ResponseBody
  public User login(User user){
    return user;
  }
User字段:userName pwd 那么在前台接收到的数据为:'{"userName":"xxx","pwd":"xxx"}'
效果等同于如下代码:
  @RequestMapping("/login")
  public void login(User user, HttpServletResponse response){
    response.getWriter.write(JSONObject.fromObject(user).toString());
  }
一般在异步获取数据时使用,在使用@RequestMapping后,返回值通常解析为跳转路径,加上@responsebody后返回结果不会被解析为跳转路径,而是直接写入HTTP responsebody中。比如异步获取json数据,加上@responsebody后,会直接返回json数据。
- 成功显示:

但是我们在开发中一般使用的是@SpringBootApplication,@SpringBootApplication和@EnableAutoConfiguration都可以取启动我们的SpringBoot,它们两个有区别。
补充:@SpringBootApplication注解相当于使用@Configuration,@EnableAutoConfiguration以及@ComponentScan 与他们的默认属性。(@SpringBootApplication = @Configuration + @EnableAutoConfiguration + @ComponentScan)
Thymeleaf
Thymeleaf 是一个跟 Velocity、FreeMarker 类似的模板引擎,它可以完全替代JSP
Thymeleaf 的模板可以静态地运行;当有数据返回到页面时,Thymeleaf 标签会动态地替换掉静态内容,使页面动态显示。
Thymeleaf 开箱即用的特性。它提供标准和spring标准两种方言,可以直接套用模板实现JSTL、 OGNL表达式效果,避免每天套模板、该jstl、改标签的困扰。同时开发人员也可以扩展和创建自定义的方言。Thymeleaf 提供spring标准方言和一个与 SpringMVC 完美集成的可选模块,可以快速的实现表单绑定、属性编辑器、国际化等功能。
集成Thymeleaf
1.引入依赖
	<dependency>
    	<groupId>org.springframework.boot</groupId>
    	<artifactId>spring-boot-starter-thymeleaf</artifactId>
    </dependency>
2.配置文件
SpringBoot会默认找一个叫application.properties的文件。
- 添加Thymeleaf配置项
	#thymeleaf
	spring.thymeleaf.cache=false
	spring.thymeleaf.content-type=text/html
	spring.thymeleaf.enabled=true
	spring.thymeleaf.encoding=UTF-8
	spring.thymeleaf.mode=HTML5
	#拼接前缀与后缀,去创建templates目录,里面放置模板文件
	spring.thymeleaf.prefix=classpath:/templates/
	spring.thymeleaf.suffix=.html
在resources目录下的templates新建hello.html页面
<!DOCTYPE html>
<!-- 使用thymeleaf,配置相应的 -->
<html xmlns:th="http://www.thymeleaf.org">  <!-- th!!! 命名空间使用 -->
<head>
<meta charset="UTF-8"/><!--<meta charset="UTF-8" />  thymeleaf模板引擎默认是Template modes:HTML5解析的,所以解析比较严格。  -->
<title>AA</title>
</head>
<body>
	<p th:text="'hello1:'+${name}"></p>
</body>
</html>
Controller里面进行测试。
	//@responseBody注解的作用是将controller的方法返回的对象通过适当的转换器转换为指定的格式之后,写入到response对象的body区,通常用来返回JSON数据或者是XML
	//数据,需要注意的呢,在使用此注解之后不会再走视图处理器,而是直接将数据写入到输入流中,他的效果等同于通过response对象输出指定格式的数据。
	@RequestMapping("/thymeleaf")	//用thymeleaf返回模板,用String返回!!!
	//@ResponseBody
	//@responsebody表示该方法的返回结果直接写入HTTP response body中。
	public String helloThymeleaf(Model model) {//0代表成功
		model.addAttribute("name", "pitt");
		return "hello";//他会从配置文件里面去找
	}
- 注意:取消@ResponseBody注解