一、redis.conf是什么?
它是redis的核心配置文件,redis服务的启动就是依赖于这个配置文件,这个配置文件里面的内容包括:快照方式,主从复制,安全方面,内存清理策略,持久化aof(rdb),虚拟内存等等,下面来简单介绍一下相关配置。
二、redis.conf详解
映入眼帘的就是bind,它代表本地回环地址。 这样的话,访问redis服务只能通过本机的客户端连接,而无法通过远程连接,如果需要让远程进行访问的话,需要注释掉bind指令,那么任何客户端就都可以进行连接了。只要知道linux服务器的地址就行。
bind 127.0.0.1		#也可以在后面追加地址,那么就代表客户端也可以通过另外一个地址访问redis服务

protected-mode yes		#保护模式

port 6379		#端口

daemonize yes		# 后台运行,默认是no,如果设置为yes,那么一开启linux服务器,就自动开启了redis服务

pidfile /var/run/redis_6379.pid		#如果以后台的方式运行,我们就需要指定一个pid 文件!

# Specify the server verbosity level.
# This can be one of:
# debug (a lot of information, useful for development/testing)
# verbose (many rarely useful info, but not a mess like the debug level)
# notice (moderately verbose, what you want in production probably)
# warning (only very important / critical messages are logged)
loglevel notice  #有四种日志级别,默认是notice

# Specify the log file name. Also the empty string can be used to force
# Redis to log on the standard output. Note that if you use standard
# output for logging but daemonize, logs will be sent to /dev/null
logfile ""   #指定日志文件名,默认在/dev/文件名 中

databases 16  #默认数据库是16个,可以select 0-15 进行切换。

always-show-logo yes		#是否总是显示logo

#持久化,在规定的时间内,执行了多少次操作,则会持久化到文件.rdb. aof,redis是一种数据库,如果发生了意外,比如断电了,那么数据就丢失了,因此才有了持久化的操作。

save 900 1   #在900s内 至少修改了一次key,那么进行保存
save 300 10  #在300s内 至少修改了10次key,那么进行保存
save 60 10000 #在60s内 至少修改了10000key,那么进行保存

stop-writes-on-bgsave-error yes		#持久化出错后,是否需要继续工作

rdbcompression yes		#是否压缩rdb文件,需要消耗一些cpu资源

rdbchecksum yes			#保存rdb文件的时候,进行错误的检查校验!

# Note that you must specify a directory here, not a file name.
dir ./			#rdb文件保存的目录
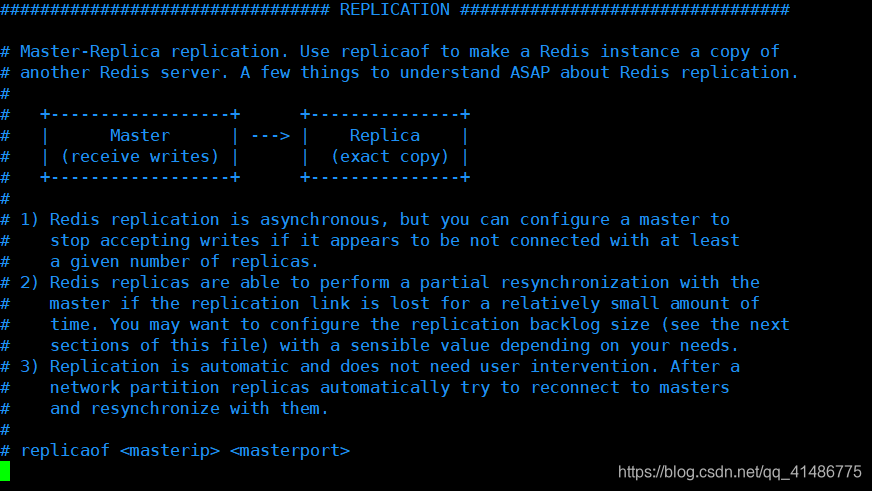
主从复制模块
安全模块
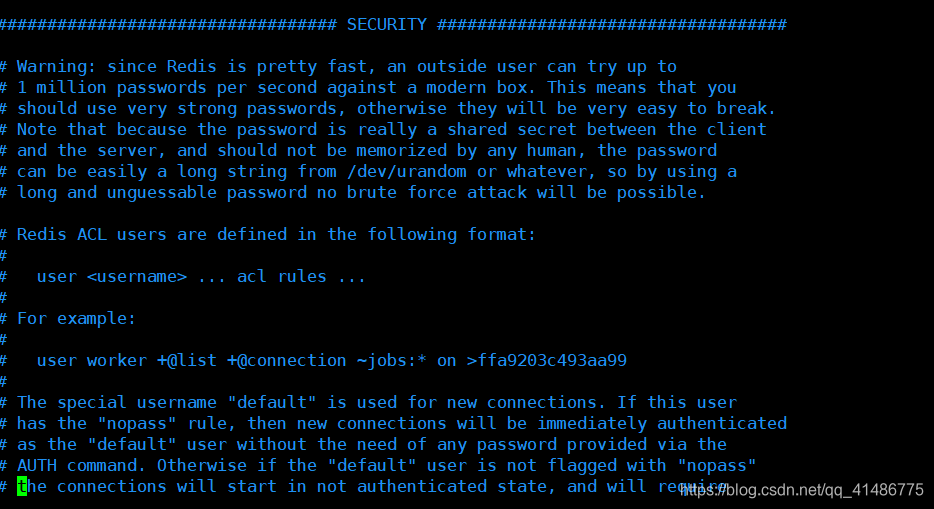
requirepass  123456 		#设置密码,默认无密码。
maxclients 10000  #最大客户端连接数10000,默认是关闭的(开启了注释)
maxmemory <bytes> #设置最大的redis内存容量

#redis八种处理策略
# volatile-lru -> Evict using approximated LRU, only keys with an expire set.
# allkeys-lru -> Evict any key using approximated LRU.
# volatile-lfu -> Evict using approximated LFU, only keys with an expire set.
# allkeys-lfu -> Evict any key using approximated LFU.
# volatile-random -> Remove a random key having an expire set.
# allkeys-random -> Remove a random key, any key.
# volatile-ttl -> Remove the key with the nearest expire time (minor TTL)
# noeviction -> Don't evict anything, just return an error on write operations.
maxmemory-policy noeviction  #redis内存达到最大后的处理策略

appendonly no   #aof模式默认关闭,这是一种持久化的方式,redis默认采用rdb方式持久化

appendfilename "appendonly.aof"			#持久化的文件的名字

# appendfsync always   #每个写操作都保存到aof文件中
appendfsync everysec   #每秒持久化一次,把数据保存到aof文件当中
# appendfsync no       #不进行保存

no-appendfsync-on-rewrite no # 默认不重写aof文件

# 保存目录
dir ~/redis/
dbfilename dump.rdb  #rdb持久化保存的文件名称
#rdb方式持久化,每900秒内有至少一次的更新key,那么持久化,其他类似
save 900 1
save 300 10
save 60 10000
#触发场景:save规则触发,执行flushall命令触发,退出redis也会触发rdb持久化。

dir ./  #工作目录(当前目录,默认在/usr/local/bin下)
三、总结
再谈谈rdb和aof持久化的区别和优缺点。
rdb是redis的默认的持久化的方式,而aof需要自己手动在配置文件中开启,它类似于一种日志追加的机制,会把每一次的关于redis的写的操作命令保存到aof文件当中,那么当下一次开启redis服务器的时候,会把aof文件里面的命令重新执行一遍,以达到恢复数据的目的。
aof
优点:
AOF只是追加日志文件,因此对服务器性能影响较小,速度比RDB要快,消耗的内存较少。
缺点- 恢复起来比rdb慢,因为aof文件本身比较大
rdb
优点:
- 恢复速度快,文件体积比较小
缺点:
- 可能会丢失数据
fork进程的时候 ,会占用一定的内容空间! !
简单介绍了一下redis.conf中的一些配置,希望对大家有帮助,也是对自己的知识的巩固的过程,如果有什么错误,欢迎大家指点。