三、Spring Cloud的配置 之 服务提供者 配置
1、创建
首先我们在Java12SpringCloud下,创建个springboot 名字叫server-hello

2、服务的提供者的相关配置
2.1 pom依赖配置
首先需要继承父工程server-parent的依赖把图上所圈的放入server-hello中的pom文件下《parent》的标签里

这里我们把src下的test文件删除,把绿色的部分删除,为了更方便观看

2.2 pom依赖的导入
   <dependencies>
        <!--引入web服务器-->
        <dependency>
            <groupId>org.springframework.boot</groupId>
            <artifactId>spring-boot-starter-web-services</artifactId>
        </dependency>
        <!--引入eureka-client启动器-->
        <dependency>
            <groupId>org.springframework.cloud</groupId>
            <artifactId>spring-cloud-starter-netflix-eureka-client</artifactId>
        </dependency>
    </dependencies>
如图

2.3 配置文件的引入
我们首先找到application.properties 这里我们我们选择的是 .poriperties
#端口,会启动很多服务,但是端口不能一样
server.port=8123
#应用在服务注册中心的名字,服务之间相互调用就是使用这个名字实现的
spring.application.name=server-hello
#服务对外暴露的http地址,这个配置是其他的服务要调用时使用的地址
#比如你开发了一个A服务,需要将A服务放到服务注册中心,你就需要使用该配置
eureka.client.service-url.defaultZone=http://localhost:8000/eureka/

2.4 创建Controller类
2.4.1 创建文件夹
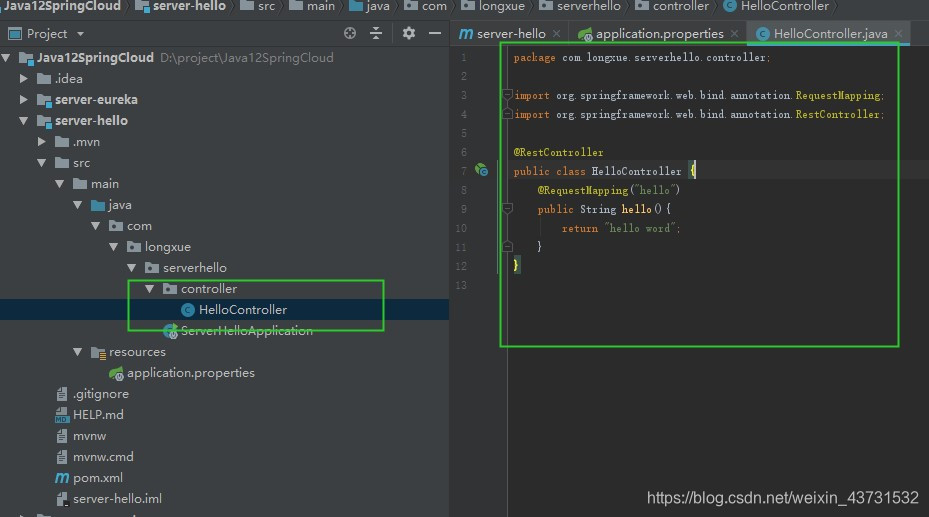
首先创建个文件夹名为 controller

2.4.2 创建HelloController类
import org.springframework.web.bind.annotation.RequestMapping;
import org.springframework.web.bind.annotation.RestController;

@RestController
public class HelloController {


    @RequestMapping("hello")
    public String hello(){


        return "hello word";
    }
}
2.5 主类上添加注解
在springCloud D版本之后这个注解可以不写的,会自动添加注解,这里我们先写上
@EnableEurekaClient

3、测试
3.1 首先启动服务注册中心(server-eurg.springframework.web.bind.annotation.RequestMapping;
import org.springframework.web.bind.annotation.RestController;@RestControllerpublic class HelloController { @RequestMapping(“hello”) public String hello(){ return “hello word”; }}### 2.5 主类上添加注解在springCloud D版本之后这个注解可以不写的,会自动添加注解,这里我们先写上java@EnableEurekaClient```
3、测试
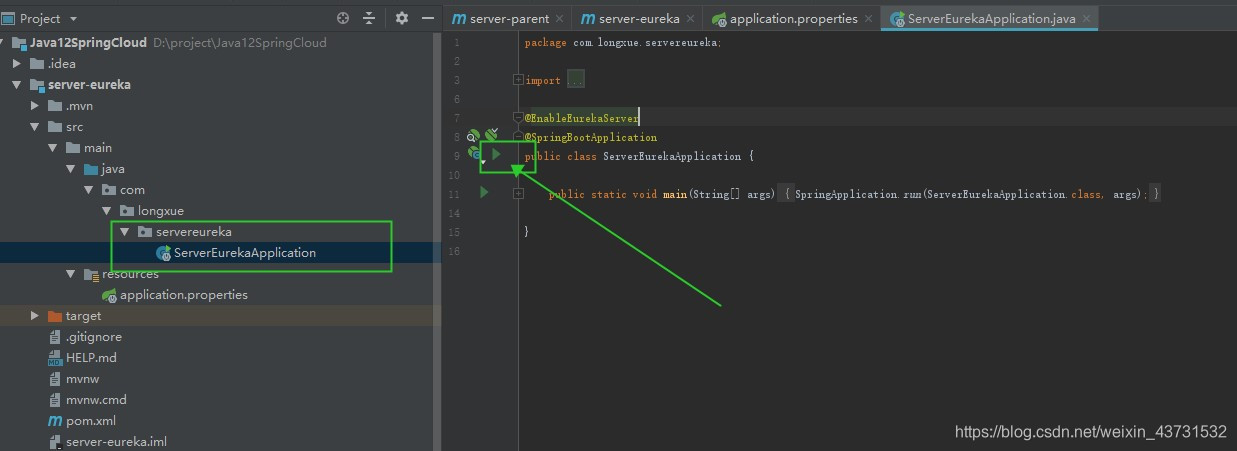
3.1 首先启动服务注册中心(server-eureka)
3.2 在启动server-hello服务

3.3 在在浏览器输入url地址来看看hello是否进来
http://localhost:8000/

3.4 运行端口看看hello是否能够显示
http://localhost:8123/hello
