为图像处理初学者设计的 100 个问题 问题二十一至问题三十
问题二十一至问题三十
关于直方图的几个操作的中文翻译一直都十分混乱(成龙抓头.jpg)。下面是我查了资料做的一个对照表。我自己也不是很确定,仅供参考:
中文 English 日本語 具体作用 直方图匹配(规定化) Histogram Matching ( Specification ) ヒストグラムマッチング 将两张图像的累积分布函数调为一样 直方图均衡化 Histogram Equalization ヒストグラム均等化(平坦化) 拉开灰度差别,增强对比度 直方图归一化 Histogram Normalization ヒストグラム正規化 将直方图所有分量限制在一定范围
问题二十一:直方图归一化( Histogram Normalization )
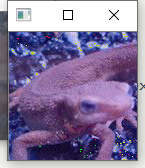
来归一化直方图吧。
有时直方图会偏向一边。
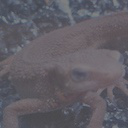
比如说,数据集中在 0 0 0处(左侧)的图像全体会偏暗,数据集中在 255 255 255处(右侧)的图像会偏亮。
如果直方图有所偏向,那么其**动态范围( dynamic range )**就会较低。
为了使人能更清楚地看见图片,让直方图归一化、平坦化是十分必要的。
这种归一化直方图的操作被称作灰度变换(Grayscale Transformation)。像素点取值范围从 [ c , d ] [c,d] [c,d]转换到 [ a , b ] [a,b] [a,b]的过程由下式定义。这回我们将imori_dark.jpg的灰度扩展到 [ 0 , 255 ] [0, 255] [0,255]范围:
x o u t = { a ( if x i n < c ) b − a d − c ( x i n − c ) + a ( else if c ≤ x i n < d ) b ( else ) x_{out}= \begin{cases} a& (\text{if}\quad x_{in}<c)\\ \frac{b-a}{d-c}\ (x_{in}-c)+a&(\text{else if}\quad c\leq x_{in}<d)\\ b&(\text{else}) \end{cases} xout=⎩⎪⎨⎪⎧ad−cb−a (xin−c)+ab(ifxin<c)(else ifc≤xin<d)(else)
Answer
void HistogramNormalization(Mat& src,int start=0,int end=255) {


	if (!src.data) return;
	Mat chs[3];
	split(src, chs);
	double maxItem[3], minItem[3];
	for(int i=0;i<3;i++)
		minMaxLoc(chs[i],&minItem[i],&maxItem[i],0,0);
	src.forEach<Vec3b>([&](Vec3b& pix, const int *position) {


		int channal = src.channels();
		for (int c = 0; c < channal; c++) {


			if (pix[c]<minItem[c]) pix[c]=start;
			else if(pix[c] > maxItem[c]) pix[c] = end;
			else pix[c] = ((end - start) / (maxItem[c] - minItem[c])*pix[c] + start);
		}
	});
}
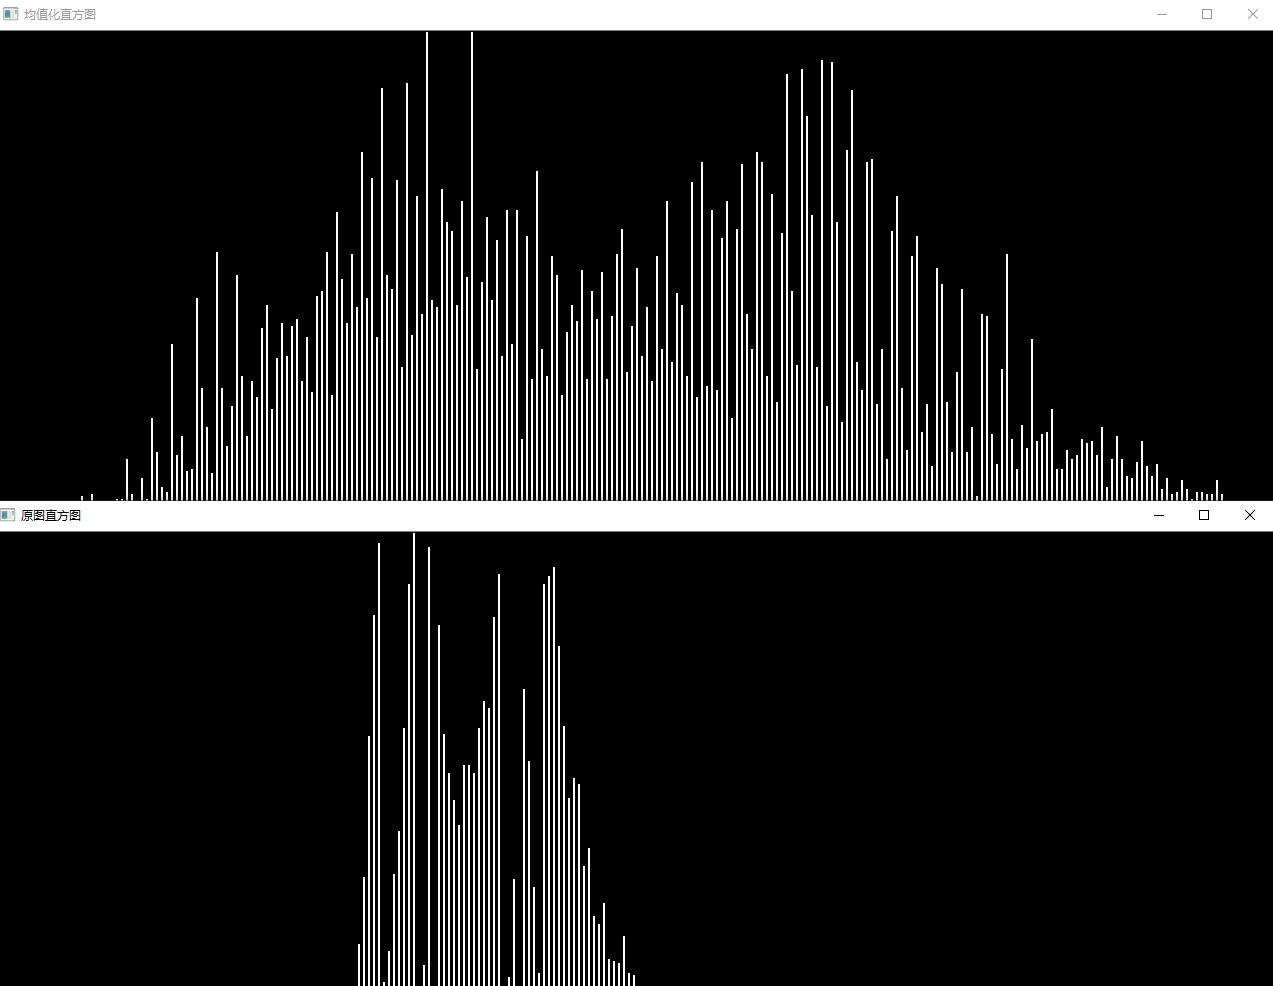
Show
以及两个直方图比较

Note
- 在一个Mat中寻找最大值最小值可以使用
minMaxLoc()
问题二十二:直方图操作
让直方图的平均值 m 0 = 128 m_0=128 m0=128,标准差 s 0 = 52 s_0=52 s0=52吧!
这里并不是变更直方图的动态范围,而是让直方图变得平坦。
可以使用下式将平均值为 m m m标准差为 s s s的直方图变成平均值为 m 0 m_0 m0标准差为 s 0 s_0 s0的直方图:
x o u t = s 0 s ( x i n − m ) + m 0 x_{out}=\frac{s_0}{s}\ (x_{in}-m)+m_0 xout=ss0 (xin−m)+m0
Answer
void modifyMeanAndStandardDeviation(Mat& src,double mean, double sigma) {


	Mat chs[3];
	split(src, chs);
	Mat meanItem[3], devItem[3];
	for (int i = 0; i < 3; i++)
		meanStdDev(chs[i], meanItem[i], devItem[i]);
	src.forEach<Vec3b>([&](Vec3b& pix, const int *position) {


		int channal = src.channels();
		for (int c = 0; c < channal; c++) {


			pix[c] = (sigma / devItem[c].at<double>(0, 0))*(pix[c] - meanItem[c].at<double>(0, 0)) + mean;
		}
	});
}
Show

Note
求Mat的均值可以使用如下代码求
Mat mean,dev;
meanStdDev(src,mean,dev);
meam.at<double>(0,0);//均值
dev.at<double>(0,0);//标准差
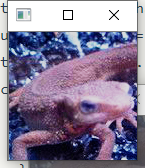
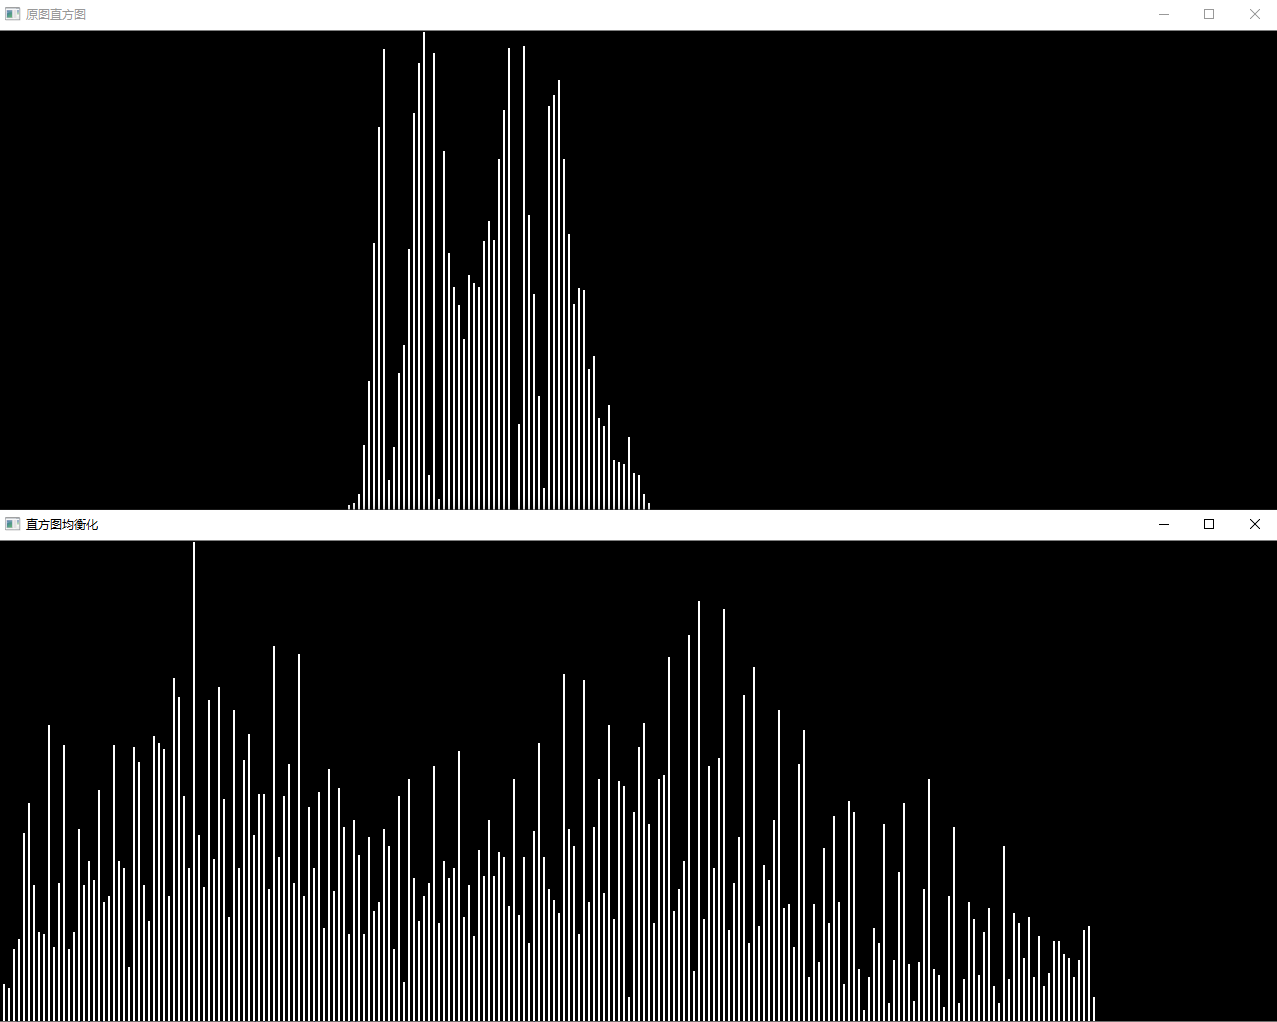
问题二十三:直方图均衡化( Histogram Equalization )
来让均匀化直方图吧!
直方图均衡化是使直方图变得平坦的操作,是不需要计算上面的问题中的平均值、标准差等数据使直方图的值变得均衡的操作。
均衡化操作由以下式子定义。 S S S是总的像素数; Z m a x Z_{max} Zmax是像素点的最大取值(在这里是 255 255 255); h ( z ) h(z) h(z)表示取值为 z z z的累积分布函数:
Z ′ = Z m a x S ∑ i = 0 z h ( i ) Z' = \frac{Z_{max}}{S} \ \sum\limits_{i=0}^z\ h(i) Z′=SZmax i=0∑z h(i)
Answer
void HistogramEqualization(Mat& src, uchar maxValue = 255) {


	int gross = src.channels()*src.cols*src.rows;
	double hist[255] = {

     0.0 };
	int channal = src.channels();
	src.forEach<Vec3b>([&](Vec3b& pix, const int* position) {


		for (int c = 0; c < channal; c++){


			hist[pix[c]] += 1;
		}
	});
	src.forEach<Vec3b>([&](Vec3b& pix, const int * position) {


		for (int c = 0; c < channal; c++) {


			int cur_vaule = pix[c];
			int hist_sum = 0;
			for (int i = 0; i < cur_vaule; i++) hist_sum += hist[i];
			pix[c] = (int)((float)maxValue *(float)hist_sum / (float)gross);
		}
	});
}
Show
Note
- ∑ i = 0 z h ( i ) \sum\limits_{i=0}^z\ h(i) i=0∑z h(i)可以提前在循环外面计算好,通过查表的方式得到结果可以有效提升计算速度
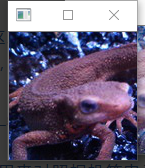
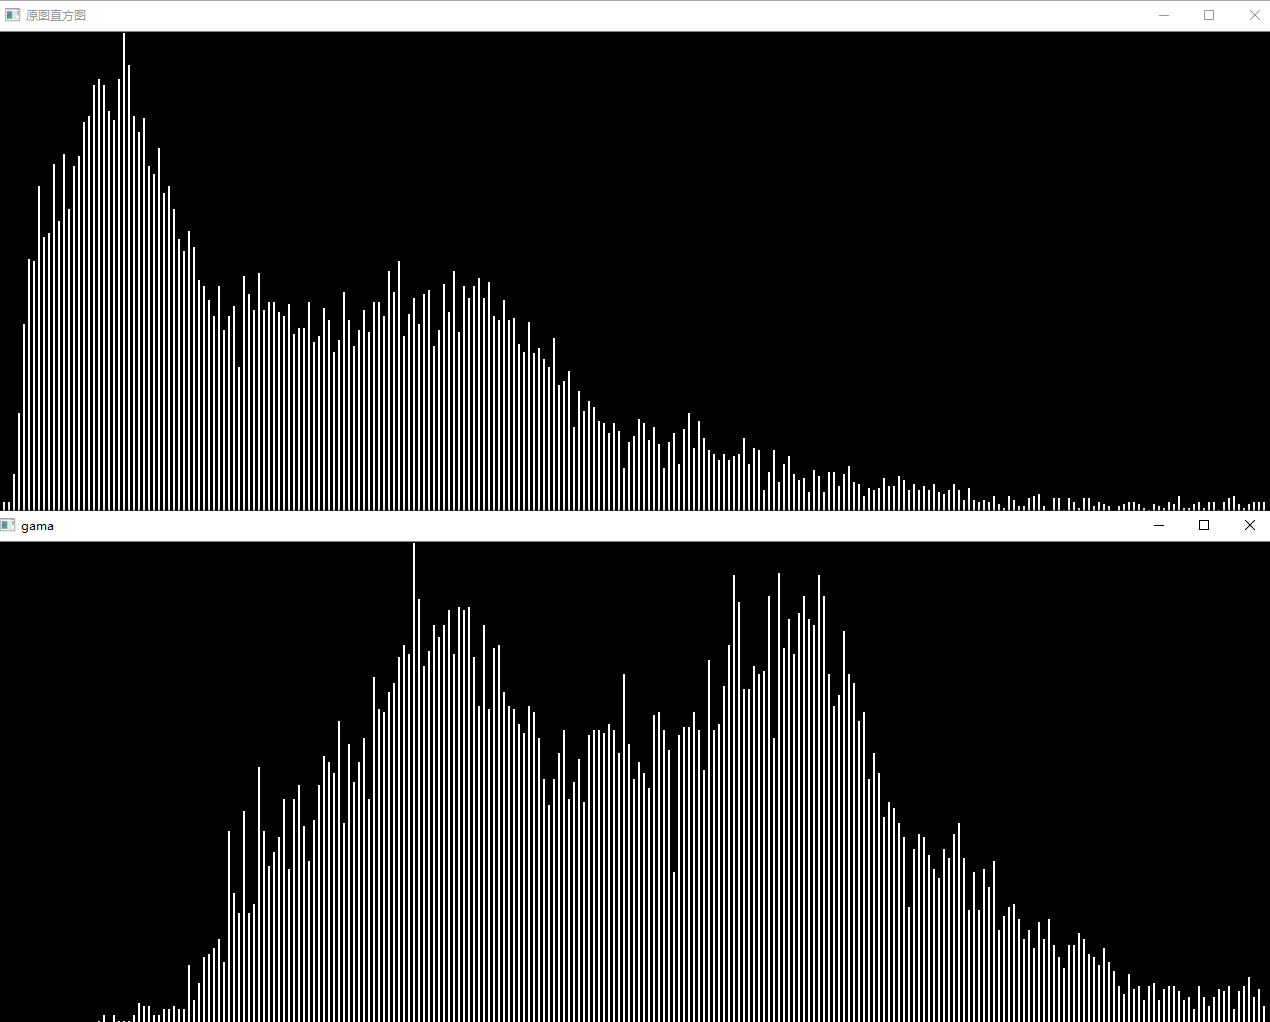
问题二十四:伽玛校正(Gamma Correction)1
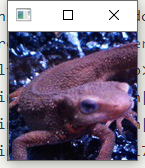
对imori_gamma.jpg进行伽马校正( c = 1 c=1 c=1, g = 2.2 g=2.2 g=2.2)吧!
伽马校正用来对照相机等电子设备传感器的非线性光电转换特性进行校正。如果图像原样显示在显示器等上,画面就会显得很暗。伽马校正通过预先增大 RGB 的值来排除显示器的影响,达到对图像修正的目的。
由于下式引起非线性变换,在该式中, x x x被归一化,限定在 [ 0 , 1 ] [0,1] [0,1]范围内。 c c c是常数, g g g为伽马变量(通常取 2.2 2.2 2.2):
x ′ = c I i n g x' = c\ {I_{in}}^ g x′=c Iing
因此,使用下面的式子进行伽马校正:
I o u t = 1 c I i n 1 g I_{out} ={\frac{1}{c}\ I_{in}} ^ {\frac{1}{g}} Iout=c1 Iing1
Principle
- Why
人眼对外界光源的感光值与输入光强不是呈线性关系的,而是呈指数型关系的。在低照度下,人眼更容易分辨出亮度的变化,随着照度的增加,人眼不易分辨出亮度的变化。
而摄像机感光与输入光强呈线性关系。 - How
假设图像中有一个像素,值是 200 ,那么对这个像素进行校正必须执行如下步骤:
1. 归一化 :将像素值转换为 0 ~ 1 之间的实数。 算法如下 : ( i + 0. 5)/256 这里包含 1 个除法和 1 个加法操作。对于像素 A 而言 , 其对应的归一化值为 0. 783203 。
2. 预补偿 :根据公式 , 求出像素归一化后的 数据以 1 /gamma 为指数的对应值。这一步包含一个 求指数运算。若 gamma 值为 2. 2 , 则 1 /gamma 为 0. 454545 , 对归一化后的 A 值进行预补偿的结果就 是 0. 783203 ^0. 454545 = 0. 894872 。
3. 反归一化 :将经过预补偿的实数值反变换为 0 ~ 255 之间的整数值。具体算法为 : f*256 - 0. 5 此步骤包含一个乘法和一个减法运算。续前 例 , 将 A 的预补偿结果 0. 894872 代入上式 , 得到 A 预补偿后对应的像素值为 228 , 这个 228 就是最后送 入显示器的数据。
Answer
void GammaCorrection(Mat& src, int coefficient = 1, double gama = 2.2) {


	int channel = src.channels();

	double normalizationMap[256];//通过查表的方式归一化
	for (int i = 0; i < 256; i++) {


		normalizationMap[i] = (i + 0.5) / 256;
	}

	//补偿
	src.forEach<Vec3b>([&](Vec3b& pix, const int * position) {


		for (int c = 0; c < channel; c++) {


			double after_normal = normalizationMap[pix[c]];//归一化结果
			double effect = coefficient*pow(after_normal, 1/gama);
			pix[c] = (uchar)(effect * 256 - 0.5);
		}
	});

}
Show

问题二十五:最邻近插值( Nearest-neighbor Interpolation )
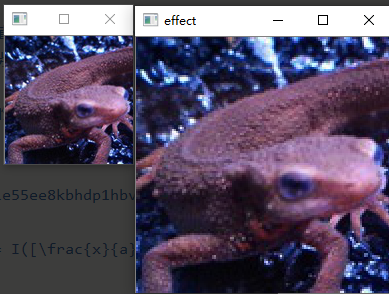
使用最邻近插值将图像放大 1.5 1.5 1.5倍吧!
最近邻插值在图像放大时补充的像素取最临近的像素的值。由于方法简单,所以处理速度很快,但是放大图像画质劣化明显。
使用下面的公式放大图像吧! I ′ I' I′为放大后图像, I I I为放大前图像, a a a为放大率,方括号是四舍五入取整操作:

I ′ ( x , y ) = I ( [ x a ] , [ y a ] ) I'(x,y) = I([\frac{x}{a}], [\frac{y}{a}]) I′(x,y)=I([ax],[ay])
Answer
//最邻近插值的方法放大图像
void Nearest_neighborInterpolation(Mat&src, double times) {


	Mat result = Mat::zeros(src.rows*times, src.cols*times, CV_8UC3);
	result.forEach<Vec3b>([&](Vec3b& pix, const int * position) {


		int x = position[0];
		int y = position[1];
		int target_x = (double)x / (times);
		int target_y = (double)y / (times);
		for (int c = 0; c < 3; c++) {


			pix[c] = src.at<Vec3b>(target_x, target_y)[c];
		}
	});
	src=result;
}
Show
Note
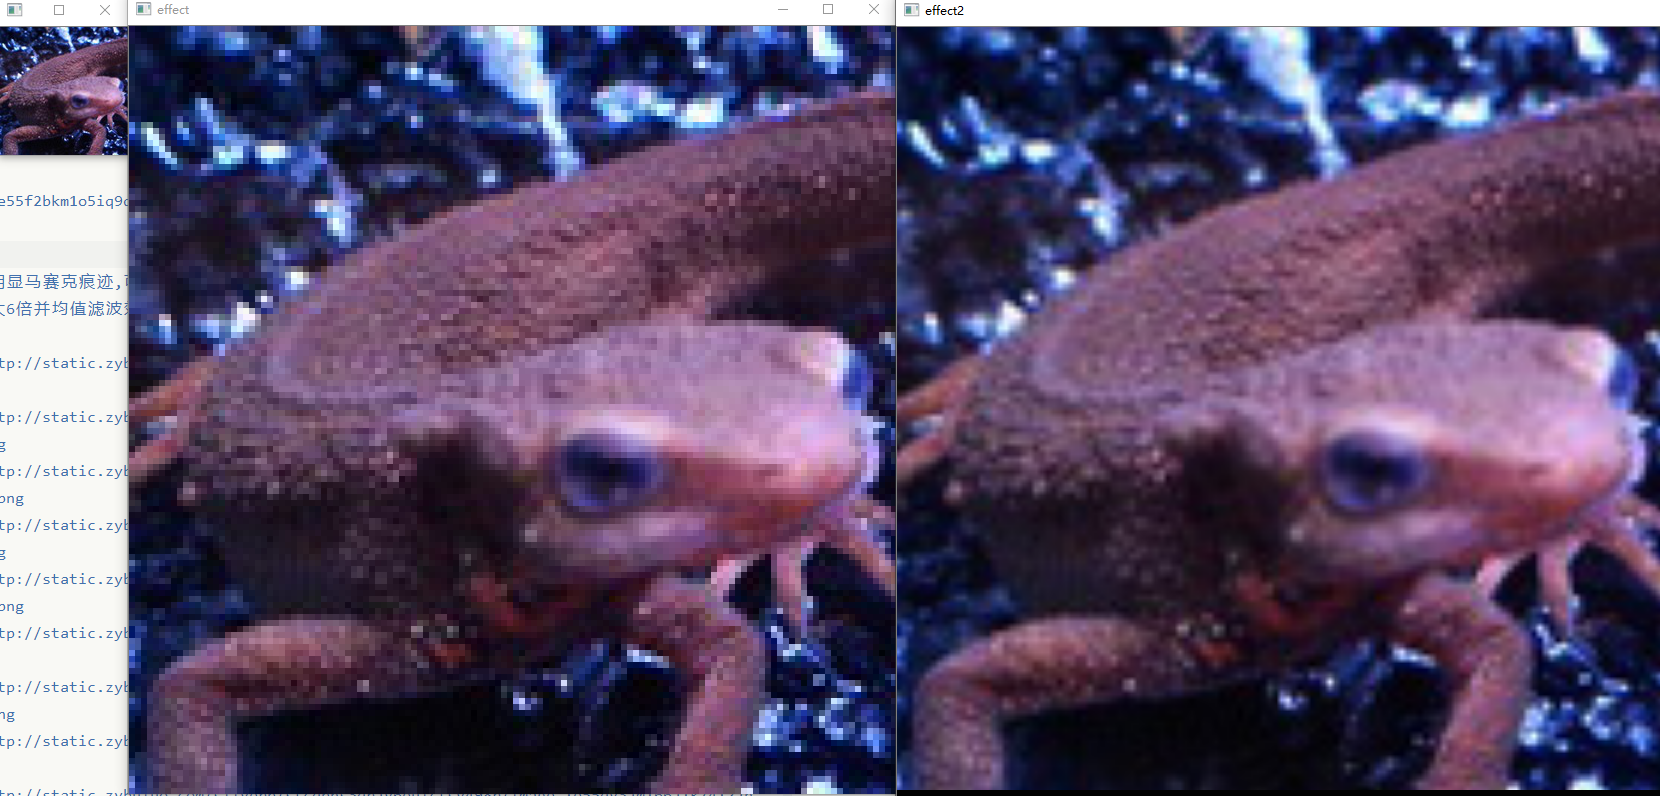
放大后有明显马赛克痕迹,可以尝试加入之前习题中的滤波器
以下为放大6倍并均值滤波效果
问题二十六:双线性插值( Bilinear Interpolation )
使用双线性插值将图像放大 1.5 1.5 1.5倍吧!
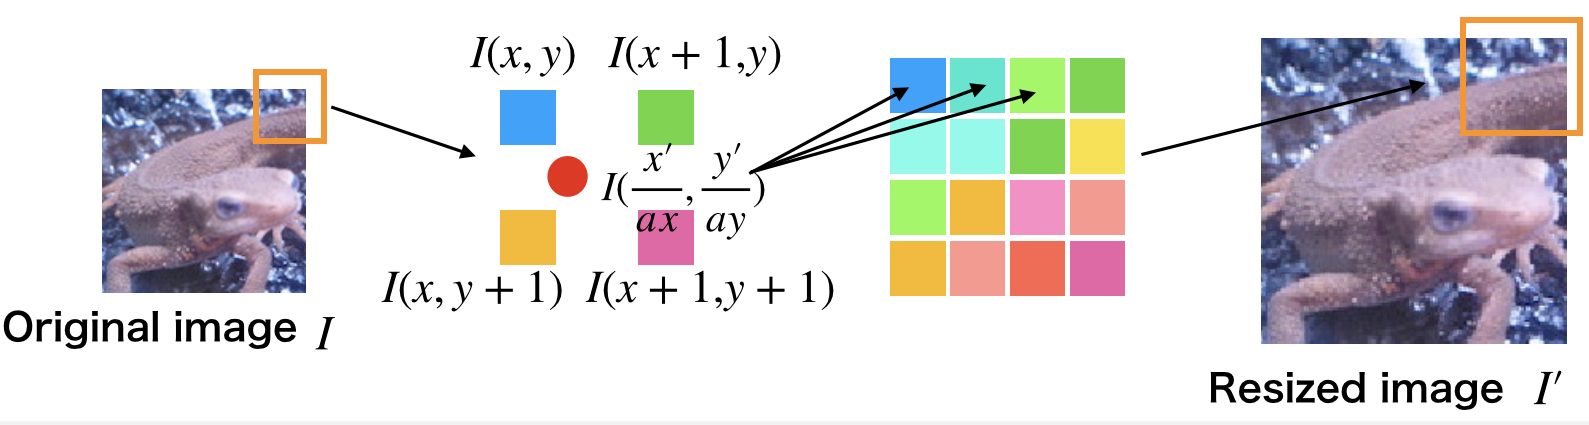
双线性插值考察 4 4 4邻域的像素点,并根据距离设置权值。虽然计算量增大使得处理时间变长,但是可以有效抑制画质劣化。
-
放大后图像的座标 ( x ′ , y ′ ) (x',y') (x′,y′)除以放大率 a a a,可以得到对应原图像的座标 ( ⌊ x ′ a ⌋ , ⌊ y ′ a ⌋ ) (\lfloor \frac{x'}{a}\rfloor , \lfloor \frac{y'}{a}\rfloor) (⌊ax′⌋,⌊ay′⌋)。
-
求原图像的座标 ( ⌊ x ′ a ⌋ , ⌊ y ′ a ⌋ ) (\lfloor \frac{x'}{a}\rfloor , \lfloor \frac{y'}{a}\rfloor) (⌊ax′⌋,⌊ay′⌋)周围 4 4 4邻域的座标 I ( x , y ) I(x,y) I(x,y), I ( x + 1 , y ) I(x+1,y) I(x+1,y), I ( x , y + 1 ) I(x,y+1) I(x,y+1), I ( x + 1 , y + 1 ) I(x+1, y+1) I(x+1,y+1):
-
分别求这4个点与 ( x ′ a , y ′ a ) (\frac{x'}{a}, \frac{y'}{a}) (ax′,ay′)的距离,根据距离设置权重: w = d ∑ d w = \frac{d}{\sum\ d} w=∑ dd
-
根据下式求得放大后图像 ( x ′ , y ′ ) (x',y') (x′,y′)处的像素值:
d x = x ′ a − x d y = y ′ a − y I ′ ( x ′ , y ′ ) = ( 1 − d x ) ( 1 − d y ) I ( x , y ) + d x ( 1 − d y ) I ( x + 1 , y ) + ( 1 − d x ) d y I ( x , y + 1 ) + d x d y I ( x + 1 , y + 1 ) d_x = \frac{x'}{a} - x\\ d_y = \frac{y'}{a} - y\\ I'(x',y') = (1-d_x)\ (1-d_y)\ I(x,y) + d_x\ (1-d_y)\ I(x+1,y) + (1-d_x)\ d_y\ I(x,y+1) + d_x\ d_y\ I(x+1,y+1) dx=ax′−xdy=ay′−yI′(x′,y′)=(1−dx) (1−dy) I(x,y)+dx (1−dy) I(x+1,y)+(1−dx) dy I(x,y+1)+dx dy I(x+1,y+1)
Answer
//双线性差值
void BilinearInterpolation(Mat& src, double times) {


	Mat result = Mat::zeros(src.rows*times, src.cols*times, CV_8UC3);
	result.forEach<Vec3b>([&](Vec3b& pix, const int * position) {


		int x = position[0];
		int y = position[1];
		int y_before = (float)y / times;
		y_before = std::min(y_before, src.cols - 1);
		int x_before = (float)x / times;
		x_before = std::min(x_before, src.rows-1);
		double dx = x / times - x_before;
		double dy = y / times - y_before;
		for (int c = 0; c < 3; c++) {


			double val = (1 - dx)*(1 - dy)*src.at<Vec3b>(x_before, y_before)[c] +
				dx * (1 - dy)*src.at<Vec3b>(x_before + 1, y_before)[c] +
				(1 - dx)*(dy)*src.at<Vec3b>(x_before, y_before + 1)[c] +
				dx * dy*src.at<Vec3b>(x_before + 1, y_before + 1)[c];
			pix[c] = (uchar)val;
		}
	});
	src = result;
}
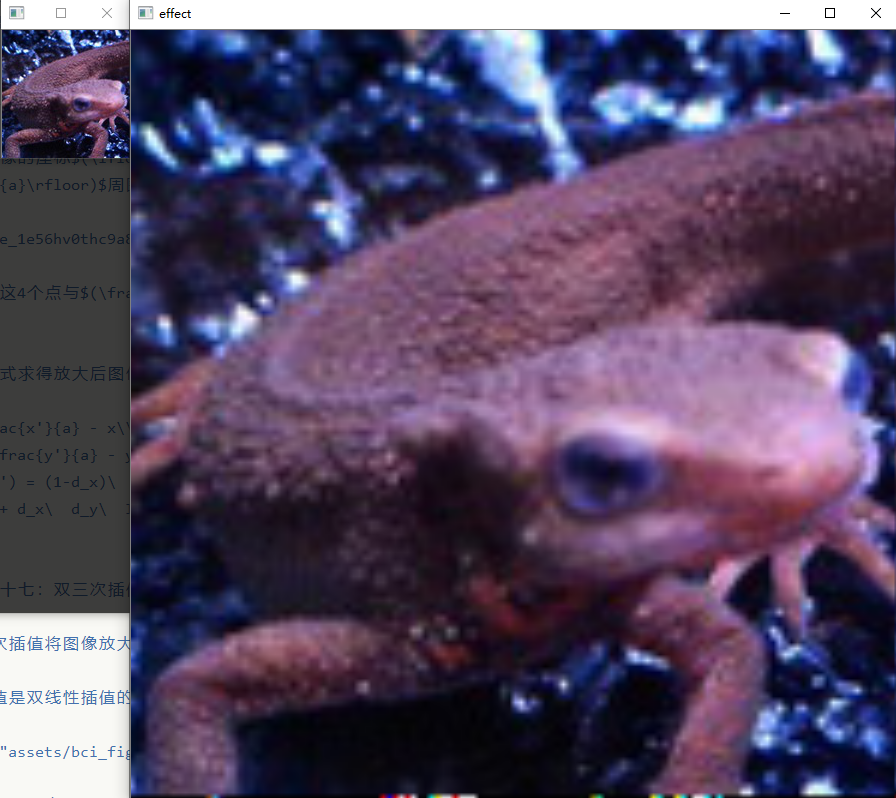
Show
这里是放大了6倍
问题二十七:双三次插值( Bicubic Interpolation )
使用双三次插值将图像放大 1.5 1.5 1.5倍吧!
双三次插值是双线性插值的扩展,使用邻域 16 16 16像素进行插值。
各自像素间的距离由下式决定:
KaTeX parse error: No such environment: align* at position 8: \begin{̲a̲l̲i̲g̲n̲*̲}̲ d_{x_1} = |\fr…
权重由基于距离的函数取得。 a a a在大部分时候取 − 1 -1 −1。大体上说,图中蓝色像素的距离 ∣ t ∣ ≤ 1 |t|\leq 1 ∣t∣≤1,绿色像素的距离 1 < ∣ t ∣ ≤ 2 1<|t|\leq 2 1<∣t∣≤2:
h ( t ) = { ( a + 2 ) ∣ t ∣ 3 − ( a + 3 ) ∣ t ∣ 2 + 1 when ∣ t ∣ ≤ 1 a ∣ t ∣ 3 − 5 a ∣ t ∣ 2 + 8 a ∣ t ∣ − 4 a when 1 < ∣ t ∣ ≤ 2 0 else h(t)= \begin{cases} (a+2)\ |t|^3 - (a+3)\ |t|^2 + 1 &\text{when}\quad |t|\leq 1 \\ a\ |t|^3 - 5\ a\ |t|^2 + 8\ a\ |t| - 4\ a&\text{when}\quad 1<|t|\leq 2\\ 0&\text{else} \end{cases} h(t)=⎩⎪⎨⎪⎧(a+2) ∣t∣3−(a+3) ∣t∣2+1a ∣t∣3−5 a ∣t∣2+8 a ∣t∣−4 a0when∣t∣≤1when1<∣t∣≤2else
利用上面得到的权重,通过下面的式子扩大图像。将每个像素与权重的乘积之和除以权重的和。
I ′ ( x ′ , y ′ ) = 1 ∑ j = 1 4 ∑ i = 1 4 h ( d x i ) h ( d y j ) ∑ j = 1 4 ∑ i = 1 4 I ( x + i − 2 , y + j − 2 ) h ( d x i ) h ( d y j ) I'(x', y')=\frac{1}{\sum\limits_{j=1}^4\ \sum\limits_{i=1}^4\ h(d_{xi})\ h(d_{yj})}\ \sum\limits_{j=1}^4\ \sum\limits_{i=1}^4\ I(x+i-2,y+j-2)\ h(d_{xi})\ h(d_{yj}) I′(x′,y′)=j=1∑4 i=1∑4 h(dxi) h(dyj)1 j=1∑4 i=1∑4 I(x+i−2,y+j−2) h(dxi) h(dyj)
问题二十八:仿射变换( Afine Transformations )——平行移动
以下公式中有些矩阵乘法左右是反的,原文中便是如此,这里未做更改,无法相乘的部分需要大家自己做纠正.
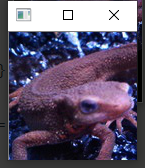
利用仿射变换让图像在 x x x方向上 + 30 +30 +30,在 y y y方向上 − 30 -30 −30吧!
仿射变换利用 3 × 3 3\times3 3×3的矩阵来进行图像变换。
变换的方式有平行移动(问题二十八)、放大缩小(问题二十九)、旋转(问题三十)、倾斜(问题三十一)等。
原图像记为 ( x , y ) (x,y) (x,y),变换后的图像记为 ( x ′ , y ′ ) (x',y') (x′,y′)。
图像放大缩小矩阵为下式:
( x ′ y ′ ) = ( a b c d ) ( x y ) \left( \begin{matrix} x'\\ y' \end{matrix} \right)= \left( \begin{matrix} a&b\\ c&d \end{matrix} \right)\ \left( \begin{matrix} x\\ y \end{matrix} \right) (x′y′)=(acbd) (xy)
另一方面,平行移动按照下面的式子计算:
( x ′ y ′ ) = ( x y ) + ( t x t y ) \left( \begin{matrix} x'\\ y' \end{matrix} \right)= \left( \begin{matrix} x\\ y \end{matrix} \right)+ \left( \begin{matrix} t_x\\ t_y \end{matrix} \right) (x′y′)=(xy)+(txty)
把上面两个式子盘成一个:
( x ′ y ′ 1 ) = ( a b t x c d t y 0 0 1 ) ( x y 1 ) \left( \begin{matrix} x'\\ y'\\ 1 \end{matrix} \right)= \left( \begin{matrix} a&b&t_x\\ c&d&t_y\\ 0&0&1 \end{matrix} \right)\ \left( \begin{matrix} x\\ y\\ 1 \end{matrix} \right) ⎝⎛x′y′1⎠⎞=⎝⎛ac0bd0txty1⎠⎞ ⎝⎛xy1⎠⎞
但是在实际操作的过程中,如果一个一个地计算原图像的像素的话,处理后的像素可能没有在原图像中有对应的坐标。2
因此,我们有必要对处理后的图像中各个像素进行仿射变换逆变换,取得变换后图像中的像素在原图像中的坐标。仿射变换的逆变换如下:
( x y ) = 1 a d − b c ( d − b − c a ) ( x ′ y ′ ) − ( t x t y ) \left( \begin{matrix} x\\ y \end{matrix} \right)= \frac{1}{a\ d-b\ c}\ \left( \begin{matrix} d&-b\\ -c&a \end{matrix} \right)\ \left( \begin{matrix} x'\\ y' \end{matrix} \right)- \left( \begin{matrix} t_x\\ t_y \end{matrix} \right) (xy)=a d−b c1 (d−c−ba) (x′y′)−(txty)
这回的平行移动操作使用下面的式子计算。 t x t_x tx和 t y t_y ty是像素移动的距离。
( x ′ y ′ 1 ) = ( 1 0 t x 0 1 t y 0 0 1 ) ( x y 1 ) \left( \begin{matrix} x'\\ y'\\ 1 \end{matrix} \right)= \left( \begin{matrix} 1&0&t_x\\ 0&1&t_y\\ 0&0&1 \end{matrix} \right)\ \left( \begin{matrix} x\\ y\\ 1 \end{matrix} \right) ⎝⎛x′y′1⎠⎞=⎝⎛100010txty1⎠⎞ ⎝⎛xy1⎠⎞
Answer
先根据放射变换定义工具函数,原理就是根据放射变换的逆变换公式得出目标图像某一位置的像素在原图像中对应的位置
( x y ) = 1 a d − b c ( d − b − c a ) ( x ′ y ′ ) − ( t x t y ) \left( \begin{matrix} x\\ y \end{matrix} \right)= \frac{1}{a\ d-b\ c}\ \left( \begin{matrix} d&-b\\ -c&a \end{matrix} \right)\ \left( \begin{matrix} x'\\ y' \end{matrix} \right)- \left( \begin{matrix} t_x\\ t_y \end{matrix} \right) (xy)=a d−b c1 (d−c−ba) (x′y′)−(txty)
initSingleChannelMat()在之前的题目中有定义过,这里使用该方式初始化矩阵或者用opencv自带的方式都可以
//仿射变换的逆变换
Mat AfineTransformations(Mat& src, double a, double b, double c, double d, double tx, double ty) {


	double  coefficient = 1 / (a*d - b * c);
	double t[4] = {


		d,-b,
		-c,a
	};
	Mat a_ = initSingleChannelMat<double>(t,2, CV_64FC1);

	double t_[2] = {


		tx,
		ty
	};
	Mat b_(Size(1,2), CV_64FC1, t_);
	src.convertTo(src, CV_64FC1);
	Mat step_1 = a_ * src;
	return coefficient * step_1+ b_;
}
在根据平移需要的仿射变换进行变换
//通过放射变换实现平移
void transAT(Mat& src, double tx, double ty) {


	Mat result = Mat::zeros(src.rows, src.cols, CV_8UC3);
	result.forEach<Vec3b>([&](Vec3b& pix, const int * position) {


		int x = position[0];
		int y = position[1];
		int cur_pos[2][17] = {

     x,y };
		Mat m(Size(1, 2), CV_32SC1, cur_pos);
		Mat ori_pos = AfineTransformations(m, 1, 0, 0, 1, tx, ty);
		//printMat(m);
		for (int i = 0; i < 3; i++) {


			int ori_pos_x = ori_pos.at<Vec<double, 1>>(0, 0)[0];
			int ori_pos_y = ori_pos.at<Vec<double, 1>>( 1,0)[0];
			if (ori_pos_x >= src.rows || ori_pos_y >= src.cols || ori_pos_x < 0 || ori_pos_y < 0) {


				pix[i] = 0;
			}
			else
				pix[i] = src.at<Vec3b>(ori_pos_x, ori_pos_y)[i];
		}
	});
	src = result;
}
Show
Note
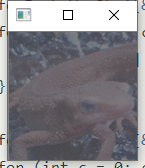
- 在进行矩阵乘法运算时要注意两个Mat 的数据类型,比如说CV_64FC1与CV_32SC1之间无法直接相乘,会产生如下错误:

可以使用src.convertTo(src, CV_64FC1);函数来进行主句类型之间的转换.其中src是一个Mat对象的实例.
问题二十九:仿射变换( Afine Transformations )——放大缩小
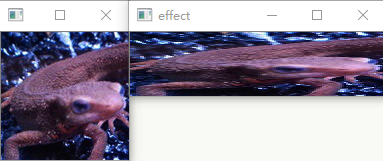
- 使用仿射变换,将图片在 x x x方向上放大 1.3 1.3 1.3倍,在 y y y方向上缩小至原来的 4 5 \frac{4}{5} 54。
- 在上面的条件下,同时在 x x x方向上向右平移 30 30 30( + 30 +30 +30),在 y y y方向上向上平移 30 30 30( − 30 -30 −30)。
Answer
//通过放射变换实现放大和缩小
void amplifyAT(Mat& src, double dx, double dy) {


	Mat result = Mat::zeros(src.rows*dx, src.cols*dy, CV_8UC3);

	result.forEach<Vec3b>([&](Vec3b& pix, const int * position) {


		int x = position[0];
		int y = position[1];
		int cur_pos[2][21] = {

     x,y };
		Mat m(Size(1, 2), CV_32SC1, cur_pos);
		Mat ori_pos = AfineTransformations(m, dx, 0, 0, dy, 0,0);
		//printMat(m);
		for (int i = 0; i < 3; i++) {


			int ori_pos_x = ori_pos.at<Vec<double, 1>>(0, 0)[0];
			int ori_pos_y = ori_pos.at<Vec<double, 1>>(1, 0)[0];
			if (ori_pos_x >= src.rows || ori_pos_y >= src.cols || ori_pos_x < 0 || ori_pos_y < 0) {


				pix[i] = 0;
			}
			else
				pix[i] = src.at<Vec3b>(ori_pos_x, ori_pos_y)[i];
		}
	});
	src = result;
}
Show
该变换是横向变为2倍,纵向变为0.5倍
问题三十:仿射变换( Afine Transformations )——旋转
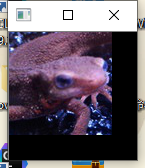
- 使用仿射变换,逆时针旋转 30 30 30度。
- 使用仿射变换,逆时针旋转 30 30 30度并且能让全部图像显现(也就是说,单纯地做仿射变换会让图片边缘丢失,这一步中要让图像的边缘不丢失,需要耗费一些工夫)。
使用下面的式子进行逆时针方向旋转 A A A度的仿射变换:
( x ′ y ′ 1 ) = ( cos ( A ) − sin ( A ) t x sin ( A ) cos ( A ) t y 0 0 1 ) ( x y 1 ) \left( \begin{matrix} x'\\ y'\\ 1 \end{matrix} \right)= \left( \begin{matrix} \cos(A)&-\sin(A)&t_x\\ \sin(A)&\cos(A)&t_y\\ 0&0&1 \end{matrix} \right)\ \left( \begin{matrix} x\\ y\\ 1 \end{matrix} \right) ⎝⎛x′y′1⎠⎞=⎝⎛cos(A)sin(A)0−sin(A)cos(A)0txty1⎠⎞ ⎝⎛xy1⎠⎞
Answer
//通过放射变换实现旋转
void rollAT(Mat& src, double angle) {


	Mat result = Mat::zeros(src.rows, src.cols, CV_8UC3);
	angle = 3.1415926*angle /  180;
	result.forEach<Vec3b>([&](Vec3b& pix, const int * position) {


		int x = position[0];
		int y = position[1];
		int cur_pos[2][1] = {

     x,y };
		Mat m(Size(1,2), CV_32SC1, cur_pos);
		Mat ori_pos = AfineTransformations(m, cos(angle), sin(angle), -sin(angle), cos(angle), 0, 0);
		for (int i = 0; i < 3; i++) {


			int ori_pos_x = ori_pos.at<Vec<double, 1>>(0, 0)[0];
			int ori_pos_y = ori_pos.at<Vec<double, 1>>(1, 0)[0];
			if (ori_pos_x >= src.rows || ori_pos_y >= src.cols || ori_pos_x < 0 || ori_pos_y < 0) {


				pix[i] = 0;
			}
			else
				pix[i] = src.at<Vec3b>(ori_pos_x, ori_pos_y)[i];
		}
	});
	src = result;
}
Show
这里进行逆时针30度的变换
Note
#include<math.h>中的sin()和cos()函数都是弧度制,可以根据需要进行转换