文章目录
1. 点击windowns安装环回网卡文章完成网络配置
2.配置DNS服务(点击CentOS7中DDNS配置与应用完成配置
3.配置APACHE服务
3.1查看系统是否安装APACHE
# rpm -q httpd
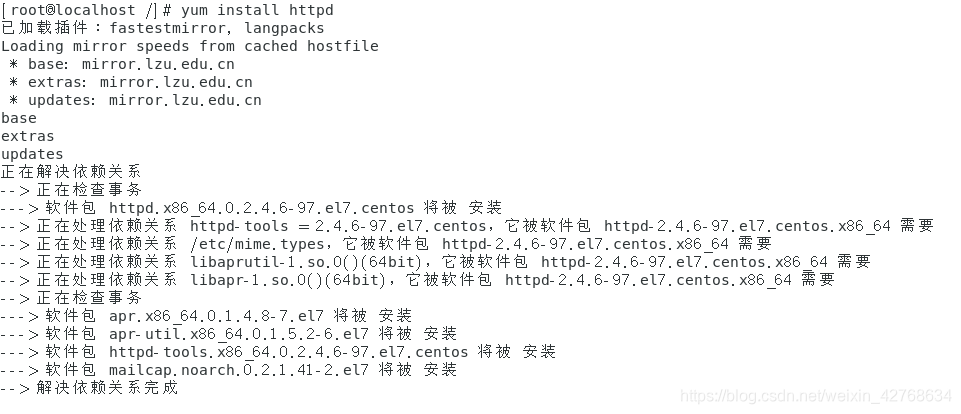
若没有安装请用yum进行安装
# yum install httpd
3.2打开主配置文件(#vi/etc/httpd/conf/httpd.conf),然后按照如下要求修改之
3.2.1基本配置
由于文件太长,所以采用vim关键字查找修改相应代码,在命令模式下敲斜杆(/),然后输入关键字回车。
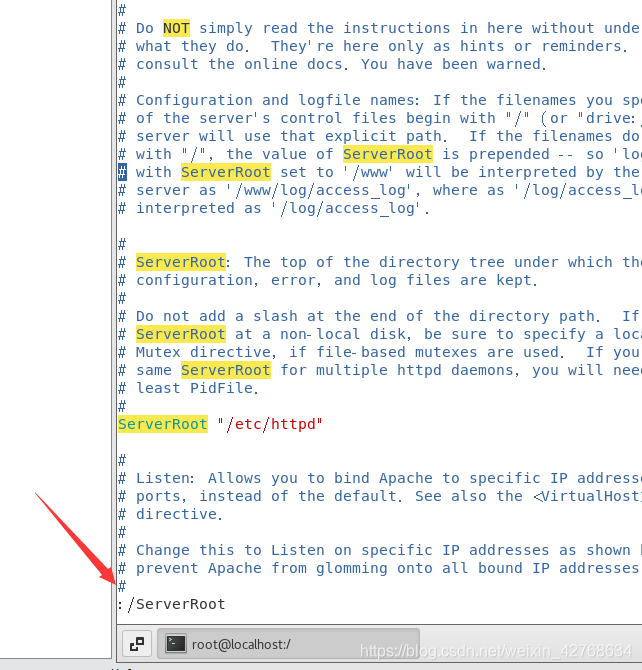
找到相应关键字后修改成以下代码
ServerRoot "/etc/httpd"
Listen 80
ServerName dns.example.com:80
DocumentRoot "/var/www/html"
设置主页
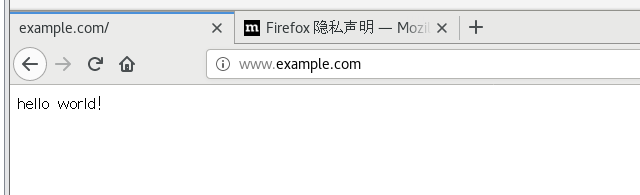
# echo 'hello world!'> /var/www/html/index.html
重启服务
# systemctl restart httpd
测试方法:在linux或者windows浏览器输入:http://www.example.com
3.2.2支持本地用户建立个人主页
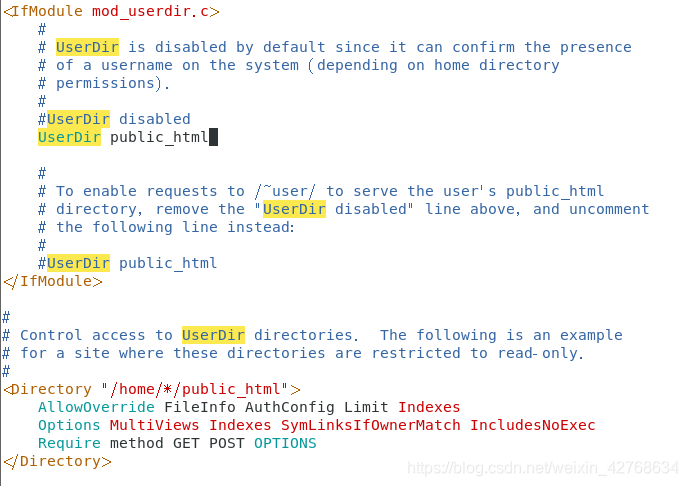
修改userdir.conf(/etc/httpd/conf.d/userdir.conf)
# vim /etc/httpd/conf.d/userdir.conf
找到关键字后,修改以下代码
UserDir public_html
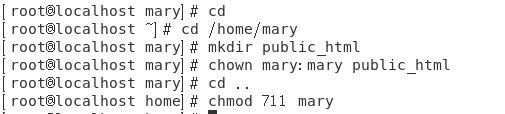
例子:开放用户mary的个人站点配置(假设mary已经存在)。在命令行上做下面操作。

# cd /home/mary
# mkdir public_html
# chown mary:mary public_html
# cd ..
# chmod 711 mary
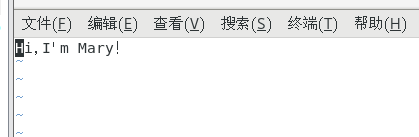
在目录/home/mary/public_html上建立简单主页文件进行测试。具体可仿照如下设置:
# vim /home/mary/public_html/index.html
输入如下内容
Hi,I’m Mary!
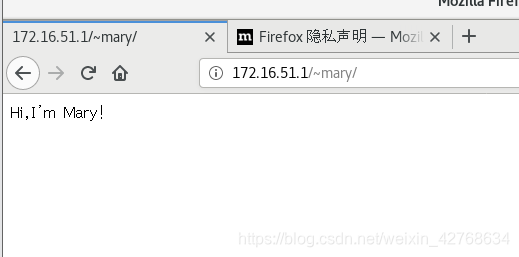
重启服务:
# systemctl restart httpd
测试方法:在浏览器输入:http://172.16.51.1/~mary
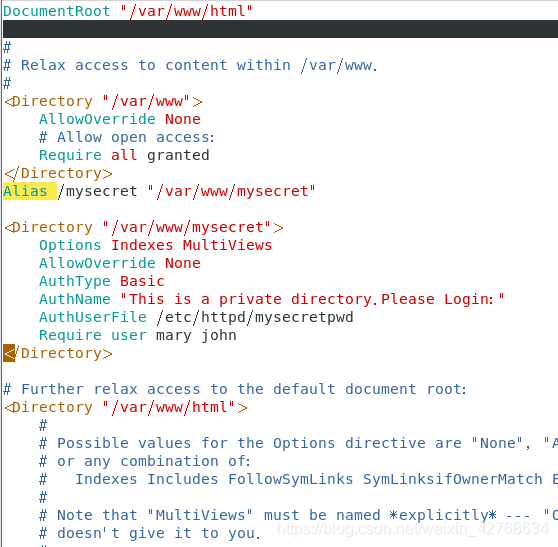
3.2.3设置路径别名和用户认证设置
# vim /etc/httpd/conf/httpd.conf
添加以下信息
Alias /mysecret "/var/www/mysecret"
<Directory "/var/www/mysecret">
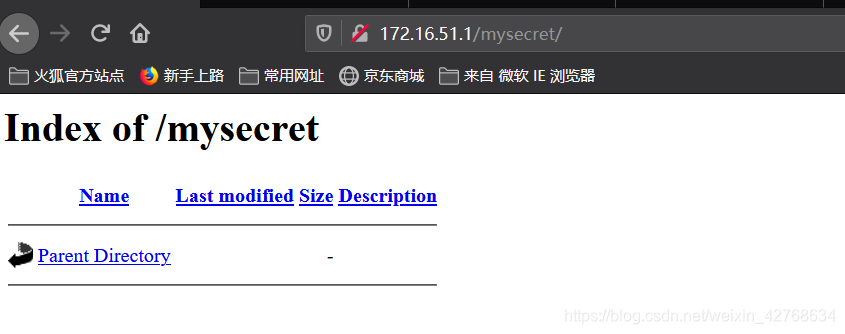
Options Indexes MultiViews
AllowOverride None
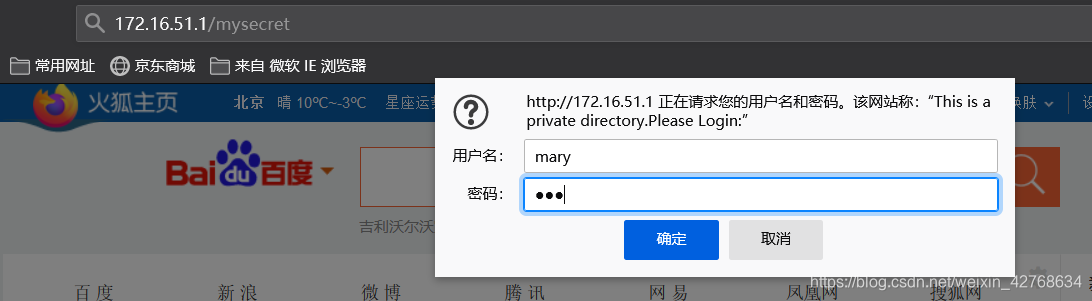
AuthType Basic
AuthName "This is a private directory.Please Login:"
AuthUserFile /etc/httpd/mysecretpwd
Require user mary john
</Directory>
在命令行上输入下面命令:
# mkdir -p /var/www/mysecret
建立口令文件,并添加mary用户
# htpasswd -c /etc/httpd/mysecretpwd mary

若口令文件已有用户,则不用”-c”参数
重启服务:
# systemctl restart httpd
测试方法:在浏览器输入:http://172.16.51.1/mysecret
3.2.4浏览自定义目录信息
在虚拟机上设置共享目录,目录名字为course

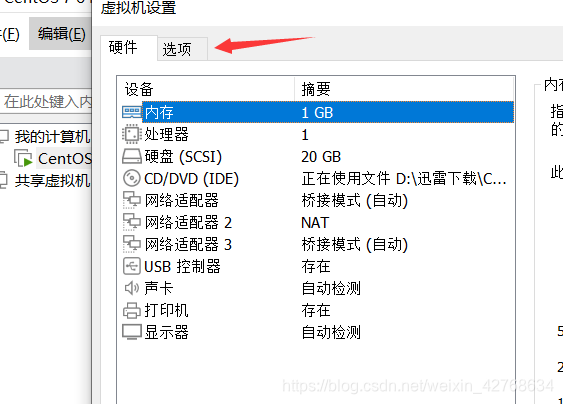
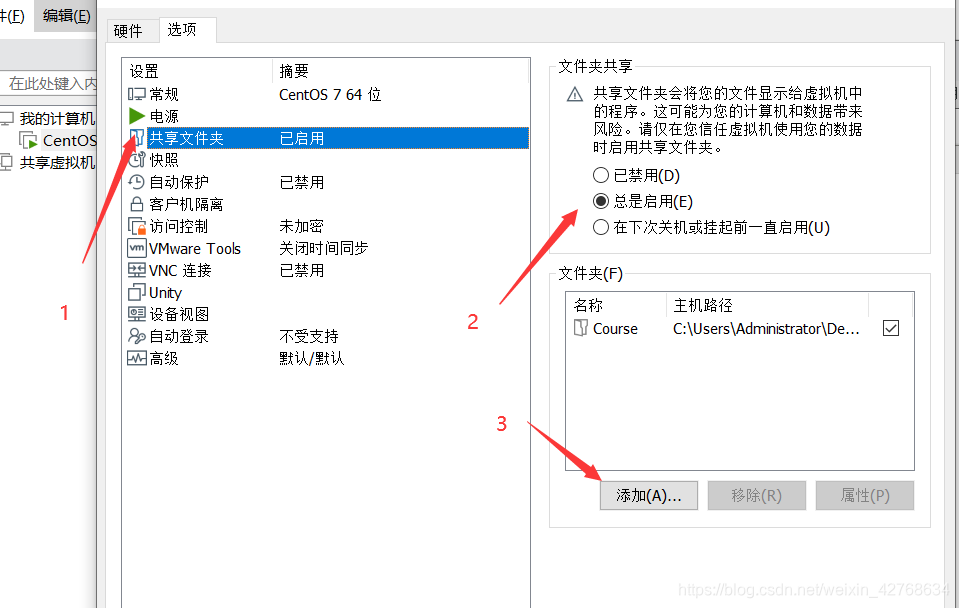
在虚拟机的/mnt/hgfs目录中可以访问到该目录。(如果虚拟机没有出现/mnt/hgfs目录,请安装或重新安装Vmwaretools)
# ll /mnt/hgfs/

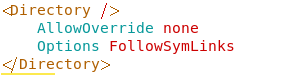
在/etc/httpd/conf/httpd.conf配置文件中,修改根目录的访问权限和访问方式:
<Directory />
    AllowOverride none
    Options FollowSymLinks
</Directory>
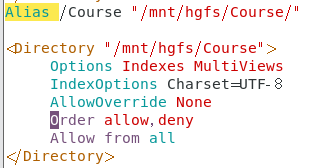
同时,插入如下语句:
Alias /Course "/mnt/hgfs/Course/"

<Directory "/mnt/hgfs/Course">
     Options Indexes MultiViews
     IndexOptions Charset=UTF-8
     AllowOverride None
     Order allow,deny
     Allow from all
</Directory>
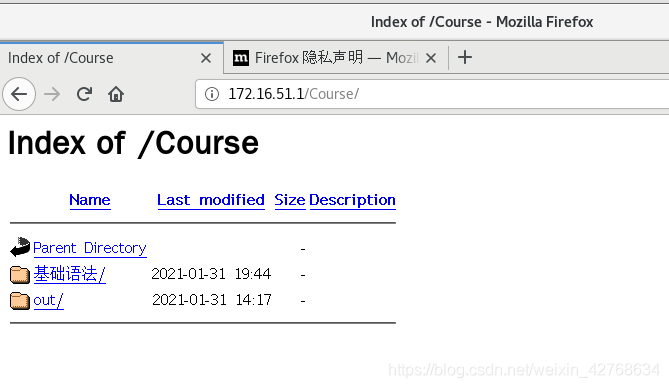
重启服务,测试如下:
# systemctl restart httpd
3.2.5基于IP的虚拟主机配置
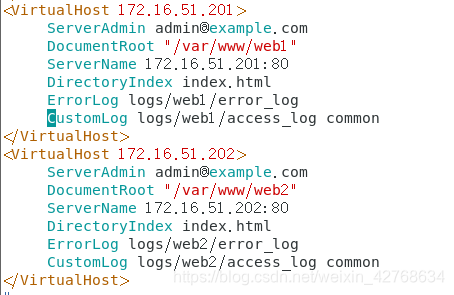
# vim /etc/httpd/conf/httpd.conf
<VirtualHost 172.16.51.201>
     ServerAdmin [email protected]
     DocumentRoot "/var/www/web1"
     ServerName 172.16.51.201:80
     DirectoryIndex index.html
     ErrorLog logs/web1/error_log
     CustomLog logs/web1/access_log common
</VirtualHost>
<VirtualHost 172.16.51.202>
     ServerAdmin [email protected]
     DocumentRoot "/var/www/web2"
     ServerName 172.16.51.202:80
     DirectoryIndex index.html
     ErrorLog logs/web2/error_log
     CustomLog logs/web2/access_log common
</VirtualHost>
在命令行上输入如下命令:
# ifconfig ens33:1 172.16.51.201 netmask 255.255.255.0
# ifconfig ens33:2 172.16.51.202 netmask 255.255.255.0
在/var/www/web1和/var/www/web2上分别建立测试主页index.html
# mkdir -p /var/www/web1
# mkdir -p /var/www/web2
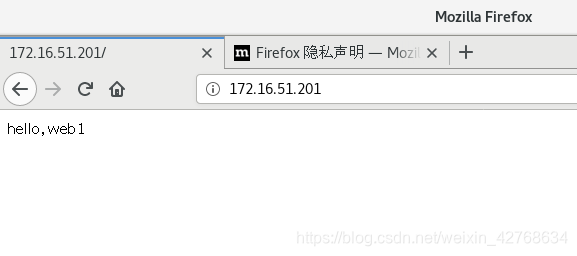
# echo "hello,web1" >/var/www/web1/index.html
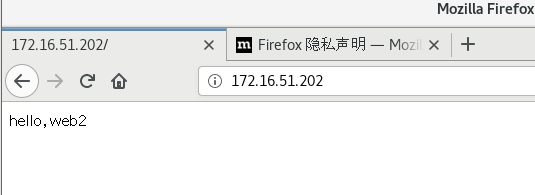
# echo "hello,web2" >/var/www/web2/index.html

在/etc/httpd/logs/中创建web1和web2目录,并在每个目录中建立error_log和access_log文件(注意:这两个文件不是目录文件)
# mkdir -p /etc/httpd/logs/web1/
# mkdir -p /etc/httpd/logs/web2/
# touch /etc/httpd/logs/web1/error_log
# touch /etc/httpd/logs/web1/access_log
# touch /etc/httpd/logs/web2/error_log
# touch /etc/httpd/logs/web2/access_log

重启服务:
# systemctl restart httpd
测试方法:在浏览器输入:http://172.16.51.201
在浏览器输入:http://172.16.51.202
3.2.6基于域名的虚拟主机配置
# vim /etc/httpd/conf/httpd.conf
NameVirtualHost 172.16.51.203

<VirtualHost abc.example.com>
     ServerAdmin [email protected]
     DocumentRoot "/var/www/web3"
     ServerName abc.example.com
     DirectoryIndex index.html
     ErrorLog logs/web3/error_log
     CustomLog logs/web3/access_log common
</VirtualHost>

<VirtualHost xyz.example.com>
     ServerAdmin [email protected]
     DocumentRoot "/var/www/web4"
     ServerName xyz.example.com
     DirectoryIndex index.html
     ErrorLog logs/web4/error_log
     CustomLog logs/web4/access_log combined
</VirtualHost>

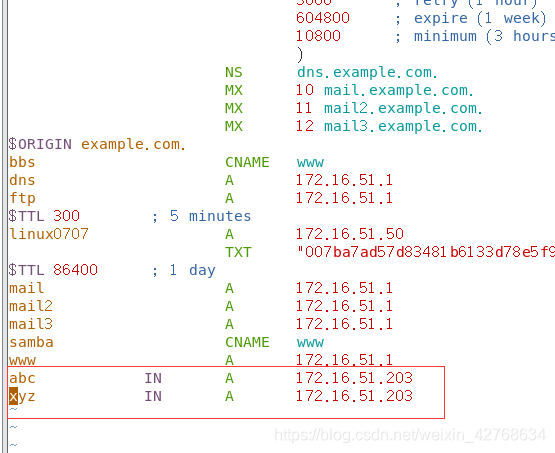
在DNS的正向数据区域上加入2个A标记
# vim /var/named/data/example.com.zone
abc            IN       A       172.16.51.203
xyz            IN       A       172.16.51.203
在DNS的反向数据区域上加入2个PTR标记
# vim /var/named/data/172.16.51.arpa
203                        PTR  abc.example.com.
                              PTR  xyz.example.com.

在命令行上输入如下命令:
# ifconfig ens33:3 172.16.51.203 netmask 255.255.255.0
重启服务:
# systemctl restart named
在/var/www/web3和/var/www/web4上分别建立测试主页index.html
# mkdir -p /var/www/web3
# mkdir -p /var/www/web4
# echo "hello,web3" > /var/www/web3/index.html
# echo "hello,web4" > /var/www/web4/index.html

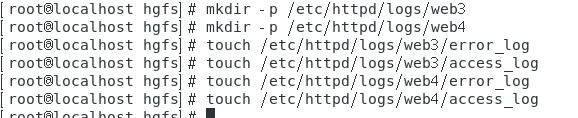
同上,/etc/httpd/logs创建web3和web4目录,并创建对应的error_log和access_log文件
# mkdir -p /etc/httpd/logs/web3
# mkdir -p /etc/httpd/logs/web4
# touch /etc/httpd/logs/web3/error_log
# touch /etc/httpd/logs/web3/access_log
# touch /etc/httpd/logs/web4/error_log
# touch /etc/httpd/logs/web4/access_log
重启服务:
# systemctl restart httpd
测试前,确认测试机的DNS地址指向Linux服务器。
# cat /etc/resolv.conf
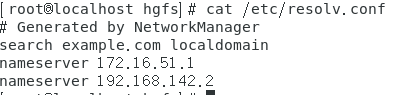
如果不是指向linux服务器,把NAT模式连接互联网的网卡禁用掉即可,我这里是ens37
# ifdown ens37
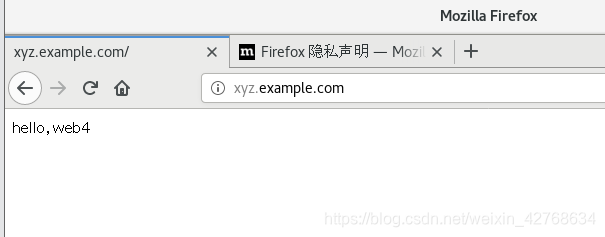
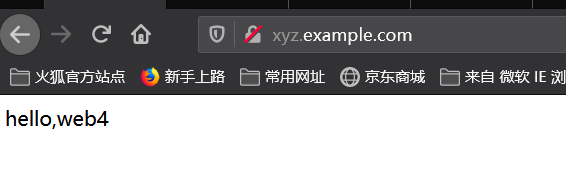
测试方法:分别在Windows和Linux的浏览器测试
linux测试

windows测试

在Linux主机上用wget下载主页,输入命令:
#wget http://xyz.example.com

查看日志文件/etc/httpd/logs/web4/access_log
# # cat /etc/httpd/logs/web4/access_log

查看日志文件/etc/httpd/logs/web3/access_log
# wget http://abc.example.com
# cat /etc/httpd/logs/web3/access_log

由于启用了普通日志格式common,所以只能看到访问记录,但是没有具体的客户端详细信息。