bochs 介紹與安裝
簡單來說,bochs 是一個虛擬機,用來模擬操作系統。
環境
- 虛擬機 : Oracle VM VirtualBox
- 操作系統 : Ubuntu 16.04 32bit
安裝 bochs
sudo apt-get install bochs // 安裝 bochs 虛擬機
sudo apt-get install bochs-sdl // 安裝 bochs GUI 庫
安裝成功後,可於命令行下輸入 bochs,安裝成功如下:

安裝 nasm
sudo apt-get install nasm
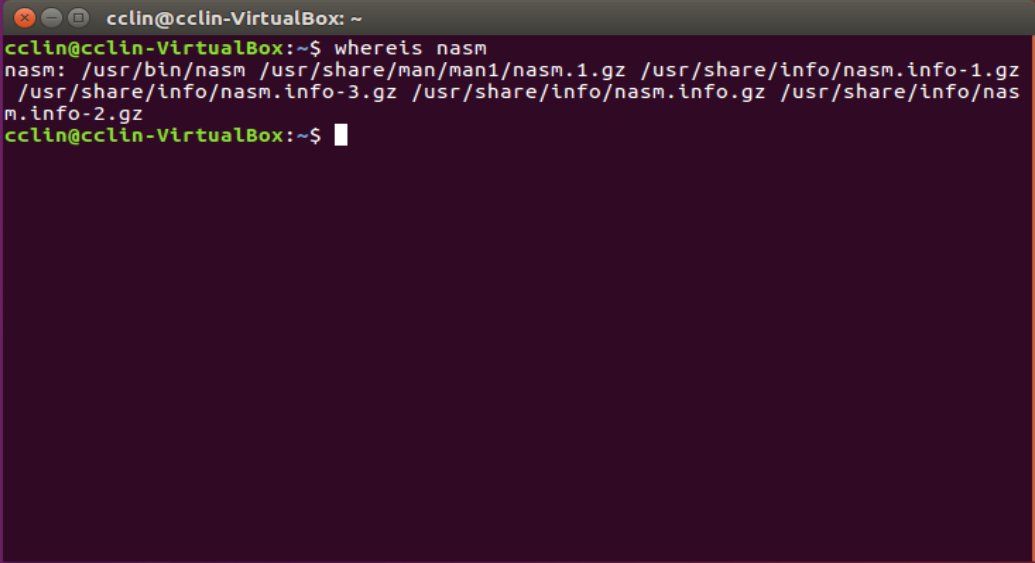
安裝成功後,可於命令行下輸入 whereis nasm,安裝成功如下:

準備工作
先找到一個適合的目錄,然後創建一個文件命名為 boot.asm。若對 Linux 命令尚不熟悉的菜雞(像我一樣),可以先去看看 Linux 命令大全。
在 boot.asm 中,開始編寫代碼,如下:
org 07c00h ; 告诉编译器程序加载到 7c00处
    mov ax, cs
    mov ds, ax
    mov es, ax
    call DispStr ; 调用显示字符串例程
    jmp $ ; 无限循环
DispStr:
    mov ax, BootMessage
    mov bp, ax ; es:bp = 串地址
    mov cx, 16 ; cx = 串长度
    mov ax, 01301h ; ah = 13, al = 01h
    mov bx, 000ch ; 页号为 0(bh = 0) 黑底红字(bl = 0Ch,高亮)
    mov dl, 0
    int 10h ; 10h 号中断
    ret
BootMessage:
    db "Hello OS."
    times 510-($-$$) db 0 ; 填充剩下的空间,使生成的二进制代码恰好为 512
    dw 0xaa55 ; 结束标志
保存後執行以下命令:
nasm boot.asm -o boot.bin
dd if=boot.bin of=a.img
dd if=/dev/zero of=a.img seek=1 bs=512 count=2879
接著再創建一個文件命名為 bochsrc,代碼如下:
###############################################################
# Configuration file for Bochs
###############################################################

# how much memory the emulated machine will have
megs: 32

# filename of ROM images
romimage: file=/usr/share/bochs/BIOS-bochs-latest
vgaromimage: file=/usr/share/bochs/VGABIOS-elpin-2.40

# what disk images will be used
floppya: 1_44=a.img, status=inserted

# choose the boot disk.
boot: floppy

# where do we send log messages?
# log: bochsout.txt

# disable the mouse
mouse: enabled=0

# enable key mapping, using US layout as default.
#keyboard_mapping: enabled=1, map=/usr/share/bochs/keymaps/x11-pc-us.map
啟動 bochs
接著在當前目錄執行以下命令:
bochs -f bochsrc
出現 <bochs:1>,表示啟動成功!


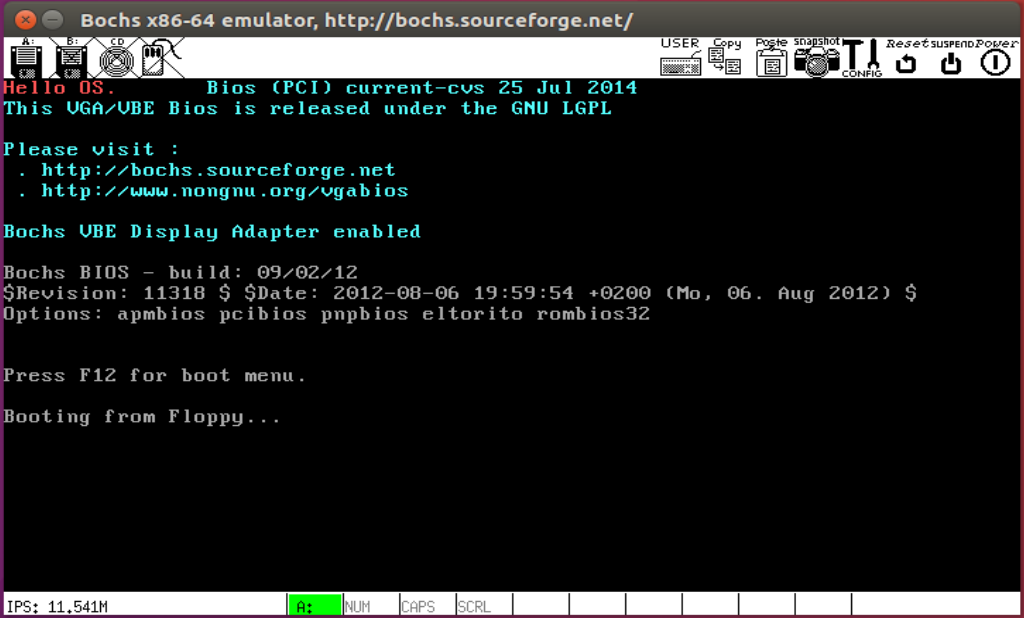
黑屏不要緊張,那只是因為當前是 debug mode,只要在命令行輸入 c 就可以成功了。

啟動 + 運行成功!

扫描二维码关注公众号,回复:
12454033 查看本文章

