《矩形颜色横向渐变》
所有的热爱都要不遗余力,真正喜欢它便给它更高的优先级,和更多的时间吧!
QML其它文章请点击这里: QT QUICK QML 学习笔记
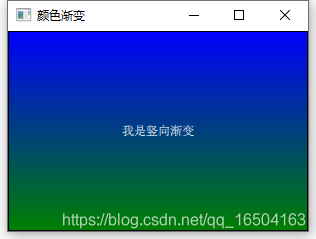
1. gradient 颜色渐变
常用 gradient 来实现渐变,如下:
import QtQuick 2.7
import QtQuick.Controls 2.0

ApplicationWindow{


    id:             root
    visible:        true
    width:          300
    height:         200
    title:          qsTr("颜色渐变");
    Rectangle {


        id:                     rect
        anchors.fill:           parent
        border.width:           1
        border.color:           "black"
        gradient: Gradient {


            GradientStop {

      position: 0.0;    color: "blue"  }
            GradientStop {

      position: 1.0;    color: "green" }
        }
       	Text {


            text: 				qsTr("我是竖向渐变")
            color:              "white"
            anchors.centerIn:   parent
        }
    }
}
如果想实现横向渐变的话,可以通过增加旋转,如下:
    Rectangle {


        id:                     rect
        anchors.fill:           parent
        border.width:           1
        border.color:           "black"
        rotation:               270  	///--[Mark]
        gradient: Gradient {


            GradientStop {

      position: 0.0;    color: "blue"  }
            GradientStop {

      position: 1.0;    color: "green" }
        }
        ...
    }
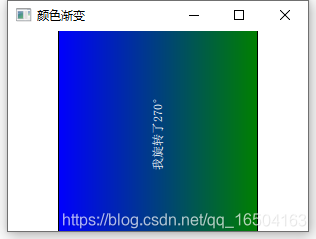
enmmm,颜色是旋转了,但是其它都不得劲了,所以还是别旋转了,一转就都转,下面介绍另外的一种方法。
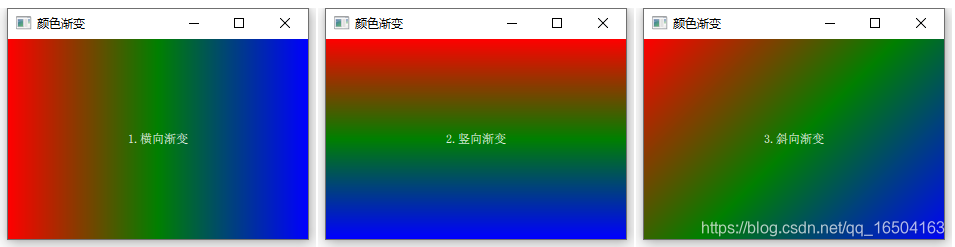
2. LinearGradient 线性渐变
LinearGradient 线性渐变,它可以从给定的起始点开始,到给定的结束点结束,使几种颜色无缝衔接渐变,代码和效果如下:
    LinearGradient {

                ///--[Mark]
        anchors.fill: parent
        start: Qt.point(0, 0)
        end: Qt.point(width, 0)        ///1、横向渐变
//        end: Qt.point(0, height)     ///2、竖向渐变
//        end: Qt.point(width, height) ///3、横向渐变
        gradient: Gradient {


            GradientStop {

      position: 0.0;    color: "red" }
            GradientStop {

      position: 0.5;    color: "blue" }
            GradientStop {

      position: 1.0;    color: "green" }
        }
    }
图像如下:
完整代码如下:记得需要导入: import QtGraphicalEffects 1.12
import QtQuick 2.7
import QtQuick.Controls 2.0
import QtGraphicalEffects 1.12      ///--[Mark]

ApplicationWindow{


    id:             root
    visible:        true
    width:          300
    height:         200
    title:          qsTr("颜色渐变");

    Rectangle {


        id:                     rect
        anchors.fill:           parent
        border.width:           1
        border.color:           "black"
        LinearGradient {

                ///--[Mark]
            anchors.fill: parent
            start: Qt.point(0, 0)
//            end: Qt.point(width, 0)      ///1.横向渐变
//            end: Qt.point(0, height)     ///2.竖向渐变
            end: Qt.point(width, height) ///3.斜向渐变
            gradient: Gradient {


                GradientStop {

      position: 0.0;    color: "red" }
                GradientStop {

      position: 0.5;    color: "green" }
                GradientStop {

      position: 1.0;    color: "blue" }
            }
        }
        Text {


            text:               qsTr("1.横向渐变")
            color:              "white"
            anchors.centerIn:    parent
        }
    }
}
这是对矩形的颜色渐变,如果是图像呢? LinearGradient 线性渐变也是神器,你不点下么?QML 图像颜色渐变和颜色覆盖(LinearGradient和ColorOverlay)
QML其它文章请点击这里: QT QUICK QML 学习笔记
扫描二维码关注公众号,回复:
12442074 查看本文章
