Https协议
HTTP协议(超文本传输协议)被用于在Web浏览器和网站服务器之间传递信息。HTTP协议以明文方式发送内容,不提供任何方式的数据加密;,因此HTTP协议不适合传输一些敏感信。为了解决HTTP协议的这一缺陷,需要使用另一种协议:安全套接字层超文本传输协议HTTPS。
HTTPS(全称:Hyper Text Transfer Protocol over Secure Socket Layer 或 Hypertext Transfer Protocol Secure,超文本传输安全协议),是以安全为目标的HTTP通道。
HTTPS是HTTP+SSL(TLS)。
原本HTTP先和TCP(假定传输层是TCP协议)直接通信,而加了SSL后,就变成HTTP先和SSL通信,再由SSL和TCP通信,相当于SSL被嵌在了HTTP和TCP之间。

SSL 是“Secure Sockets Layer”的缩写,中文叫做安全套接层。到了1999年,SSL 应用广泛,已经成为互联网上的事实标准。IETF 就把SSL 标准化。
标准化之后SSL被改为 TLS(Transport Layer Security传输层安全协议)。
SSL协议分为两层:
(1)SSL记录协议 (SSL Record Protocol):它建立在可靠的传输协议(如TCP)之上,为高层协议提供数据封装、压缩、加密等基本功能。
(2)SSL握手协议(SSL Handshake Protocol):它建立在SSL记录协议之上,用于在实际的数据传输开始前,通讯双方进行身份认证、协商加密算法、交换加密密钥等。
SSL协议提供的服务:
1)认证用户和服务器,确保数据发送到正确的客户机和服务器
2)加密数据以防止数据中途被窃取
3)维护数据的完整性,确保数据在传输过程中不被改变。
客户端与服务器端的交流信息
(1)客户端浏览器向服务器端发送如下信息:
1、客户端支持的SSL /TLS协议的版本号。
2、Cipher Suite(密钥算法套件)。
3、客户端产生的随机数,稍后用于生成"对话密钥"。
(2)服务器端向客户端发送如下信息:
1、确认使用的加密通信协议版本,如果浏览器与服务器支持的版本不一致,服务器关闭加密通信。
2、确认使用的加密方法。
3、服务器证书。
4、服务器生成的随机数,稍后用于生成"对话密钥"。
(3)客户端利用服务器传过来的信息验证服务器的合法性。如果合法性验证没有通过,通讯将断开;如果合法性验证通过,则可以知道认证服务器的公开密钥的是真实有效的数字证书认证机构,并且服务器的公开密钥是值得信赖的。(此处认证机关的公开密钥必须安全地转交给客户端。使用通信方式时,如何安全转交是一件很困难的事,因此,多数浏览器开发商发布版本时,会事先在内部植入常用认证机关的公开密钥。)
(4)客户端随机产生一个用于后面通讯的对称密钥,然后用服务器的公钥对其加密,然后将加密后的对称密钥传给服务器。
秘钥:
1、非对称秘钥(公开密钥加密):公钥与私钥,公钥加密的数据只能用私钥解密,私钥加密的数据只能用公钥解密。但是比较消耗资源。私有密钥不能让其他任何人知道,而公开密钥则可以随意发布,任何人都可以获得。
常见的非对称加密算法:RSA、ECC(移动设备用)、Diffie-Hellman、El Gamal、DSA(数字签名用)。
2、对称秘钥(共享密钥加密):加密和解密是相同的秘钥。首先基于非对称秘钥将对称秘钥的秘钥传输给目标,两端再以对称秘钥进行通信。
对称加密算法:DES、3DES、DESX、Blowfish、IDEA、RC4、RC5、RC6和AES。
HASH:是把任意长度的输入(又叫做预映射pre-image)通过散列算法变换成固定长度的输出,该输出就是散列值。Hash算法特别的地方在于它是一种单向算法,用户可以通过hash算法对目标信息生成一段特定长度的唯一hash值,却不能通过这个hash值重新获得目标信息。因此Hash算法常用在不可还原的密码存储、信息完整性校验等。一般用于检测传输过程中数否数据被篡改(做校验)。
常见的HASH算法:MD2、MD4、MD5、HAVAL、SHA、SHA-1、HMAC、HMAC-MD5、HMAC-SHA1。
证书
S/MIME 标准规定:用于 S/MIME 的数字证书应遵守国际电信同盟 (ITU) X.509 标准。由于 S/MIME 依赖于已建立的数字证书结构公认标准,因此 S/MIME 标准建立在该标准的发展之上,从而提高了它的认可度。
X.509 版本 3 证书包含下列字段:
1、版本号 证书所遵循的 X.509 标准的版本。
2、序列号 唯一标识证书且由证书颁发机构颁发的编号。
3、签名算法 CA用于对证书进行数字签名的hash算法。
4、颁发者名称 实际颁发该证书的证书颁发机构的标识。
5、有效期 数字证书保持有效的时间段,并包含起始日期和过期日期。
6、使用者名称 数字证书所有者的姓名。
7、使用者公钥信息 与数字证书所有者关联的公钥以及与该公钥关联的特定公钥算法。
8、颁发者唯一标识符 可以用来唯一标识数字证书颁发者的信息。
9、使用者唯一标识符 可以用来唯一标识数字证书所有者的信息。
10、扩充信息 与证书的使用和处理有关的其他信息。
11、证书颁发机构的数字签名 使用指纹算法中指定的HASH算法以及证书颁发机构的私钥进行加密的数字签名
如何证明收到服务器证书的真实性?
将需要第三方公证单位对证书进行认证。
CA:第三方公证单位。
就是一个公认的公证单位,服务器可以自行产生一把密钥且制作出必要的证书数据并向CA单位注册,当客户端的浏览器在浏览时,该浏览器会主动向CA单位确认该证书是否为合法注册过,如果是,那么该次连接才会建立,如果不是,浏览器会发出警告信息,告知用户应避免建立连接。所以说,如此一来WWW服务器不但有公证单位的证书,用户在建立连接时也比较有保障。
HTTPS的安全通信机制工作流程的三个阶段
1、认证服务器:浏览器内置一个受信任的CA机构列表,并保存了这些CA机构的证书。第一阶段服务器会提供经CA机构认证颁发的服务器证书,如果认证该服务器证书的CA机构,存在于浏览器的受信任CA机构列表中,并且服务器证书中的信息与当前正在访问的网站(域名等)一致,那么浏览器就认为服务端是可信的,并从服务器证书中取得服务器公钥,用于后续流程。否则,浏览器将提示用户,根据用户的选择,决定是否继续。当然,我们可以管理这个受信任CA机构列表,添加我们想要信任的CA机构,或者移除我们不信任的CA机构。
2、协商会话密钥:客户端在认证完服务器,获得服务器的公钥之后,利用该公钥与服务器进行加密通信,协商出两个会话密钥,分别是用于加密客户端往服务端发送数据的客户端会话密钥,用于加密服务端往客户端发送数据的服务端会话密钥。在已有服务器公钥,可以加密通讯的前提下,还要协商两个对称密钥的原因,是因为非对称加密相对复杂度更高,在数据传输过程中,使用对称加密,可以节省计算资源。另外,会话密钥是随机生成,每次协商都会有不一样的结果,所以安全性也比较高。
3、加密通讯:此时客户端服务器双方都有了本次通讯的会话密钥,之后传输的所有Http数据,都通过会话密钥加密。这样网路上的其它用户,将很难窃取和篡改客户端和服务端之间传输的数据,从而保证了数据的私密性和完整性。
PKI(Public Key Infrastructure) 公钥基础设施是提供公钥加密和数字签名服务的系统或平台,目的是为了管理密钥和证书。一个机构通过采用PKI 框架管理密钥和证书可以建立一个安全的网络环境。PKI 主要包括四个部分:X.509 格式的证书(X.509 V3)和证书废止列表CRL(X.509 V2);CA 操作协议;CA 管理协议;CA 政策制定。
X.509通用的证书格式包含三个文件:key,csr,crt。
key: 是私钥文件。
csr: 是证书签名请求文件,用于提交给证书颁发机构(CA)对证书签名。
crt: 是由证书颁发机构(CA)签名后的证书,或者是开发者自签名的证书,包含证书持有人的信息,持有人的公钥,以及签署者的签名等信息。
实验一:基于IP地址访问https协议的web网站
mod_ssl 是一种以openssl 的工具箱为基础专门为apache webserver 提供密码保护的软件。
1、安装工具包
[root@redhat ~]# yum install -y mod_ssl
[root@redhat ~]# yum install -y make
2、由于RHCE8.0版本没有Makefile文件,可将RHCE7版本的Makefile文件进行复制
[root@redhat ~]# cd /etc/pki/tls/certs/
[root@redhat certs]# scp [email protected]:/etc/pki/tls/certs/Makefile .
3、制作证书文件
[root@redhat certs]# make zhengshu.crt
umask 77 ; \
/usr/bin/openssl genrsa -aes128 2048 > zhengshu.key
Generating RSA private key, 2048 bit long modulus (2 primes)
..............................................+++++
...................+++++
e is 65537 (0x010001)
Enter pass phrase:
Verifying - Enter pass phrase:
umask 77 ; \
/usr/bin/openssl req -utf8 -new -key zhengshu.key -x509 -days 365 -out zhengshu.crt
Enter pass phrase for zhengshu.key:
You are about to be asked to enter information that will be incorporated
into your certificate request.
What you are about to enter is what is called a Distinguished Name or a DN.
There are quite a few fields but you can leave some blank
For some fields there will be a default value,
If you enter '.', the field will be left blank.
-----
Country Name (2 letter code) [XX]:86
State or Province Name (full name) []:sx
Locality Name (eg, city) [Default City]:xi,an
Organization Name (eg, company) [Default Company Ltd]:xx
Organizational Unit Name (eg, section) []:ce
Common Name (eg, your name or your server's hostname) []:www.ceshi.com
Email Address []:admin@open.com
4、查看是否生成证书和私钥
[root@redhat certs]# ll
总用量 12
lrwxrwxrwx. 1 root root 49 8月 13 2018 ca-bundle.crt -> /etc/pki/ca-trust/extracted/pem/tls-ca-bundle.pem
lrwxrwxrwx. 1 root root 55 8月 13 2018 ca-bundle.trust.crt -> /etc/pki/ca-trust/extracted/openssl/ca-bundle.trust.crt
-rw-r--r--. 1 root root 2516 11月 18 20:24 Makefile
-rw-------. 1 root root 1391 11月 18 20:28 zhengshu.crt
-rw-------. 1 root root 1766 11月 18 20:25 zhengshu.key
5、创建文件根目录,并定义网页内容
[root@redhat ~]# mkdir /www/https
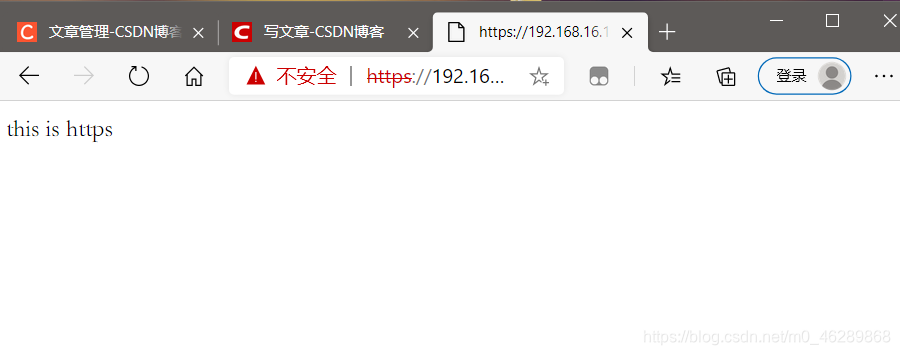
[root@redhat ~]# echo this is https > /www/https/index.html
6、定义基于IP地址访问的网站的配置文件
[root@redhat conf.d]# vim vhost-https.conf
<Virtualhost 192.168.16.100:443>
servername 192.168.16.100
documentroot /www/https
SSLEngine on
SSLCertificateFile /etc/pki/tls/certs/zhengshu.crt #指定证书路径
SSLCertificateKeyFile /etc/pki/tls/certs/zhengshu.key #指定密钥文件路径
</Virtualhost>
<directory /www/https>
allowoverride none
require all granted
</directory>
7、关闭防火墙与Slinux
[root@redhat ~]# systemctl stop firewalld.service
[root@redhat ~]# setenforce 0
[root@redhat ~]# getenforce
Permissive
8、重启httpd服务
[root@redhat ~]# systemctl restart httpd
Enter TLS private key passphrase for 192.168.16.100:443 (RSA) : ******
9、本机测试
[root@redhat ~]# curl -k https://192.168.16.100
this is https
实验二:基于虚拟目录和用户控制的web网站
练习一:
1、创建目录编辑网页内容
[root@redhat ~]# cd /www/https/
[root@redhat https]# mkdir xx
[root@redhat https]# echo this is xx > /www/https/xx/index.html
2、编辑网站的配置文件
[root@redhat ~]# vim /etc/httpd/conf.d/xx.conf
<VirtualHost 192.168.16.100:80>
DocumentRoot /var/www/html
ServerName 192.168.16.100
alias /xx /www/https/xx #链接虚拟目录
</VirtualHost>
<directory /var/www/html>
allowoverride none
require all granted
</directory>
<directory /www/https/xx>
allowoverride none
require all granted
</directory>
3、本机测试
[root@redhat conf.d]# curl 192.168.16.100/xx/
this is xx
4、编辑网站的配置文件,进行用户控制
[root@redhat ~]# vim /etc/httpd/conf.d/xx.conf
<VirtualHost 192.168.16.100:80>
DocumentRoot /var/www/html
ServerName 192.168.16.100
alias /xx /www/https/xx
</VirtualHost>
<directory /var/www/html>
allowoverride none
authtype basic # 基本认证类型(账号)
authname "please login server:" #提示信息,双引号必须有,可以更换为其它提示信息
authuserfile /etc/httpd/mima #用户认证文件的用户名和密码指定的文件所在位置
require user xiaoming xiaohong # 指定这两个用户可以访问该服务器
</directory>
<directory /www/https/xx>
allowoverride none
require all granted
</directory>
5、创建用户及其密码文件
[root@redhat ~]# htpasswd -c /etc/httpd/mima xiaoming
New password:
Re-type new password:
Adding password for user xiaoming
[root@redhat ~]# htpasswd /etc/httpd/mima xiaohong
New password:
Re-type new password:
Adding password for user xiaohong
6、查看用户的密码是否创建成功
[root@redhat ~]# more /etc/httpd/mima
xiaoming:$apr1$DFj7RebI$wSh1KjkcvDryws094FwMF1
xiaohong:$apr1$tLQlwIEF$CgqdhvMsGbae0mD75wNyC.
7、本机基于用户进行访问测试
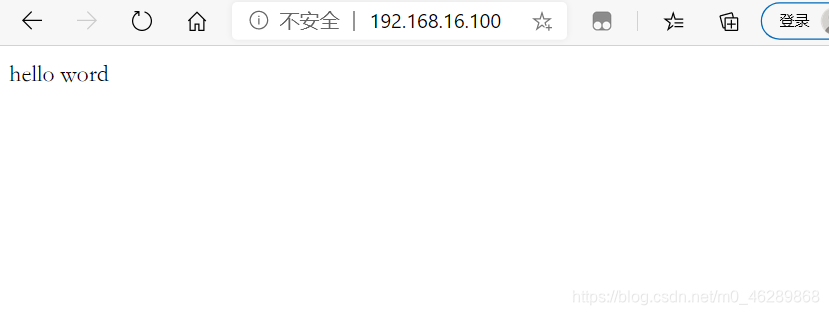
[root@redhat ~]# curl 192.168.16.100 -u xiaoming
Enter host password for user 'xiaoming':
hello word
[root@redhat ~]# curl 192.168.16.100 -u xiaohong
Enter host password for user 'xiaohong':
hello word

练习二
搭建一个基于https://www.zuoye.com访问的web网站,网站首页在/www/https/,内容为zuoye,可以根据https://www.zuoye.com/mimi访问到的信息为mimi,该网站的实际内容在/usr/local/secret,该网站的内容只有用户xiaoming能够查看。
1、安装加密工具包
[root@redhat ~]# yum install -y mod_ssl
[root@redhat ~]# yum install -y make

2、由于RHCE8.0版本没有Makefile文件,可将RHCE7版本的Makefile文件进行复制
[root@redhat ~]# cd /etc/pki/tls/certs/
[root@redhat certs]# scp [email protected]:/etc/pki/tls/certs/Makefile  .

3、制作证书文件
[root@redhat certs]# make zhengshu.crt
umask 77 ; \
/usr/bin/openssl genrsa -aes128 2048 > zhengshu.key
Generating RSA private key, 2048 bit long modulus (2 primes)
..............................................+++++
...................+++++
e is 65537 (0x010001)
Enter pass phrase:
Verifying - Enter pass phrase:
umask 77 ; \
/usr/bin/openssl req -utf8 -new -key zhengshu.key -x509 -days 365 -out zhengshu.crt
Enter pass phrase for zhengshu.key:
You are about to be asked to enter information that will be incorporated
into your certificate request.
What you are about to enter is what is called a Distinguished Name or a DN.
There are quite a few fields but you can leave some blank
For some fields there will be a default value,
If you enter '.', the field will be left blank.
-----
Country Name (2 letter code) [XX]:86
State or Province Name (full name) []:sx
Locality Name (eg, city) [Default City]:xi,an
Organization Name (eg, company) [Default Company Ltd]:xx
Organizational Unit Name (eg, section) []:ce
Common Name (eg, your name or your server's hostname) []:www.ceshi.com
Email Address []:[email protected]

4、查看是否生成证书和私钥
[root@redhat certs]# ll
总用量 12
lrwxrwxrwx. 1 root root   49 8月  13 2018 ca-bundle.crt -> /etc/pki/ca-trust/extracted/pem/tls-ca-bundle.pem
lrwxrwxrwx. 1 root root   55 8月  13 2018 ca-bundle.trust.crt -> /etc/pki/ca-trust/extracted/openssl/ca-bundle.trust.crt
-rw-r--r--. 1 root root 2516 11月 18 20:24 Makefile
-rw-------. 1 root root 1391 11月 18 20:28 zhengshu.crt
-rw-------. 1 root root 1766 11月 18 20:25 zhengshu.key

5、创建虚拟目录并编辑网页内容
[root@redhat ~]# mkdir /usr/local/secret
[root@redhat ~]# cd /usr/local/secret/
[root@redhat secret]# mkdir mimi
[root@redhat secret]# echo zuoye > /usr/local/secret/mimi/index.html

6、参考文件
[root@redhat ~]# vim /etc/httpd/conf.d/ssl.conf

7、编辑网页配置文件
[root@redhat ~]#vim /etc/httpd/conf.d/xx.conf
<VirtualHost 192.168.16.100:443>
    DocumentRoot /www/https/
    ServerName www.zuoye.com
    SSLEngine on
    SSLCertificateFile /etc/pki/tls/certs/zhengshu.crt
    SSLCertificateKeyFile /etc/pki/tls/certs/zhengshu.key
    alias /mimi /usr/local/secret/mimi
</VirtualHost>

<directory /www/https/>
        allowoverride none
		require all granted
</directory>

<directory /usr/local/secret>
        allowoverride none
        authtype basic
        authname "please login server:"
        authuserfile /etc/httpd/mimi
        require user  xiaoming
</directory>

8、创建用户及其密码文件
[root@redhat ~]# htpasswd -c /etc/httpd/mimi xiaoming
New password:
Re-type new password:
Adding password for user xiaoming

9、查看用户及密码是否创建成功
[root@redhat httpd]# more /etc/httpd/mimi
xiaoming:$apr1$6ZQzAHbv$3o450Cdt1wL5xXdKuX6ik1

10、关闭防火墙与Slinux
[root@redhat ~]# systemctl stop firewalld.service
[root@redhat ~]# setenforce 0
[root@redhat ~]# getenforce
Permissive

11、本机测试
[root@redhat conf.d]# curl -k https://www.zuoye.com/mimi/
<!DOCTYPE HTML PUBLIC "-//IETF//DTD HTML 2.0//EN">
<html><head>
<title>401 Unauthorized</title>
</head><body>
<h1>Unauthorized</h1>
<p>This server could not verify that you
are authorized to access the document
requested.  Either you supplied the wrong
credentials (e.g., bad password), or your
browser doesn't understand how to supply
the credentials required.</p>
</body></html>

[root@redhat conf.d]# curl -k https://www.zuoye.com/mimi/ -u xiaoming
Enter host password for user 'xiaoming':
zuoye
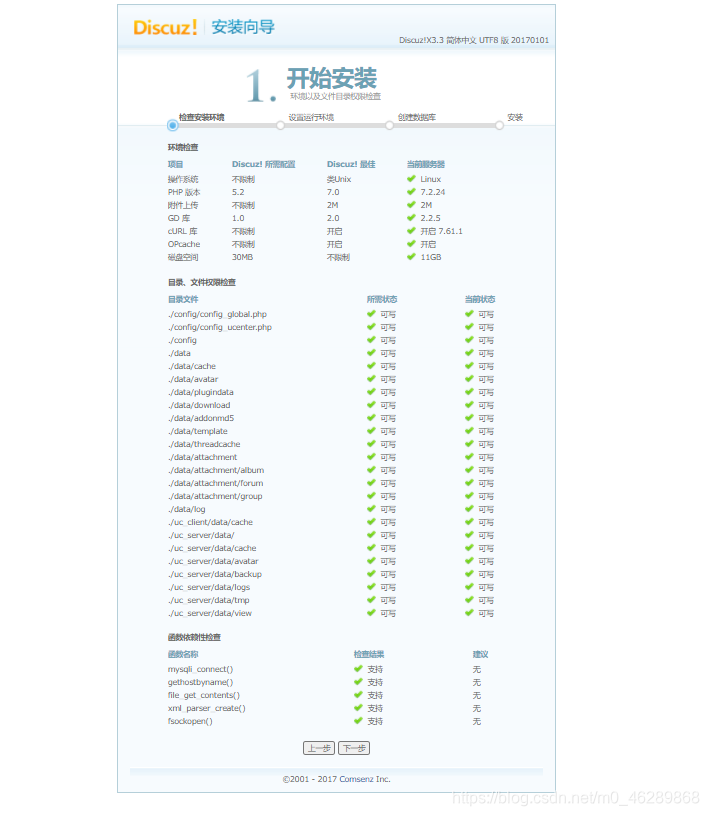
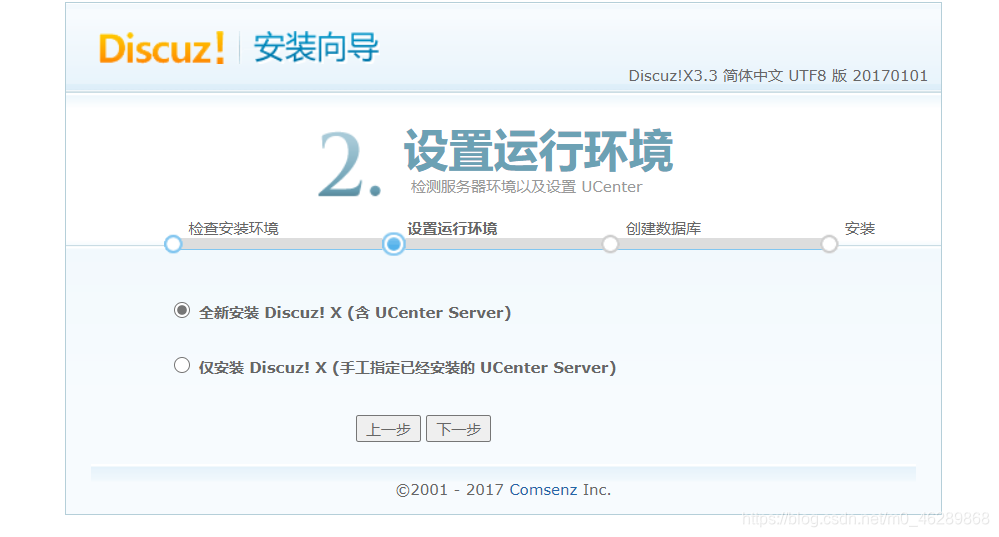
实验三:简单搭建动态网站
1、将论坛的包传入/var/www/html/目录下
[root@redhat ~]# cd /var/www/html/
[root@redhat html]# ll
总用量 10960
-rw-r--r--. 1 root root 11217826 11月 18 21:46 Discuz_X3.3.zip
2、对该包进行解压
[root@redhat html]# unzip Discuz_X3.3.zip
[root@redhat html]# ll
总用量 10964
-rw-r--r--. 1 root root 11217826 11月 18 21:46 Discuz_X3.3.zip
-rw-r--r--. 1 root root 11 11月 2 02:43 index.html
drwxr-xr-x. 2 root root 102 1月 3 2017 readme
drwxr-xr-x. 12 root root 4096 1月 3 2017 upload
drwxr-xr-x. 4 root root 72 1月 3 2017 utility
3、安装数据库
[root@redhat html]# yum install -y mariadb-server
4、启动数据库服务
[root@redhat html]# systemctl start mariadb
5、初始化数据库
[root@redhat html]# mysql_secure_installation
NOTE: RUNNING ALL PARTS OF THIS SCRIPT IS RECOMMENDED FOR ALL MariaDB
SERVERS IN PRODUCTION USE! PLEASE READ EACH STEP CAREFULLY!
In order to log into MariaDB to secure it, we'll need the current
password for the root user. If you've just installed MariaDB, and
you haven't set the root password yet, the password will be blank,
so you should just press enter here.
Enter current password for root (enter for none):
OK, successfully used password, moving on...
Setting the root password ensures that nobody can log into the MariaDB
root user without the proper authorisation.
Set root password? [Y/n] y
New password:
Re-enter new password:
Password updated successfully!
Reloading privilege tables..
... Success!
By default, a MariaDB installation has an anonymous user, allowing anyone
to log into MariaDB without having to have a user account created for
them. This is intended only for testing, and to make the installation
go a bit smoother. You should remove them before moving into a
production environment.
Remove anonymous users? [Y/n] y
... Success!
Normally, root should only be allowed to connect from 'localhost'. This
ensures that someone cannot guess at the root password from the network.
Disallow root login remotely? [Y/n] y
... Success!
By default, MariaDB comes with a database named 'test' that anyone can
access. This is also intended only for testing, and should be removed
before moving into a production environment.
Remove test database and access to it? [Y/n] y
- Dropping test database...
... Success!
- Removing privileges on test database...
... Success!
Reloading the privilege tables will ensure that all changes made so far
will take effect immediately.
Reload privilege tables now? [Y/n] y
... Success!
Cleaning up...
All done! If you've completed all of the above steps, your MariaDB
installation should now be secure.
Thanks for using MariaDB!
6、安装PHP相关的数据包
[root@redhat html]# yum install -y php*
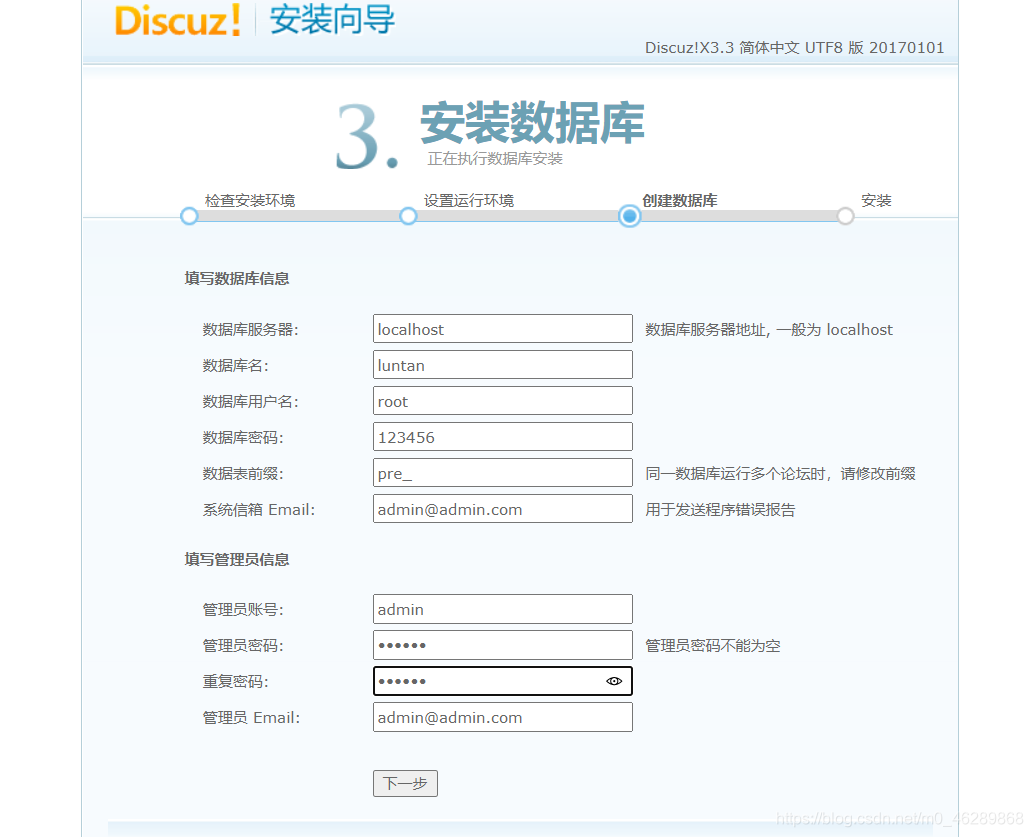
7、创建论坛的数据库
[root@redhat conf]# mysql -u root -p
Enter password:
MariaDB [(none)]> show databases; #查看数据库
+--------------------+
| Database |
+--------------------+
| information_schema |
| mysql |
| performance_schema |
+--------------------+
3 rows in set (0.001 sec)
MariaDB [(none)]> create database luntan; #创建论坛数据库
Query OK, 1 row affected (0.001 sec)
MariaDB [(none)]> show databases;
+--------------------+
| Database |
+--------------------+
| information_schema |
| luntan |
| mysql |
| performance_schema |
+--------------------+
MariaDB [(none)]> use luntan;
Database changed
MariaDB [luntan]> quit
Bye
8、重启服务
[root@redhat conf]# systemctl restart httpd
[root@redhat conf]# systemctl restart mariadb.service

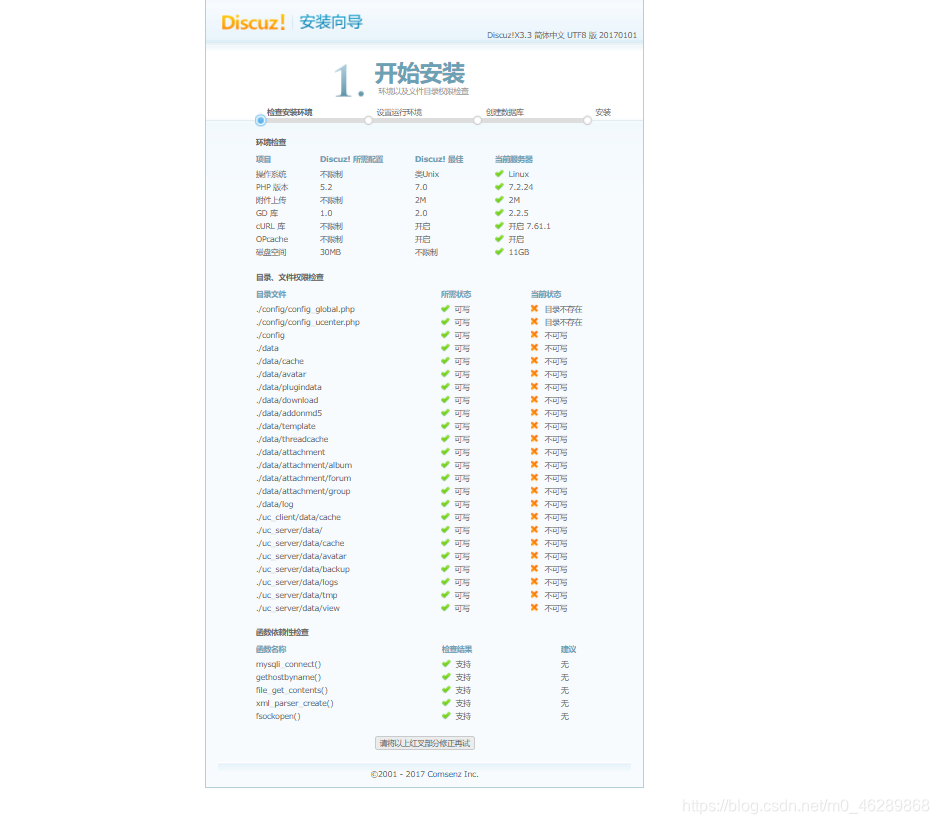
9、修改文件的访问权限
[root@redhat ~]# cd /var/www/html/upload/
[root@redhat upload]# chmod 777 config/ data/ uc* -R
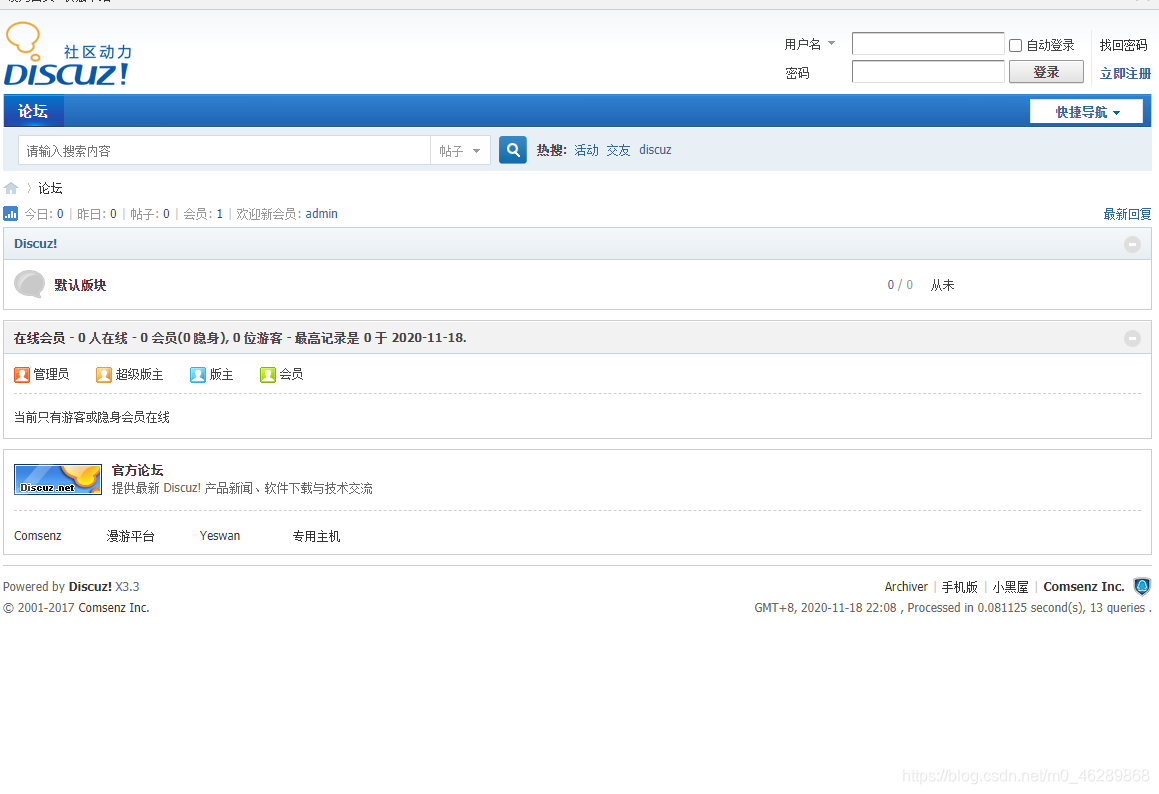
刷新