使用springboot和easyexcel来解析excel文档
这几天为了一个功能(解析excel,存入数据库中),花费了大量时间来看easyexcel插件,因为自己本是个学生,又还要上课,又基础不怎么扎实,走了好多弯路,现在我把我怎眼使用easyexcel的方法,会一五一十的分享出来,希望想很快上手这个插件的小伙伴提供捷径,如有写的不好的地方,敬请谅解。
使用的工具
idea
springboot
easyexcel
创建springboot工程
首先,先创建一个spring boot工程,创建过程如下
- 打开File->New->Project,如图
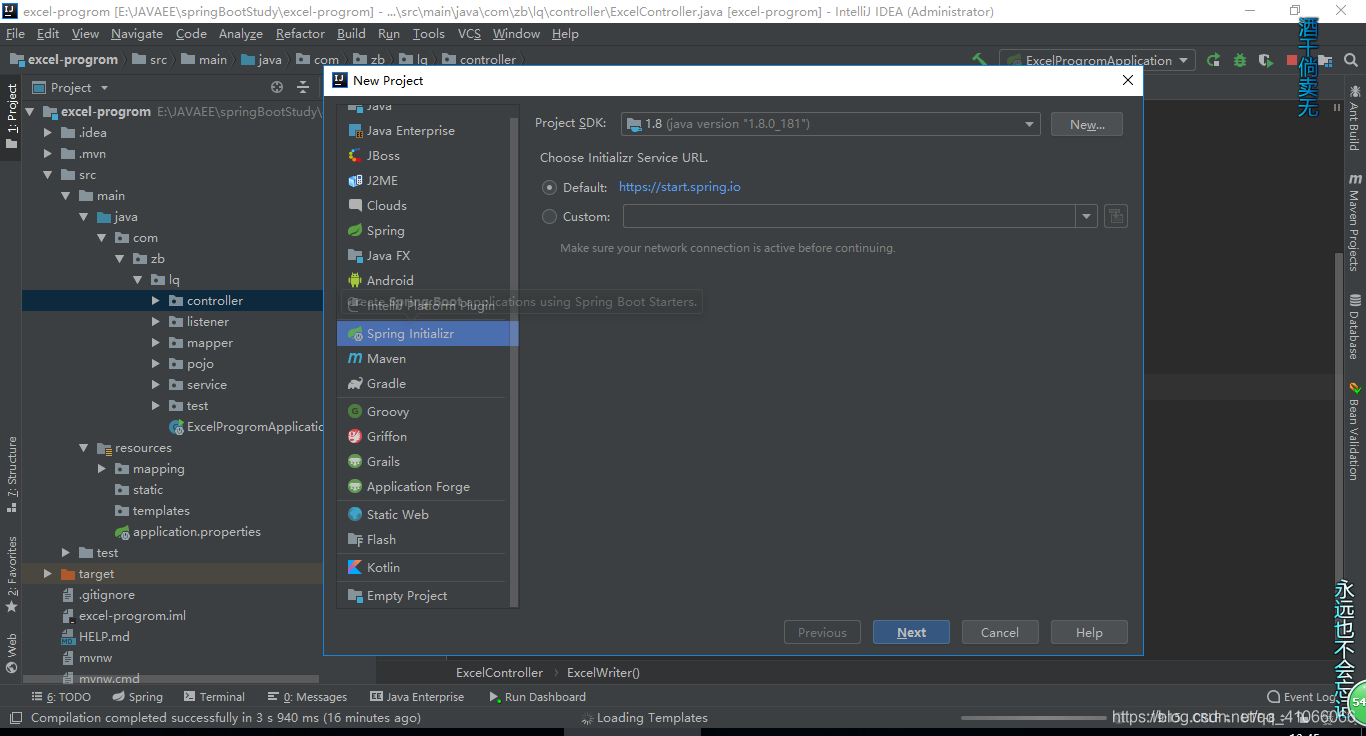
- 点击next,出现如下图
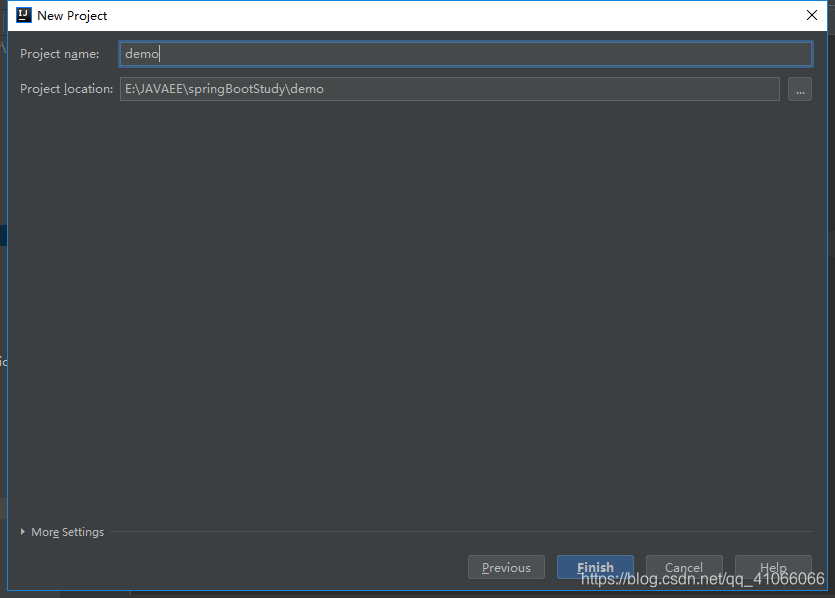
 3. 填写好自己的公司名和项目名,这公司名和项目名随意起,无拘束,填完后,点击next,如图
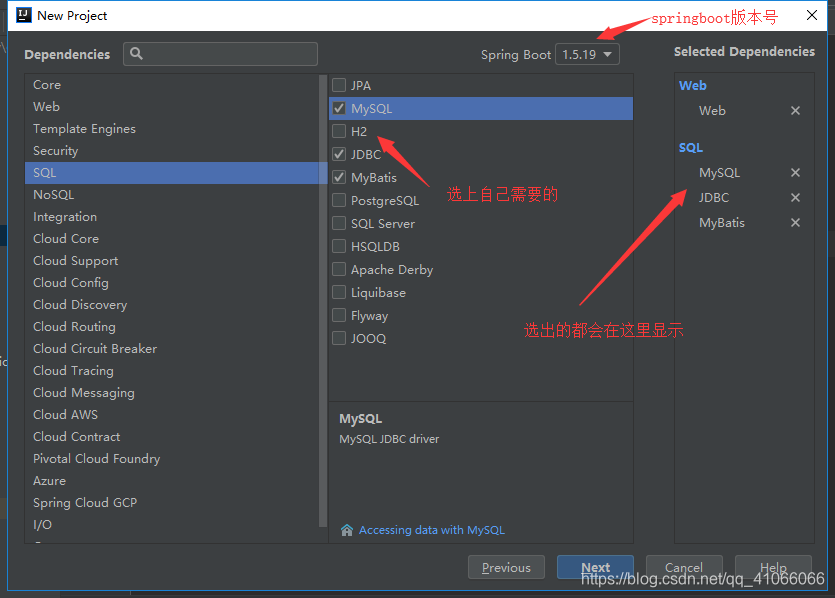 4. 点击next,出现如下图
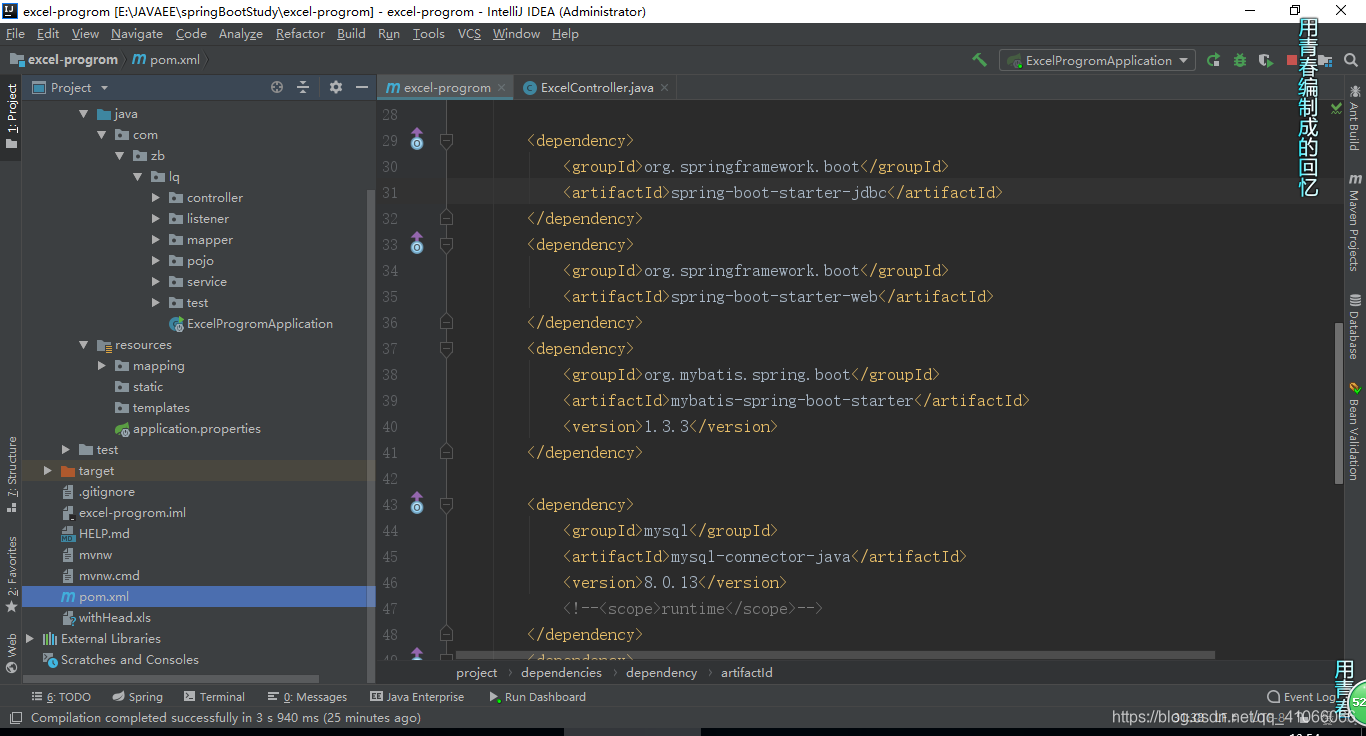
 5. 点击finish,springboot项目建成,生成如图所示
二 使用easyexcel,解析excel文档,并存入数据库中
- 导入easyexcel所需要的依赖包,我用的是1.0.3版本的,你们可以去maven仓库中查看最新banb
<dependency>
            <groupId>com.alibaba</groupId>
            <artifactId>easyexcel</artifactId>
            <version>1.0.3</version>
 </dependency>
pom.xml
<?xml version="1.0" encoding="UTF-8"?>
<project xmlns="http://maven.apache.org/POM/4.0.0" xmlns:xsi="http://www.w3.org/2001/XMLSchema-instance"
         xsi:schemaLocation="http://maven.apache.org/POM/4.0.0 http://maven.apache.org/xsd/maven-4.0.0.xsd">
    <modelVersion>4.0.0</modelVersion>
    <parent>
        <groupId>org.springframework.boot</groupId>
        <artifactId>spring-boot-starter-parent</artifactId>
        <version>1.5.19.RELEASE</version>
        <relativePath/> <!-- lookup parent from repository -->
    </parent>
    <groupId>com.example</groupId>
    <artifactId>excel-progrom</artifactId>
    <version>0.0.1-SNAPSHOT</version>
    <name>excel-progrom</name>
    <description>Demo project for Spring Boot</description>

    <properties>
        <java.version>1.8</java.version>
    </properties>

    <dependencies>

        <dependency>
            <groupId>com.alibaba</groupId>
            <artifactId>easyexcel</artifactId>
            <version>1.0.3</version>
        </dependency>

        <dependency>
            <groupId>org.springframework.boot</groupId>
            <artifactId>spring-boot-starter-jdbc</artifactId>
        </dependency>
        <dependency>
            <groupId>org.springframework.boot</groupId>
            <artifactId>spring-boot-starter-web</artifactId>
        </dependency>
        <dependency>
            <groupId>org.mybatis.spring.boot</groupId>
            <artifactId>mybatis-spring-boot-starter</artifactId>
            <version>1.3.3</version>
        </dependency>

        <dependency>
            <groupId>mysql</groupId>
            <artifactId>mysql-connector-java</artifactId>
            <version>8.0.13</version>
            <!--<scope>runtime</scope>-->
        </dependency>
        <dependency>
            <groupId>org.springframework.boot</groupId>
            <artifactId>spring-boot-starter-test</artifactId>
            <scope>test</scope>
        </dependency>
    </dependencies>

    <build>
        <plugins>
            <plugin>
                <groupId>org.springframework.boot</groupId>
                <artifactId>spring-boot-maven-plugin</artifactId>
            </plugin>
        </plugins>
    </build>

</project>
- 编写excel表头文件
ExcelPropertyIndexModel.Java
import com.alibaba.excel.annotation.ExcelProperty;
import com.alibaba.excel.metadata.BaseRowModel;

   // 通过 @ExcelProperty 注解与 index 变量可以标注成员变量所映射的列
//    作为Excel的模型对象,需要setter方法
public class ExcelPropertyIndexModel extends BaseRowModel {
    @ExcelProperty(value = "姓名", index = 0)
    private String name;
    @ExcelProperty(value = "年龄", index = 1)
    private String age;
    @ExcelProperty(value = "邮箱", index = 2)
    private String email;
    @ExcelProperty(value = "地址", index = 3)
    private String address;
    @ExcelProperty(value = "性别", index = 4)
    private String sax;
    @ExcelProperty(value = "高度", index = 5)
    private String heigh;
    @ExcelProperty(value = "备注", index = 6)
    private String last;

    public String getName() {
        return name;
    }

    public void setName(String name) {
        this.name = name;
    }

    public String getAge() {
        return age;
    }

    public void setAge(String age) {
        this.age = age;
    }

    public String getEmail() {
        return email;
    }

    public void setEmail(String email) {
        this.email = email;
    }

    public String getAddress() {
        return address;
    }

    public void setAddress(String address) {
        this.address = address;
    }

    public String getSax() {
        return sax;
    }

    public void setSax(String sax) {
        this.sax = sax;
    }

    public String getHeigh() {
        return heigh;
    }

    public void setHeigh(String heigh) {
        this.heigh = heigh;
    }

    public String getLast() {
        return last;
    }

    public void setLast(String last) {
        this.last = last;
    }
}
- 编写excel的监听器
ExcelListener.java
import com.alibaba.excel.ExcelWriter;
import com.alibaba.excel.read.context.AnalysisContext;
import com.alibaba.excel.read.event.AnalysisEventListener;
import com.zb.lq.controller.ExcelController;

import java.util.ArrayList;
import java.util.List;

public class ExcelListener extends AnalysisEventListener {
    //自定义用于暂时存储data。
    //可以通过实例获取该值
    public List<List<String>> datas = new ArrayList<>();
    public void invoke(Object object, AnalysisContext context) {
        List<String> stringList= (List<String>) object;
        System.out.println("当前sheet"+context.getCurrentSheet().getSheetNo()+ " 当前行:" + context.getCurrentRowNum()
                + " data:" + stringList.get(0));
        datas.add(stringList);//数据存储到list,供批量处理,或后续自己业务逻辑处理。
        doSomething(stringList);//根据自己业务做处理
    }
    private void doSomething(List<String> string) {
        //1、入库调用接口
    }
    public void doAfterAllAnalysed(AnalysisContext context) {
        // datas.clear();//解析结束销毁不用的资源
    }
    public List<List<String>> getDatas() { return datas; }
    public void setDatas(List<List<String>> datas) { this.datas = datas; }
}
- 读取excel中数据,并以集合形式返回给controller层(表现层)
mport com.alibaba.excel.ExcelReader;
import com.alibaba.excel.support.ExcelTypeEnum;
import com.zb.lq.listener.ExcelListener;

import java.io.*;
import java.util.List;

public class ExtelRead {
    private static InputStream getInputStream(String fileName) {
        try {
            return new FileInputStream(new File(fileName));
        } catch (FileNotFoundException e) {
            e.printStackTrace();
        }
        return null;
    }
    public static List<List<String>> testRead() {
        InputStream inputStream = getInputStream("withHead.xls");
        try {
            // 解析每行结果在listener中处理
            ExcelListener listener = new ExcelListener();
            ExcelReader excelReader = new ExcelReader(inputStream, ExcelTypeEnum.XLS, null, listener);
            excelReader.read();
            List<List<String>> datas = listener.getDatas();
            datas.remove(0);  //把表头去掉,如果需要表头的话,可以把这句话删除掉
            return datas;
        } catch (Exception e) {
            e.printStackTrace();
            return  null;
        } finally {
            try {
                inputStream.close();
            } catch (IOException e) {
                e.printStackTrace();
            }
        }
    }
}
到此,easyexcel解析工作基本完工,接下来非常熟悉的MVC架构(表现层,业务逻辑层,数据访问层)
三. 创建MVC架构
- controller层(表现层)
ExcelController.java
@Controller
public class ExcelController {

    @RequestMapping("/ExcelWriter")
    @ResponseBody    // 恒不跳转,以json格式显示在浏览器上
    public List<List<String>> ExcelWriter(){
        List<List<String>> lists = ExtelRead.testRead();
        if(lists != null){
            System.out.println(lists.size());
        }else{
            System.out.println("异常");
        }
        return lists;
    }
}
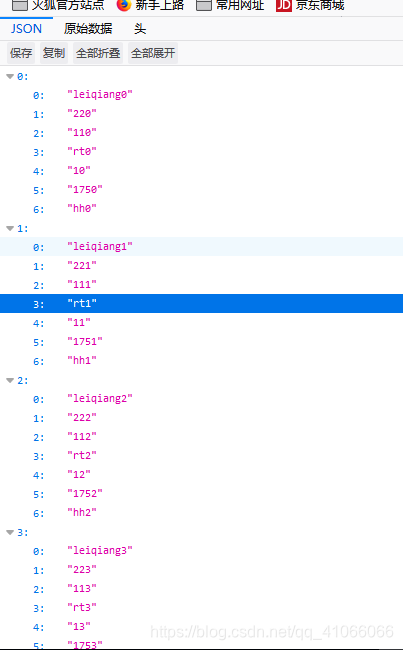
运行springboot,会发现浏览器显示出信息来,如图,说明解析成功
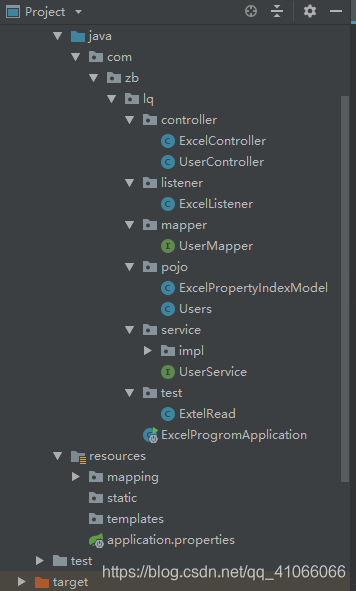
我的项目结构
后面的业务逻辑层和数据访问层,由于时间紧张,就先不写了,其实业务逻辑层和数据访问层写法和平常一样,平常怎样写现在就怎样写。
公众号
希望大家多多关注,里面不定期发放干货
领取全套资料:回复关键字【666】
