
介绍
服务引入无非就是在客户端生成一个代理对象,这个代理对象帮我们组装调用参数,发起网络调用,接收请求等。我们调用一个接口的方法时,就像调用本地方法一样。
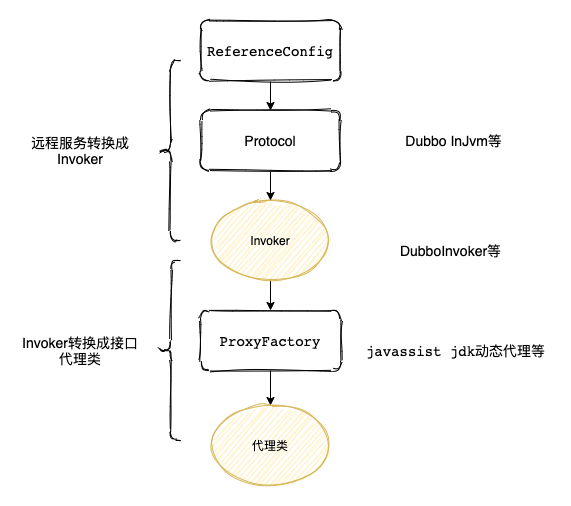
放一个Dubbo服务导出的简略图,后面分析的时候不至于绕晕。
按照服务导出的套路来分析服务引入。在引入服务的时候,需要配置如下内容,这个配置会被解析为一个ReferenceBean对象
<dubbo:reference id="demoService" check="false" interface="org.apache.dubbo.demo.DemoService"/>
public class ReferenceBean<T> extends ReferenceConfig<T> implements
FactoryBean, ApplicationContextAware, InitializingBean, DisposableBean {
ReferenceBean实现了FactoryBean接口,当想获取这个Bean时,会调用FactoryBean#getObject方法返回Bean
ReferenceBea,当服务被注入其它类时,才会启动引入流程,即用到才会引入,这种引入方式为懒汉式。
ReferenceBean实现了InitializingBean接口,即Bean在初始化的过程中,会回调这个接口的afterPropertiesSet方法,根据配置决定是否手动调用FactoryBean#getObject方法。
<dubbo:reference id="demoService" check="false" init="true" interface="org.apache.dubbo.demo.DemoService"/>
init=true,当spring容器启动后,服务已经被引入,这种方式为饿汉式。
public void afterPropertiesSet() throws Exception {


    // 进行属性赋值

    // 当配置了饿汉式时,调用FactoryBean#getObject
    if (shouldInit()) {


        getObject();
    }
}
懒汉式和饿汉式只是服务引入的时机不同,引入的过程都是调用FactoryBean#getObject方法。所以我们追一下FactoryBean#getObject方法即可
初始化过程
// ReferenceBean
// 重写了FactoryBean接口的getObject方法
public Object getObject() {


    return get();
}
// ReferenceConfig
// 生成代理类
public synchronized T get() {


    checkAndUpdateSubConfigs();

    if (destroyed) {


        throw new IllegalStateException("The invoker of ReferenceConfig(" + url + ") has already destroyed!");
    }
    if (ref == null) {


        init();
    }
    return ref;
}
// ReferenceConfig
private void init() {


	// 构建参数,代码省略
    // 创建代理对象
    ref = createProxy(map);
}
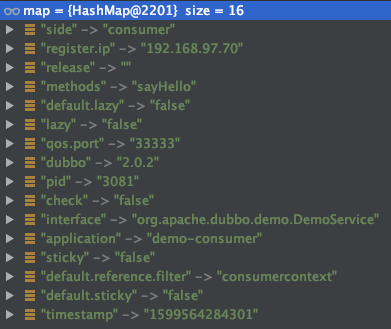
init方法主要构建参数map,不详细分析了,直接看结果。接着调用createProxy创建代理对象。
创建代理对象的时候,根据配置方式的不同,按照如下三种方式来创建代理
- 本地引用
- 使用直连的方式引用服务
- 基于注册中心引用服务
当基于注册中心引用服务的时候,分为单个注册中心引入和多个注册中心引入。就简单分析一下单个注册中心引入的方式
单个注册中心
当调用refprotocol#refer方法时,protocol=registry,所以对应的实现类为RegistryProtocol,进入RegistryProtocol#refer方法
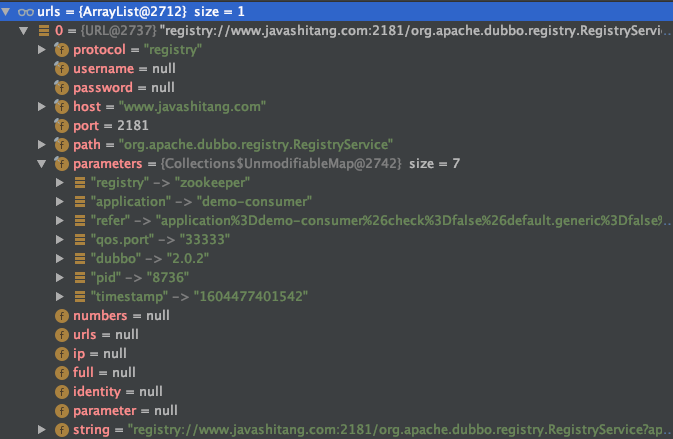
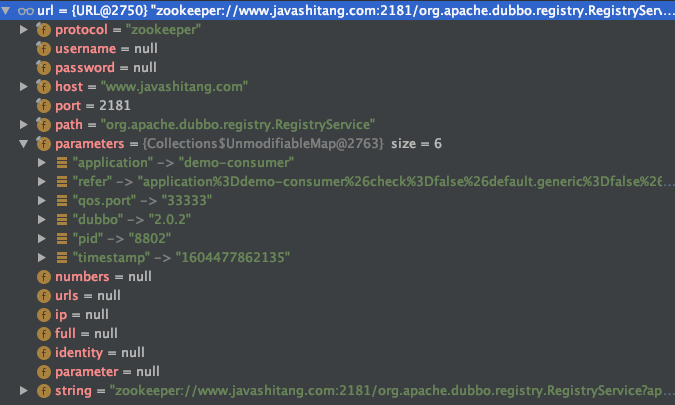
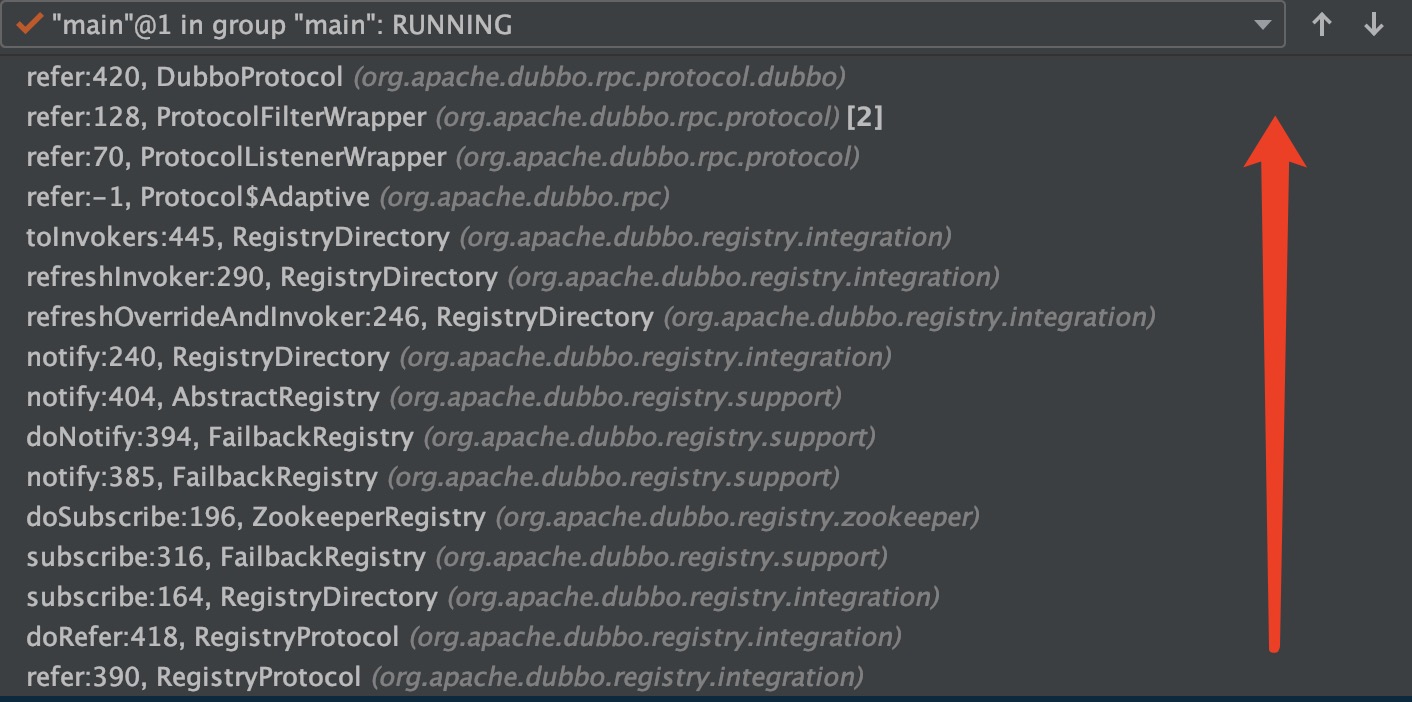
这个方法的第一步就是将protocol设置为parameters中registry 的值,然后把parameters中registry的值删除,对比一下上下两个图就知道了
接着会调用到doRefer方法
// 引入
// RegistryProtocol
private <T> Invoker<T> doRefer(Cluster cluster, Registry registry, Class<T> type, URL url) {


    // 创建服务目录
    RegistryDirectory<T> directory = new RegistryDirectory<T>(type, url);
    directory.setRegistry(registry);
    // 放入生成的Protocol$Adaptive
    directory.setProtocol(protocol);
    // all attributes of REFER_KEY
    Map<String, String> parameters = new HashMap<String, String>(directory.getUrl().getParameters());
    // 构建订阅的url
    URL subscribeUrl = new URL(CONSUMER_PROTOCOL, parameters.remove(REGISTER_IP_KEY), 0, type.getName(), parameters);
    if (!ANY_VALUE.equals(url.getServiceInterface()) && url.getParameter(REGISTER_KEY, true)) {


        directory.setRegisteredConsumerUrl(getRegisteredConsumerUrl(subscribeUrl, url));
        // consumer也将自己注册到注册中心
        registry.register(directory.getRegisteredConsumerUrl());
    }
    // 初始化路由规则
    directory.buildRouterChain(subscribeUrl);
    // 订阅这几个节点的变化
    // category providers configurators routers
    // RegistryProtocol会收到这几个节点的信息,触发生成DubboInvoker,即用于远程调用的Invoker
    directory.subscribe(subscribeUrl.addParameter(CATEGORY_KEY,
            PROVIDERS_CATEGORY + "," + CONFIGURATORS_CATEGORY + "," + ROUTERS_CATEGORY));
    // 从服务目录选出来一个Invoker
    // MockClusterWrapper -> FailoverCluster
    // MockClusterInvoker -> FailoverClusterInvoker
    Invoker invoker = cluster.join(directory);
    ProviderConsumerRegTable.registerConsumer(invoker, url, subscribeUrl, directory);
    return invoker;
}
这个方法创建了一个RegistryDirectory对象,你可以先认为RegistryDirectory根据服务提供者的地址生成了一系列的Invoker,这些Invoker列表是动态的,根据注册中心的状态来刷新Invoker
接着consumer将自己注册到注册中心,订阅category providers configurators routers这几个节点的变化。
当consumer收到这几个节点的信息的时候,会初始化路由规则,将provider url 转为Invoker 等
当协议为dubbo时,整个执行链路如下,最后会生成DubboInvoker。DubboInvoker生成的过程后面一小节详细分析
Invoker invoker = cluster.join(directory);
通过RegistryDirectory和Cluster接口的配置,从服务提供者多个Invoker里面选一个返回,集群容错的一节会介绍哈
// ReferenceConfig
proxyFactory.getProxy(invoker)
接着对返回的Invoker生成目标接口的代理类并返回,导出过程完毕。
DubboInvoker的具体执行过程
前面说到当服务目录订阅providers节点的时候,会把providerUrl转为Invoker,即可以发起网络调用的对象。
整个调用链路如下
由providerUrl转为Invoker的过程在《Dubbo源码解析:集群容错》一节中详细介绍
// DubboProtocol#refer
DubboInvoker<T> invoker = new DubboInvoker<T>(serviceType, url, getClients(url), invokers);
直接new一个DubboInvoker,最主要是的生成一个ExchangeClient(可发起网络调用的客户端)
private ExchangeClient[] getClients(URL url) {


    // whether to share connection

    // 是否共享连接
    boolean useShareConnect = false;

    int connections = url.getParameter(Constants.CONNECTIONS_KEY, 0);
    List<ReferenceCountExchangeClient> shareClients = null;
    // if not configured, connection is shared, otherwise, one connection for one service
    // 没有配置连接数,则默认使用一个
    if (connections == 0) {


        useShareConnect = true;

        /**
         * The xml configuration should have a higher priority than properties.
         */
        String shareConnectionsStr = url.getParameter(Constants.SHARE_CONNECTIONS_KEY, (String) null);
        // 这里默认为1
        connections = Integer.parseInt(StringUtils.isBlank(shareConnectionsStr) ? ConfigUtils.getProperty(Constants.SHARE_CONNECTIONS_KEY,
                Constants.DEFAULT_SHARE_CONNECTIONS) : shareConnectionsStr);
        shareClients = getSharedClient(url, connections);
    }

    ExchangeClient[] clients = new ExchangeClient[connections];
    for (int i = 0; i < clients.length; i++) {


        if (useShareConnect) {


            // 获取共享客户端
            clients[i] = shareClients.get(i);

        } else {


            // 初始化新的客户端
            clients[i] = initClient(url);
        }
    }

    return clients;
}
这部分是根据配置来决定新开连接,还是复用之前的连接
接着看一下初始化连接的过程
private ExchangeClient initClient(URL url) {


    // client type setting.
    // 客户端类型,默认为netty
    String str = url.getParameter(Constants.CLIENT_KEY, url.getParameter(Constants.SERVER_KEY, Constants.DEFAULT_REMOTING_CLIENT));

    // 加编解码和心跳包参数
    url = url.addParameter(Constants.CODEC_KEY, DubboCodec.NAME);
    // enable heartbeat by default
    url = url.addParameterIfAbsent(Constants.HEARTBEAT_KEY, String.valueOf(Constants.DEFAULT_HEARTBEAT));

    // BIO is not allowed since it has severe performance issue.
    // 检查是否有这个类型的客户端
    if (str != null && str.length() > 0 && !ExtensionLoader.getExtensionLoader(Transporter.class).hasExtension(str)) {


        throw new RpcException("Unsupported client type: " + str + "," +
                " supported client type is " + StringUtils.join(ExtensionLoader.getExtensionLoader(Transporter.class).getSupportedExtensions(), " "));
    }

    ExchangeClient client;
    try {


        // connection should be lazy
        // 懒加载,当真正发生请求的时候才进行连接
        if (url.getParameter(Constants.LAZY_CONNECT_KEY, false)) {


            client = new LazyConnectExchangeClient(url, requestHandler);

        } else {


            // 进行连接
            client = Exchangers.connect(url, requestHandler);
        }

    } catch (RemotingException e) {


        throw new RpcException("Fail to create remoting client for service(" + url + "): " + e.getMessage(), e);
    }

    return client;
}
看到可以配置生成Invoker的时候直接进行连接,还是在发起请求的时候才连接服务端。
最终返回的HeaderExchangeClient封装的为NettyClient。连接的这部分代码和服务导出的部分很类似,画个图总结一下服务连接的过程

// NettyClient
protected void doOpen() throws Throwable {


    // 执行业务逻辑的handler
    final NettyClientHandler nettyClientHandler = new NettyClientHandler(getUrl(), this);
    bootstrap = new Bootstrap();
    bootstrap.group(nioEventLoopGroup)
            .option(ChannelOption.SO_KEEPALIVE, true)
            .option(ChannelOption.TCP_NODELAY, true)
            .option(ChannelOption.ALLOCATOR, PooledByteBufAllocator.DEFAULT)
            //.option(ChannelOption.CONNECT_TIMEOUT_MILLIS, getTimeout())
            .channel(NioSocketChannel.class);

    if (getConnectTimeout() < 3000) {


        bootstrap.option(ChannelOption.CONNECT_TIMEOUT_MILLIS, 3000);
    } else {


        bootstrap.option(ChannelOption.CONNECT_TIMEOUT_MILLIS, getConnectTimeout());
    }

    bootstrap.handler(new ChannelInitializer() {


        @Override
        protected void initChannel(Channel ch) throws Exception {


            int heartbeatInterval = UrlUtils.getHeartbeat(getUrl());
            NettyCodecAdapter adapter = new NettyCodecAdapter(getCodec(), getUrl(), NettyClient.this);
            ch.pipeline()//.addLast("logging",new LoggingHandler(LogLevel.INFO))//for debug
                    .addLast("decoder", adapter.getDecoder())
                    .addLast("encoder", adapter.getEncoder())
                    .addLast("client-idle-handler", new IdleStateHandler(heartbeatInterval, 0, 0, MILLISECONDS))
                    .addLast("handler", nettyClientHandler);
        }
    });
}
所以在下一节,我们又要分析这个ChannelHandler的执行过程了
欢迎关注

参考博客
一个dubbo系列文章
[1]https://juejin.im/user/465848661449693/posts
[2]https://zhuanlan.zhihu.com/p/87128564
直连和注册中心服务引用流程
[3]https://developer.aliyun.com/article/723243
[4]https://aobing.blog.csdn.net/article/details/108461885