open-falcon作为小米的开源监控系统,有关linux的资料已经非常多,但是有关windows系统的资料相对比较少,甚至官方文档上也只有这几行字就概括了windows系统部署agent的全部内容。
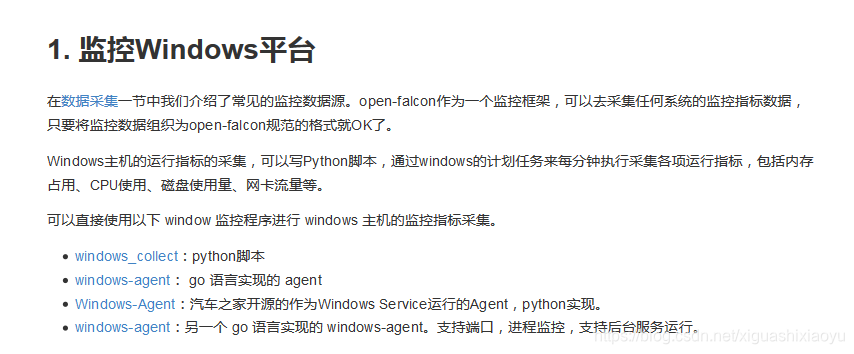

但是目前是需要监控windows服务器的,所以也只能照着这个文档慢慢摸索了。
因为感觉没必要部署一个agent来监控(其实是部署agent报错了,又懒得调),所以选择用python脚本来监控windows的基础信息。
一、下载脚本
collect.py的下载路径为
https://github.com/freedomkk-qfeng/falcon-scripts/tree/master/windows_collect
二、设置配置分离
脚本中有一些参数是可以自己定义,自己设置的,但是因为后期这个脚本要生成可执行文件,参数写死在脚本里不好更改,所以进行了配置分离。
需要进行分离的参数为:
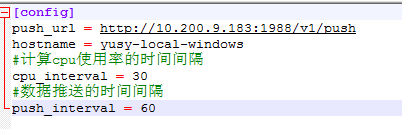
将这些内容单独存放在一个名为push.ini的文件中,然后在脚本中加入如下内容:
config = configparser.ConfigParser()
config.read("C:/Windows/work/push.ini",encoding = 'utf-8')
push_url = config.get('config','push_url')
endpoint = config.get('config','hostname')
cpu_interval = config.getint('config','cpu_interval')
push_interval = config.getint('config','push_interval')
push_url设置为部署了linxu agent的服务器的地址。
三、设置为服务
open-falcon官方文档的意思是将脚本设置为定时任务,每个固定的时间执行一次,那就是要在服务器上进行鼠标操作,如果服务器数量比较多的话,那工作量还是比较大的,所以我想把脚本设置为以服务的方式一直在后台运行(其实好像可以试一下命令行设置定时任务)。
首先可以在网上随便找一个python文件生成服务的模板,如下:
#!/usr/bin/env python
# -*- coding: utf-8 -*-
import sys
import time

import win32api
import win32event
import win32service
import win32serviceutil
import servicemanager
import win32timezone


class WindowsCollectService(win32serviceutil.ServiceFramework):

    _svc_name_ = "WindowsCollectService"
    _svc_display_name_ = "Windows Collect Service"
    _svc_description_ = "Windows Collect Service"

    def __init__(self, args):
        self.log('init')
        win32serviceutil.ServiceFramework.__init__(self, args)
        self.stop_event = win32event.CreateEvent(None, 0, 0, None)

    def SvcDoRun(self):
        self.ReportServiceStatus(win32service.SERVICE_START_PENDING)
        try:
            self.ReportServiceStatus(win32service.SERVICE_RUNNING)
            self.log('start')
            self.start()
            self.log('wait')
            win32event.WaitForSingleObject(self.stop_event, win32event.INFINITE)
            self.log('done')
        except BaseException as e:
            self.log('Exception : %s' % e)
            self.SvcStop()

    def SvcStop(self):
        self.ReportServiceStatus(win32service.SERVICE_STOP_PENDING)
        self.log('stopping')
        self.stop()
        self.log('stopped')
        win32event.SetEvent(self.stop_event)
        self.ReportServiceStatus(win32service.SERVICE_STOPPED)

    def start(self):
        time.sleep(10000)

    def stop(self):
        pass

    def log(self, msg):
        servicemanager.LogInfoMsg(str(msg))

    def sleep(self, minute):
        win32api.Sleep((minute*1000), True)

if __name__ == "__main__":
    if len(sys.argv) == 1:
        servicemanager.Initialize()
        servicemanager.PrepareToHostSingle(WindowsCollectService)
        servicemanager.StartServiceCtrlDispatcher()
    else:
        win32serviceutil.HandleCommandLine(WindowsCollectService)
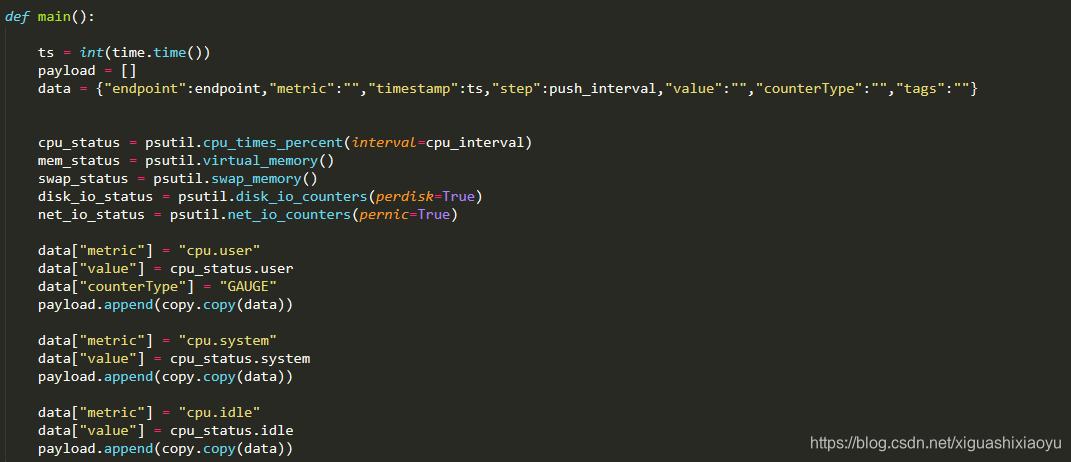
在def SvcDoRun(self)方法中可以插入windows_collect.py的代码。
因为需要脚本以服务的形式一直在后台运行的话,可能会遇到各种报错,如数据推送的地址突然无法连接等,此时服务会直接中断,那么就不会 采集数据,也不会上报数据。只能再登录系统,手动启动服务。所以在脚本中要有容错的机制。
我使用的方法比较简单粗暴,只要有错误,就一律抛出异常然后继续运行。
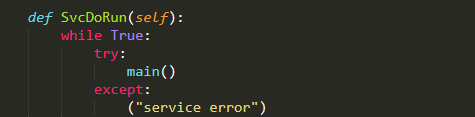
其中main()方法为windows_collect.py中的内容
四、生成可执行文件
因为并不是所有系统都有安装python,所以要将python脚本打包生成可执行文件。
首先安装pyinstaller打包工具
pip install pyinstaller
将脚本windows_collect_service.py脚本生成可执行文件
pyinstaller -F windows_collect_service.py
执行完毕后可以看到在当前目录下生成了一个dist文件夹,该文件夹下的windows_collect_service.exe就是生成的可执行文件。
五、部署
在C:/windows路径下创建一个新目文件夹下,命名为work,然后将push.ini和windows_collect_service.exe文件放在该文件夹下。在该文件夹下按住shift然后点击鼠标右键,选择“在此处打开命令窗口(w)”选项,在弹出的cmd窗口中进行服务的安装和启动,命令如下:
- 安装windows_collect服务并设置开机自启动
windows_collect_service.exe --startup auto install
启动windows_collect服务:
windows_collect_service.exe start
重启windows_collect服务:
windows_collect_service.exe restart
关闭windows_collect服务:
windows_collect_service.exe stop
卸载windows_collect服务:
sc delete WindowsCollectService
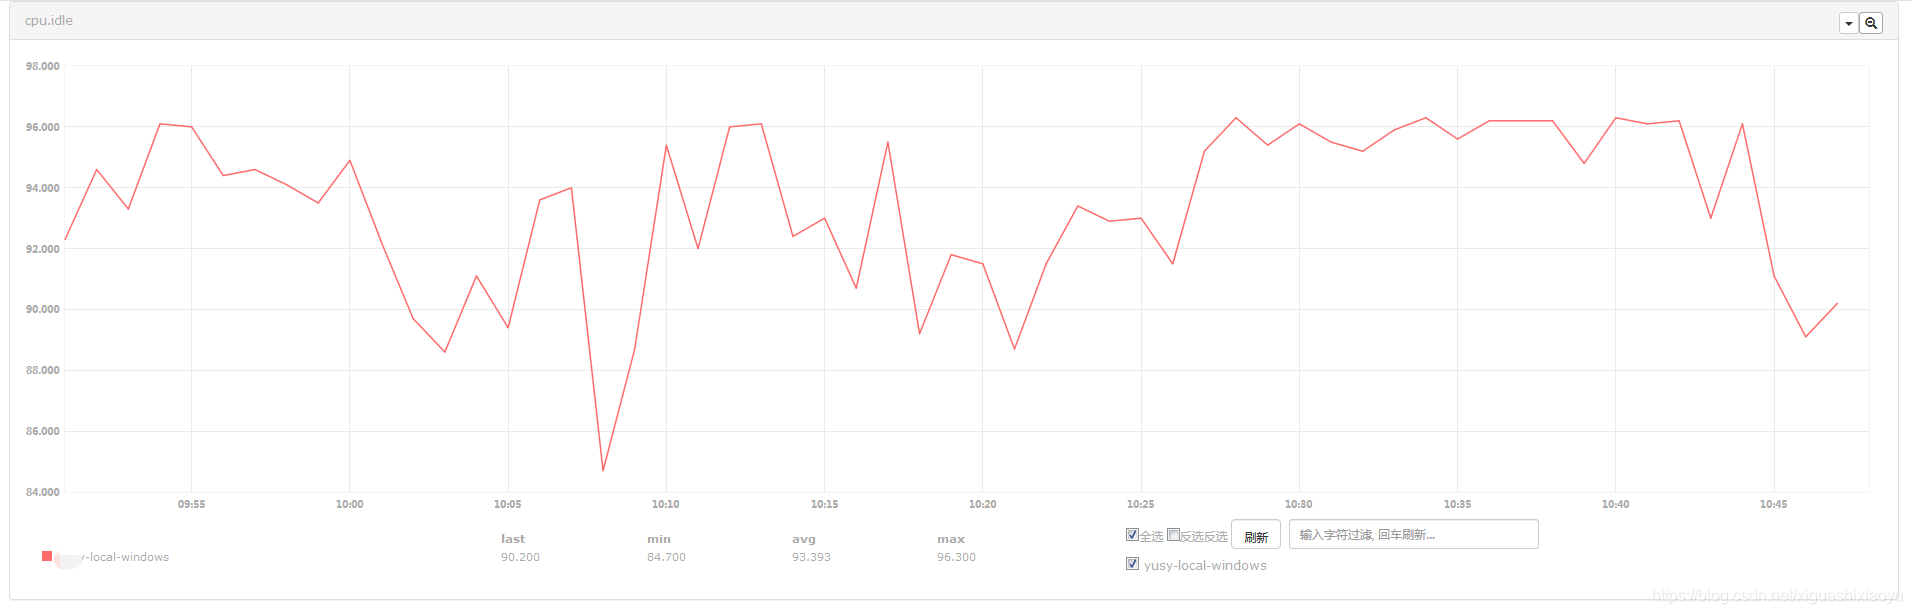
安装并启动之后登录平台就可以看到数据已经上传了。
六、 报错与解决
修改了配置文件后启动服务时,可能会报如下错误。
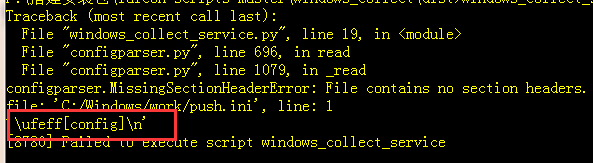
有可能是因为直接编辑的时候文本编码发生了改变,由utf-8变成了uft-8-BOM编码,所以要使用文本编辑器改回uft-8编码
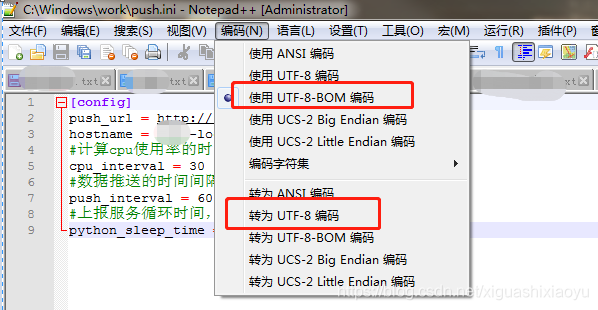
修改后即可正常运行
