我使用的机子:
- CentOS 7(腾讯的云服务器)
目录
一、什么是Docker
二、安装前提
三、安装步骤
四、额外操作
一、什么是Docker
Docker 是一个开源的应用容器引擎,让开发者可以打包他们的应用以及依赖包到一个可移植的镜像中,然后发布到任何流行的 Linux或Windows 机器上,也可以实现虚拟化。容器是完全使用沙箱机制,相互之间不会有任何接口。
Docker图片在这里
优点:
- Docker帮我们省去大量的生产环境的测试,因为开发环境就是你的生产环境
- Docker 能更好地利(ya)用(zha)计算机的性能
二、安装前提
- 如果你安装了旧版本Docker就请先卸载,请阅读额外步骤中的第2步
- 你需要一台装有Windows/macOS/Linux的计算机(或者服务器)
- 有稳定的网络连接
- 认真耐心地阅读本文章hhh
三、安装步骤
-
下载Docker
a. 使用Docker的仓库安装依赖包
sudo yum install -y yum-utils \
                    device-mapper-persistent-data \
                    lvm2
添加仓库(stable版本)
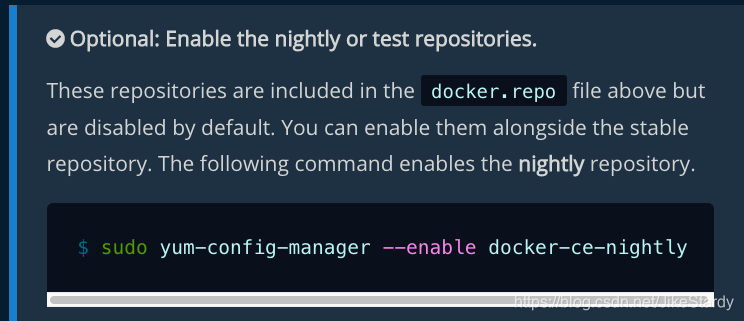
希望使用其他版本的请参考Docker官方文档中的这一部分命令!
sudo yum-config-manager \
            --add-repo \
https://download.docker.com/linux/centos/docker-ce.repo
应该会看到
repo saved to /etc/yum.repos.d/docker-ce.repob. 下载文件再手动安装
(先挖着坑,有空再填了)
-
安装Docker
sudo yum install docker-ce docker-ce-cli containerd.io显示 Compelete! 即可进入下一步
Tips: 如果出现了GPG key验证,那么请检查密钥是否匹配如下字符串060A 61C5 1B55 8A7F 742B 77AA C52F EB6B 621E 9F35 -
启动Docker
扫描二维码关注公众号,回复: 11952483 查看本文章
sudo systemctl start docker
ps -ef | grep docker
只要出现dockerd就证明docker启动成功了
root 30820 1 0 14:10 ? 00:00:00 /usr/bin/dockerd -H fd:// --containerd=/run/containerd/containerd.sock root 31127 23503 0 14:11 pts/0 00:00:00 grep --color=auto docker -
运行Hello World示例
[root@VM_0_15_centos ~]# docker run hello-world
Unable to find image 'hello-world:latest' locally
latest: Pulling from library/hello-world
1b930d010525: Pull complete
Digest: sha256:d1668a9a1f5b42ed3f46b70b9cb7c88fd8bdc8a2d73509bb0041cf436018fbf5
Status: Downloaded newer image for hello-world:latest
Hello from Docker!
This message shows that your installation appears to be working correctly.

To generate this message, Docker took the following steps:
1. The Docker client contacted the Docker daemon.
2. The Docker daemon pulled the "hello-world" image from the Docker Hub.(amd64)
3. The Docker daemon created a new container from that image which runs the executable that produces the output you are currently reading.
4. The Docker daemon streamed that output to the Docker client, which sent it to your terminal.

To try something more ambitious, you can run an Ubuntu container with:
$ docker run -it ubuntu bash

Share images, automate workflows, and more with a free Docker ID:
https://hub.docker.com/

For more examples and ideas, visit:
https://docs.docker.com/get-started/
那就证明Docker已经安装好并且可以正常使用了
四、可选操作
-
Docker换源
cd /etc/docker
vim daemon.json
在daemon.json这个文件里添加下述内容
{
	"registry-mirrors": [
		"https://registry.docker-cn.com",
		"http://hub-mirror.c.163.com",
		"https://docker.mirrors.ustc.edu.cn",
		"https://registry.docker-cn.com",
		"https://docker.mirrors.ustc.edu.cn"
	],
	"dns": ["223.5.5.5","223.6.6.6"]
}
然后重启Docker
systemctl restart docker.service -
卸载旧版本Docker
sudo yum remove docker \
                 docker-client \
                 docker-client-latest \
                 docker-common \
                 docker-latest \
                 docker-latest-logrotate \
                 docker-logrotate \
                 docker-engine
完成这一步操作之后,yum会报告上面所有的包都没被安装
而/var/lib/docker/下的镜像、容器、分卷和网络配置都会被保留下来
文章中有一部分是我自己对Docker的看法,不代表绝对正确。