本人前几天需要在linux上部署mqtt服务器,查阅资料后部署测试成功,现将操作流程整理至此。
服务端
1、安装必要依赖
安装编译工具
1、yum install gcc-c++
跨平台的安装(编译)工具
2、yum install cmake
第三方软件开发时使用的Lib包
3、yum install openssl-devel
4、yum install libuuid-devel
5、yum install c-areas
6、yum install uuid-devel
2、下载安装包
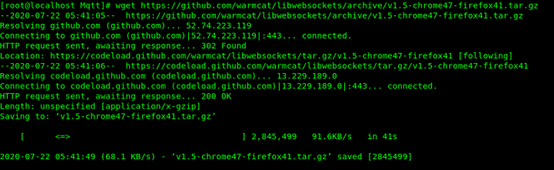
(1)下载libwebsockets
wget https://github.com/warmcat/libwebsockets/archive/v1.5-chrome47-firefox41.tar.gz
(2)下载mosquitto
wget http://mosquitto.org/files/source/mosquitto-1.6.8.tar.gz

3、解压编译安装操作
(1)解压、编译、安装libwebsockets
tar zxvf libwebsockets-1.5-chrome47-firefox41.tar.gz
cd libwebsockets-1.5-chrome47-firefox41
mkdir build
cd build
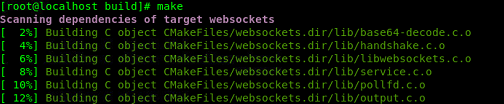
cmake .. //编译
make //编译
make install //安装


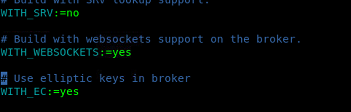
(2)解压、修改mosquitto 的配置config.mk使之支持websocket(默认不支持websocket)
tar zxvf mosquitto-1.8.8.tar.gz
cd mosquitto-1.8.8
//将config.mk 的WITH_WEBSOCKETS:=NO 修改 为 WTIH_WEBSOCKETS:=yes
vim config.mk
(3)编译、安装mosquitt
make
make install
(4)修改mosquitto的配置文件
cd /etc/mosquitto
cp mosquitto.conf.example mosquitto.conf
vim mosquitto.conf
这里的port 和 listener 都可以自定义,只要没有端口冲突即可。

(5)添加mosquitto用户,启动mosquitto服务
adduser mosquitto
//mosquitto -c /etc/mosquitto/mosquitto.conf 前台启动方式
mosquitto -c /etc/mosquitto/mosquitto.conf -d //后台启动方式(推荐)
启动报错:
error while loading shared libraries: libwebsockets.so.5: cannot open shared object file: No such file or directory
是因为没有找到安装的libwebsockets库,执行如下软链接命令:
ln -s /usr/local/lib/libwebsockets.so.5 /usr/lib64/libwebsockets.so.5
ldconfig
mosquitto -c /etc/mosquitto/mosquitto.conf -d
至此已可以正确打开mqtt服务器
客户端
先解决一个问题,执行mosquitto客户端程序时出现找不到动态库:libmosquitto.so.1
mosquitto_sub: error while loading shared libraries: libmosquitto.so.1: cannot open shared object file: No such file or directory
操作:
ln -s /usr/local/lib/libmosquitto.so.1 /usr/lib/libmosquitto.so.1
ldconfig
1、匿名客户端
我们再打开一个服务器窗口,在一个(订阅)窗口输入:
mosquitto_sub -t hello
另一个(发布)窗口输入:
mosquitto_pub -t hello -h localhost -m "hello world"
效果图:

2、创建账号密码客户端
(1)用户名密码配置,不允许匿名登陆
打开mosquitto.conf文件( /etc/mosquitto/mosquitto.conf ),找到allow_anonymous节点,这个节点作用是,是否开启匿名用户登录。去掉前面的#,改为false。在651行左右

(2)设置用户密码文件路径
找到password_file节点,这个节点是告诉服务器你要配置的用户将存放在哪里。打开此配置并指定pwfile.example文件路径(注意是绝对路径),在669行左右。
password_file /etc/mosquitto/pwfile.example

(3)创建用户名
终端输入,最后面的是用户名admin. 之后自动弹出密码和确认密码,输入即可。(注意第二次创建用户时不用加 -c 如果加 -c 会把第一次创建的用户覆盖。)
mosquitto_passwd -c /etc/mosquitto/pwfile.example admin
(4)重启服务器
1 打印并查看mosquitto 的进程id :
ps -ef | grep mos
2 停止线程服务:
kill -9 9307
3 再次启动mqtt:
mosquitto -c /etc/mosquitto/mosquitto.conf -d
然后打开两个窗口
先订阅者
mosquitto_sub -h localhost -t mtopic -u admin -P admin
发布者
mosquitto_pub -h localhost -t mtopic -u admin -P admin -m "test"
