前言
这篇文章是接着上一篇来的。算是专门对怎么整合的整理了一下。
上一篇地址:https://editor.csdn.net/md/?articleId=107359187
开始
- 依赖
ps:官方wiki里面的demo使用的版本是2.1.6的springboot,我这边使用的是2.2.7的。经过测试,发现没有影响,demo代码可以直接拿来用<dependency> <groupId>com.alibaba.csp</groupId> <artifactId>sentinel-apache-dubbo-adapter</artifactId> <version>1.6.3</version> </dependency> <dependency> <groupId>com.alibaba.cloud</groupId> <artifactId>spring-cloud-starter-alibaba-sentinel</artifactId> <version>2.1.0.RELEASE</version> </dependency> <!-- 基础依赖 包含 mvc,aop 等jar资源 --> <dependency> <groupId>org.springframework.boot</groupId> <artifactId>spring-boot-starter-web</artifactId> </dependency> - 代码和配置文件
- controller
import com.alibaba.csp.sentinel.slots.block.SentinelRpcException; import org.springframework.web.bind.annotation.GetMapping; import org.springframework.web.bind.annotation.RequestParam; import org.springframework.web.bind.annotation.RestController; /** * @author :qilong sun * @date :Created in 2020/7/16 9:54 * @description: * @modified By: * @version: V1.0$ */ @RestController public class IndexController { @GetMapping("/hello") public String apiSayHello(@RequestParam String name) { try { return "你好"; } catch (SentinelRpcException e) { e.getCause().printStackTrace(); return "oops, blocked by Sentinel..."; } catch (Exception ex) { ex.printStackTrace(); return "oops..."; } } @GetMapping("/test") public String test() { return "我是test" + System.currentTimeMillis(); } } - 启动类 启动的时候,需要把上面的“{}”之间的代码复制到jvm配置中
import org.springframework.boot.SpringApplication; import org.springframework.boot.autoconfigure.SpringBootApplication; /** * Run with: {@code -Dcsp.sentinel.api.port=8723 -Dcsp.sentinel.dashboard.server=localhost:8080 -Dproject.name=web-demo}. */ @SpringBootApplication(scanBasePackages = "com.demo.*") public class SentinelDemoServer01App { public static void main(String[] args) { SpringApplication.run(SentinelDemoServer01App.class, args); System.out.println("启动成功..."); } } - 配置文件
# base
server.port=9526
spring.application.name=sentinel-demo-server01

# sentinel
## 指定sentinel控制台地址
spring.cloud.sentinel.transport.dashboard=localhost:8080
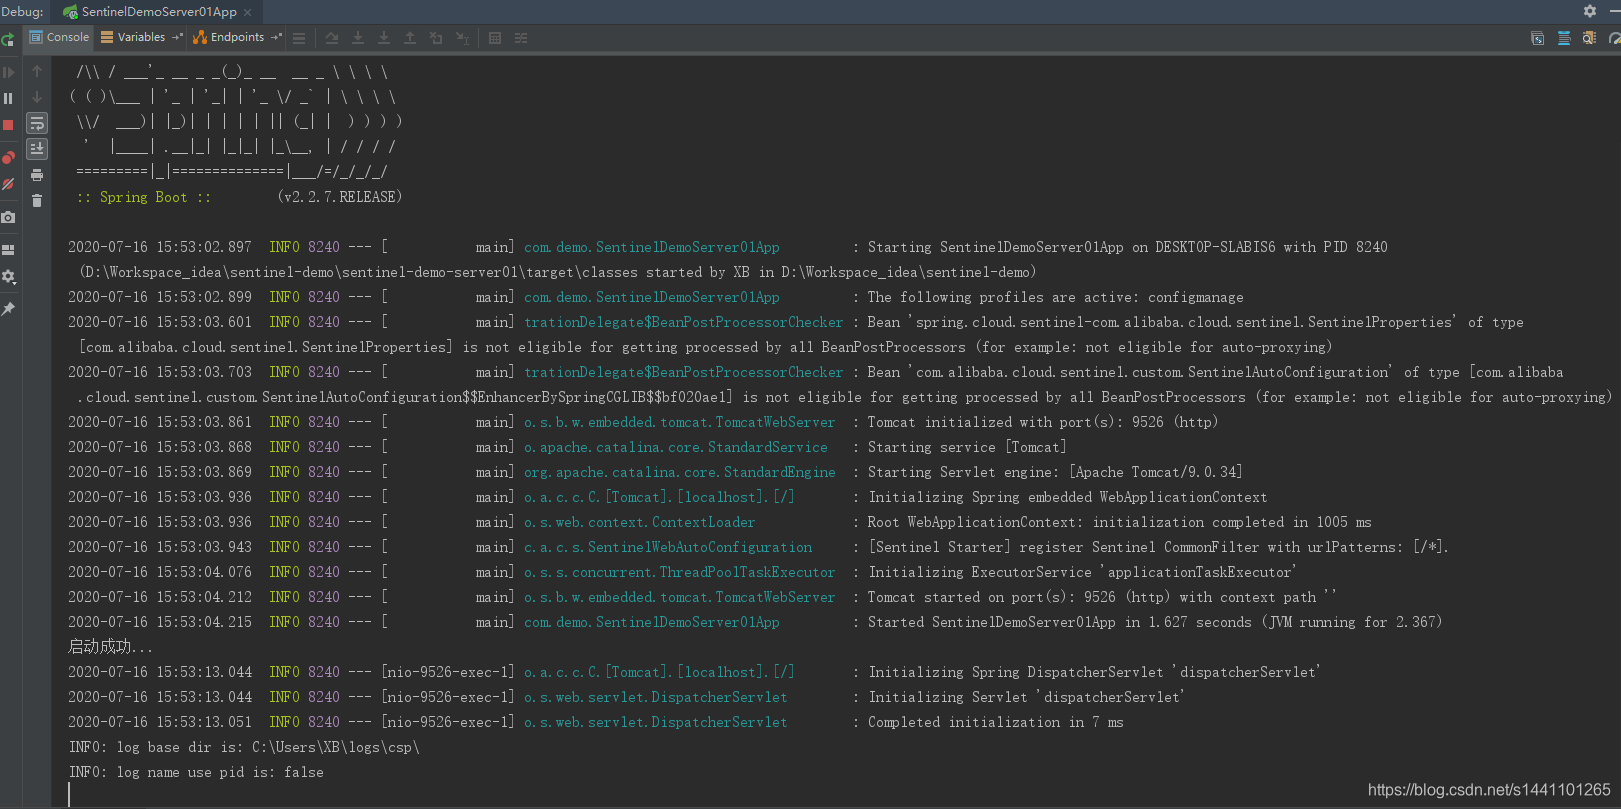
- 启动
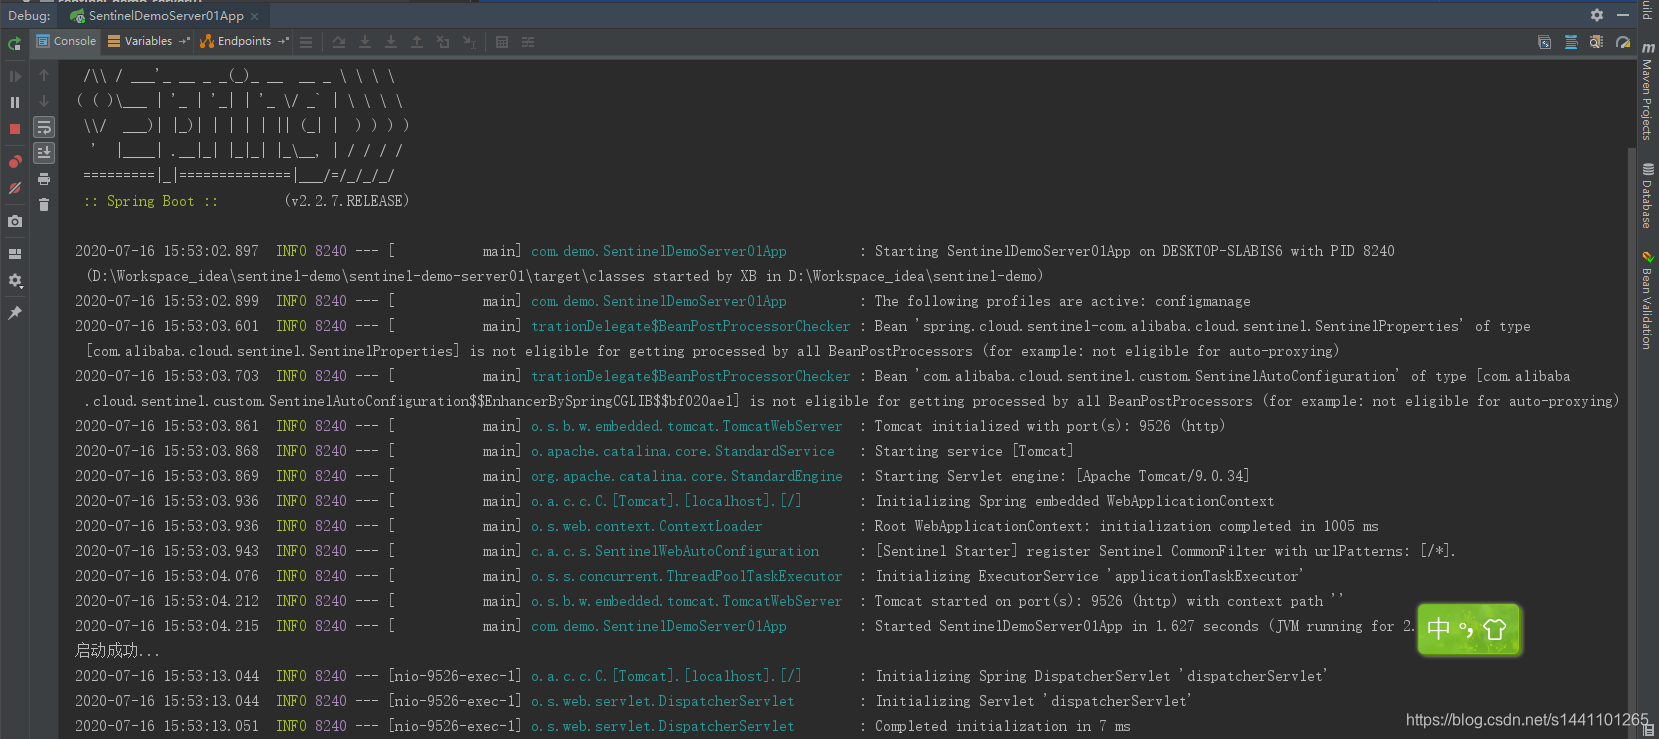
- 注册(没有报错,一般就表示成功了)

- 访问控制台
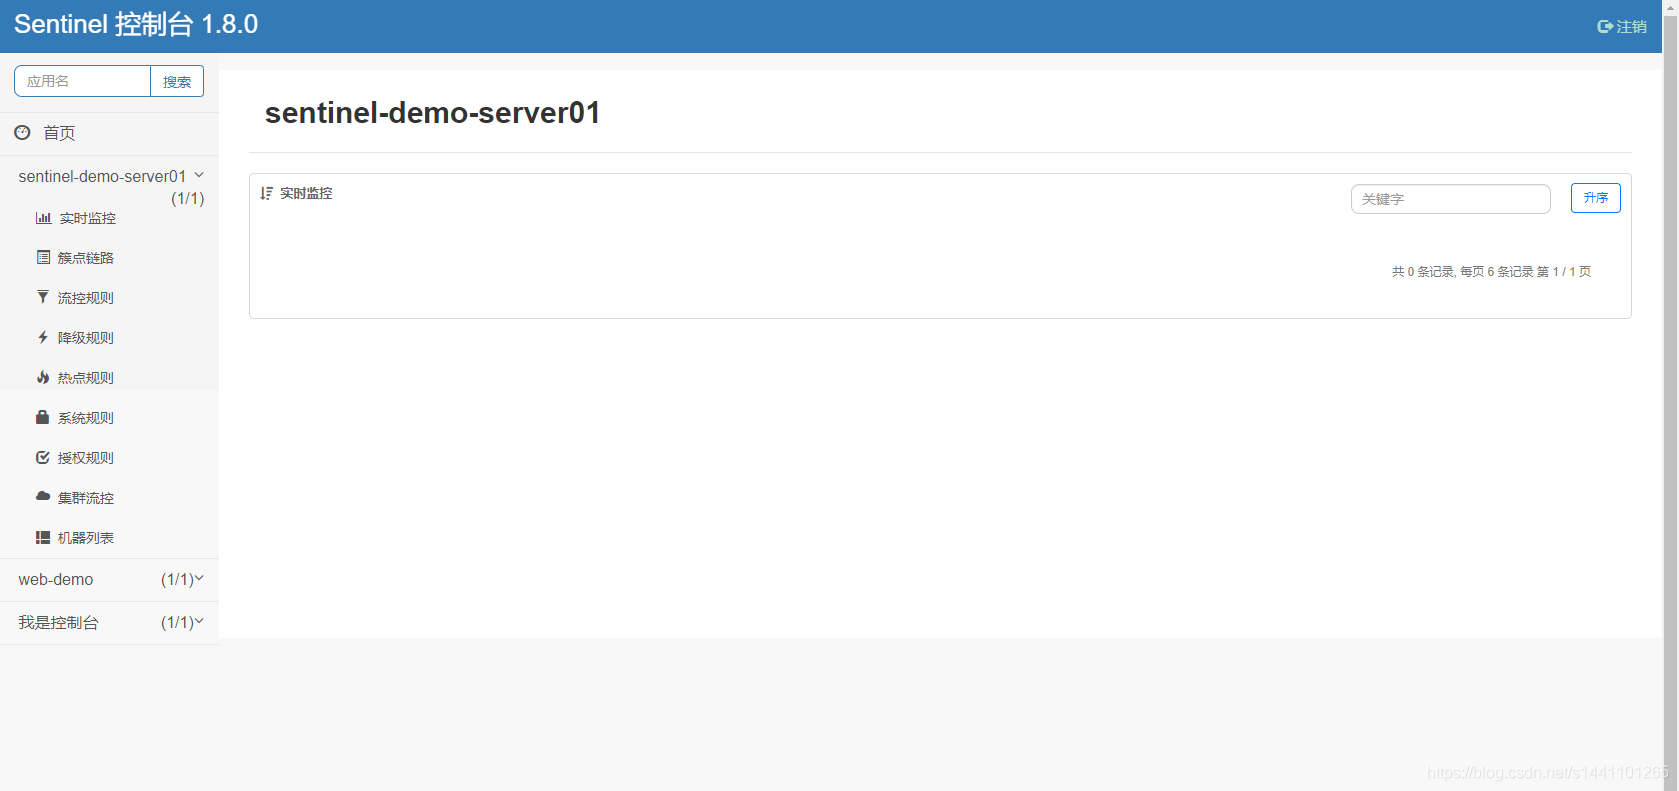
OK,这就基本完成了