版权声明
- 本文原创作者:谷哥的小弟
- 作者博客地址:http://blog.csdn.net/lfdfhl
概述
之前,我们在CentOS中安装了JDK、Tomcat;接下来,我们在CentOS中安装Eclipse。
安装步骤
在此,详细介绍Eclipse的安装步骤。
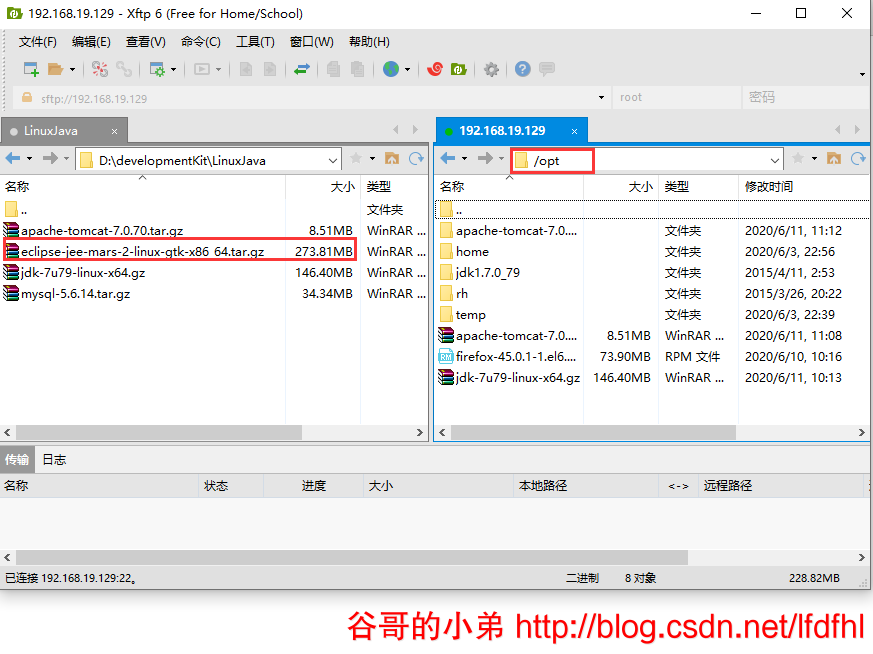
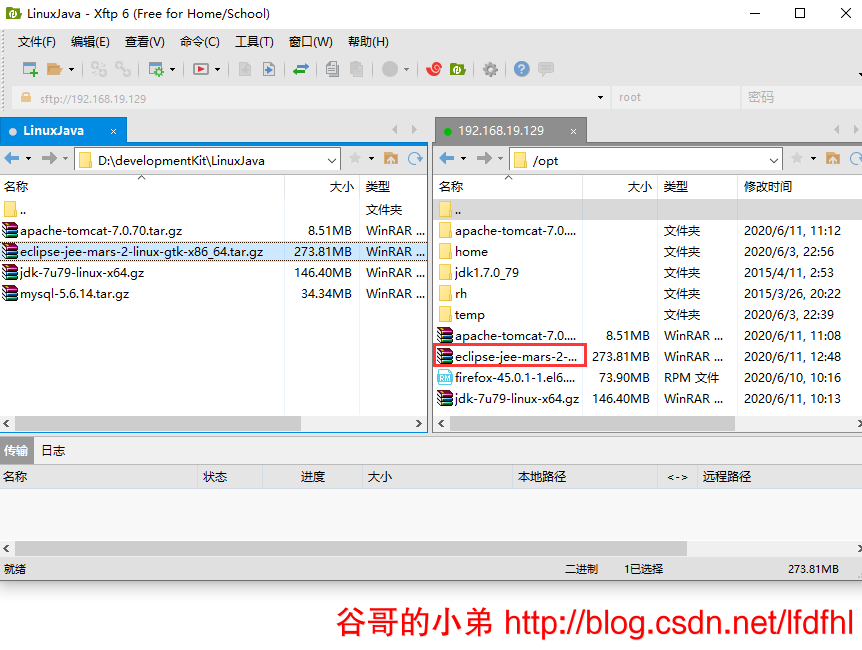
第一步:上传Eclipse
使用XFTP将Eclipse压缩包上传至/opt
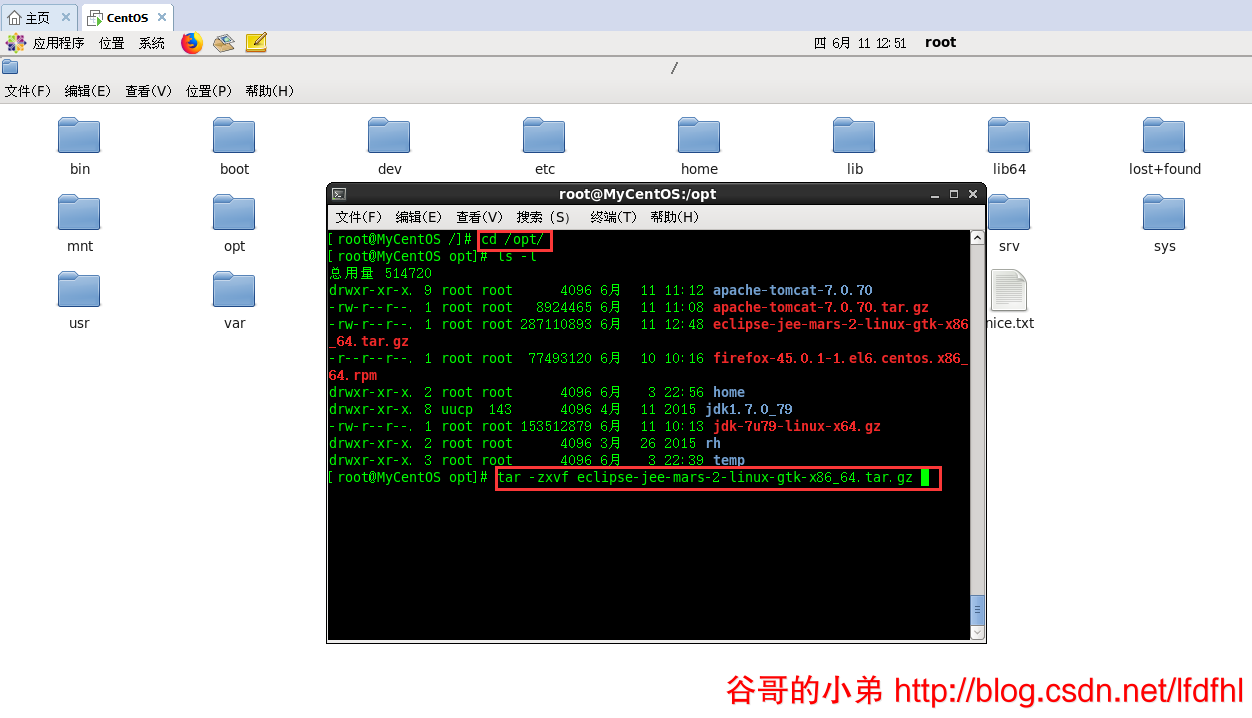
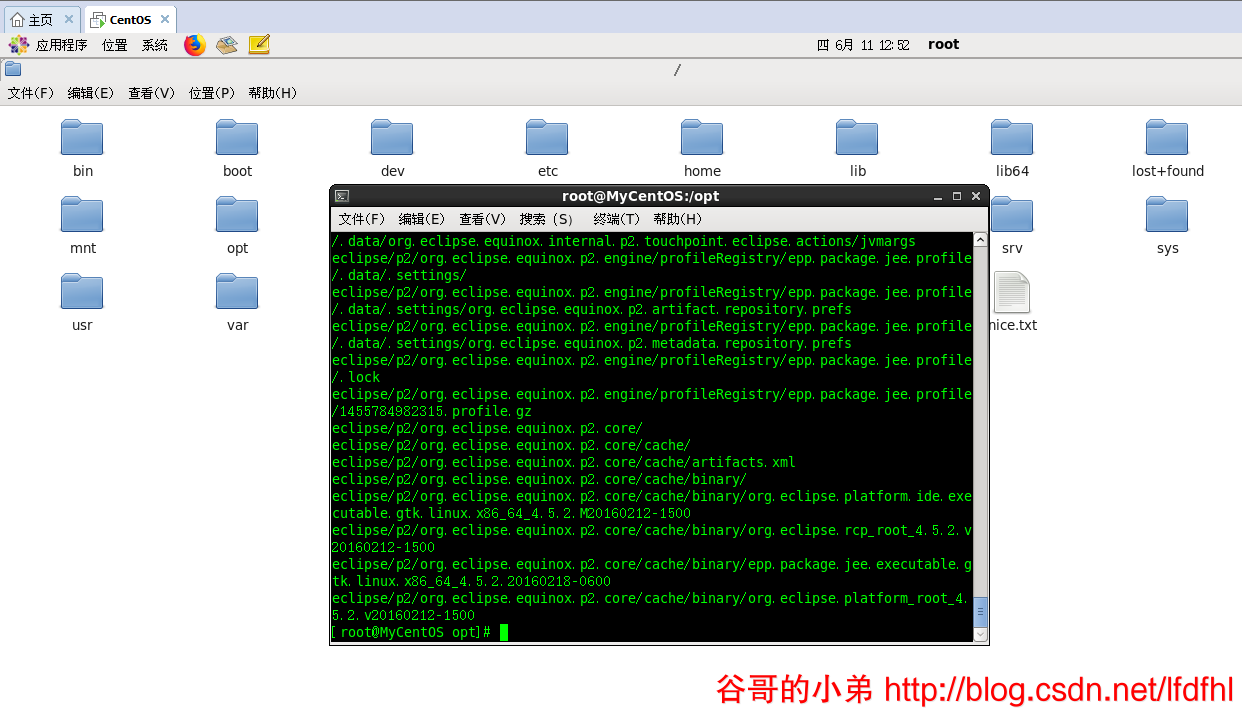
第二步:解压Eclipse压缩包
进入/opt目录将上传的Eclipse压缩包解压。
[root@MyCentOS /]# cd /opt/
[root@MyCentOS opt]# ls -l
总用量 514720
drwxr-xr-x. 9 root root      4096 6月  11 11:12 apache-tomcat-7.0.70
-rw-r--r--. 1 root root   8924465 6月  11 11:08 apache-tomcat-7.0.70.tar.gz
-rw-r--r--. 1 root root 287110893 6月  11 12:48 eclipse-jee-mars-2-linux-gtk-x86_64.tar.gz
-r--r--r--. 1 root root  77493120 6月  10 10:16 firefox-45.0.1-1.el6.centos.x86_64.rpm
drwxr-xr-x. 2 root root      4096 6月   3 22:56 home
drwxr-xr-x. 8 uucp  143      4096 4月  11 2015 jdk1.7.0_79
-rw-r--r--. 1 root root 153512879 6月  11 10:13 jdk-7u79-linux-x64.gz
drwxr-xr-x. 2 root root      4096 3月  26 2015 rh
drwxr-xr-x. 3 root root      4096 6月   3 22:39 temp
[root@MyCentOS opt]# tar -zxvf eclipse-jee-mars-2-linux-gtk-x86_64.tar.gz
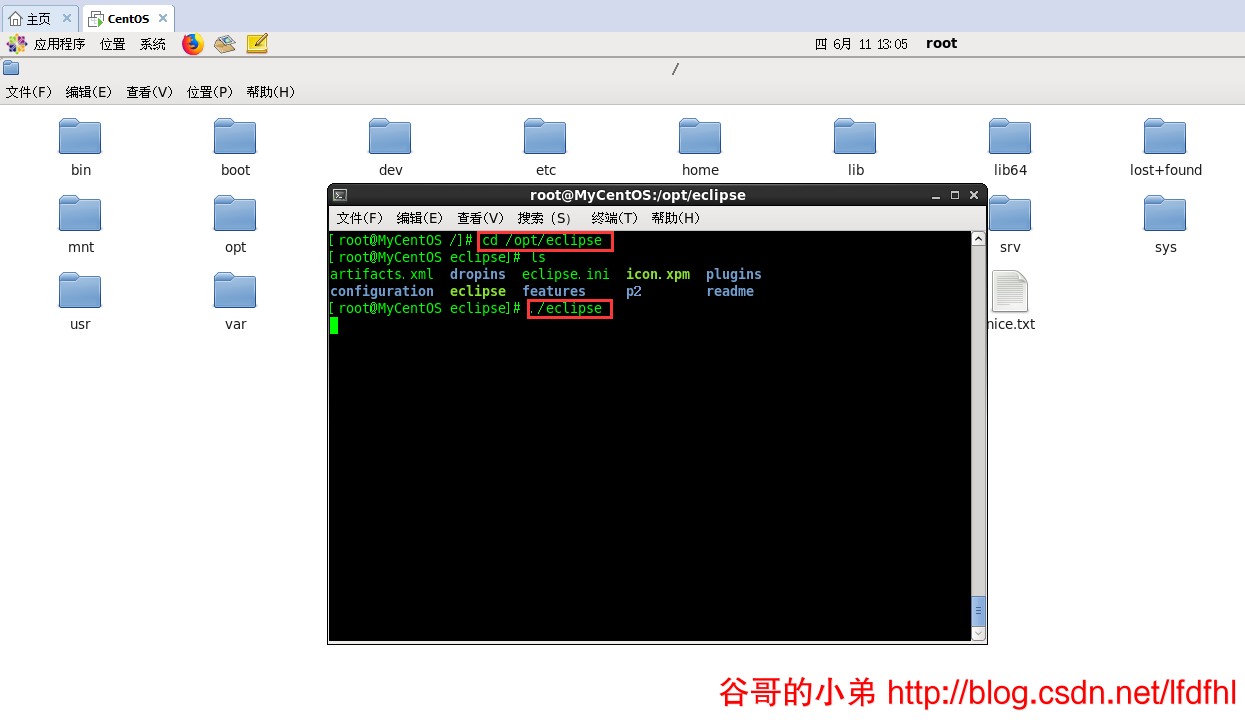
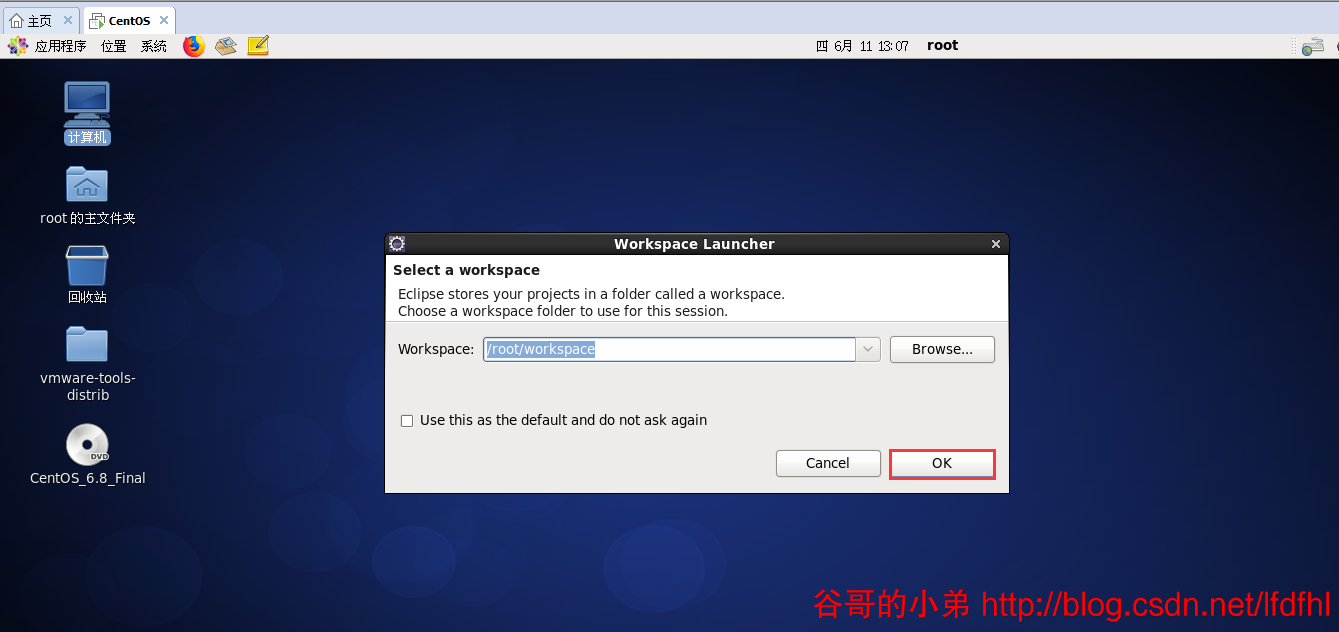
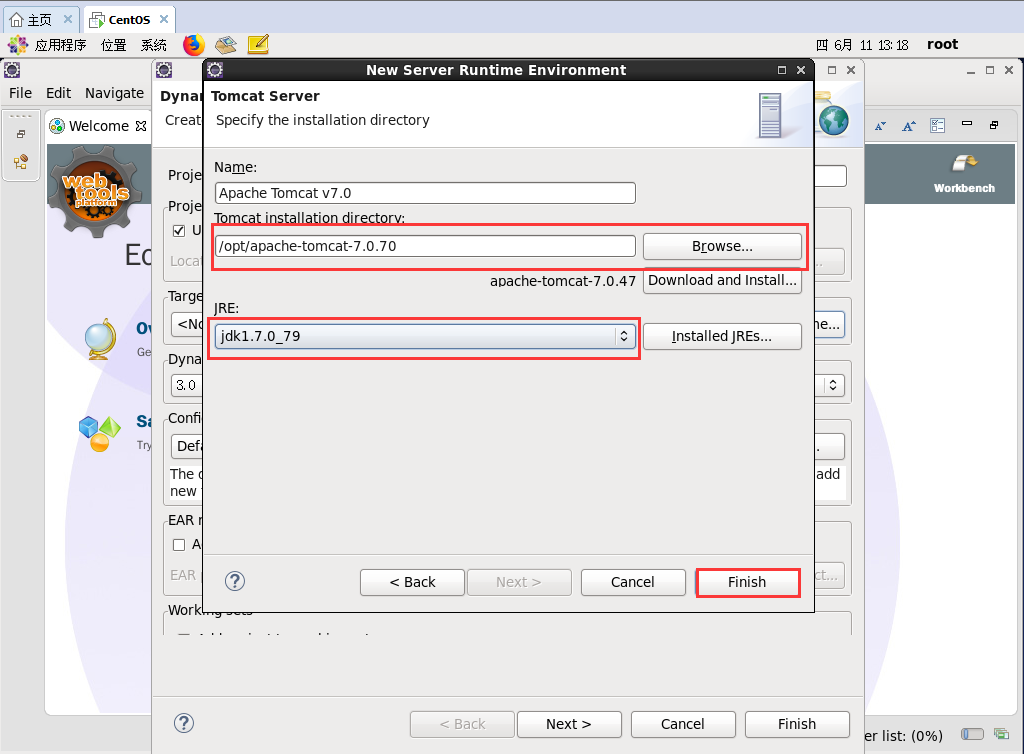
第三步:启动并配置Eclipse
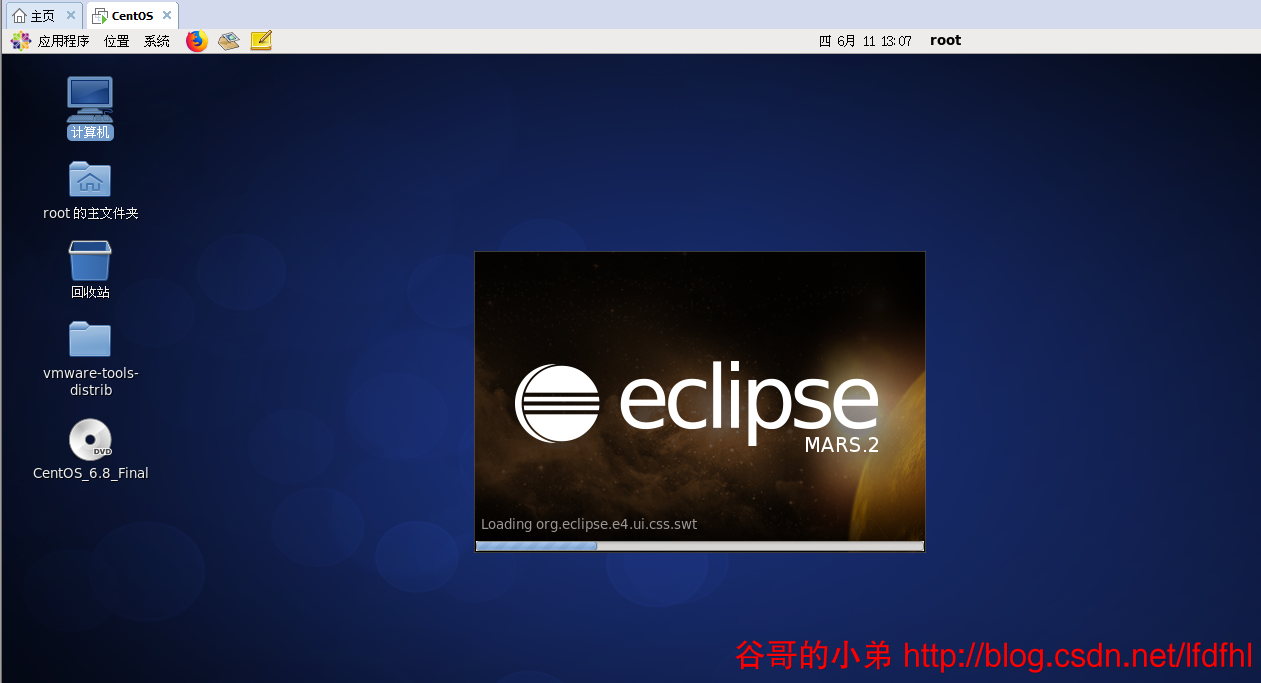
进入到解压后的Eclipse文件夹通过./eclipse命令启动Eclipse
[root@MyCentOS /]# cd /opt/eclipse
[root@MyCentOS eclipse]# ls
artifacts.xml  dropins  eclipse.ini  icon.xpm  plugins
configuration  eclipse  features     p2        readme
[root@MyCentOS eclipse]# ./eclipse
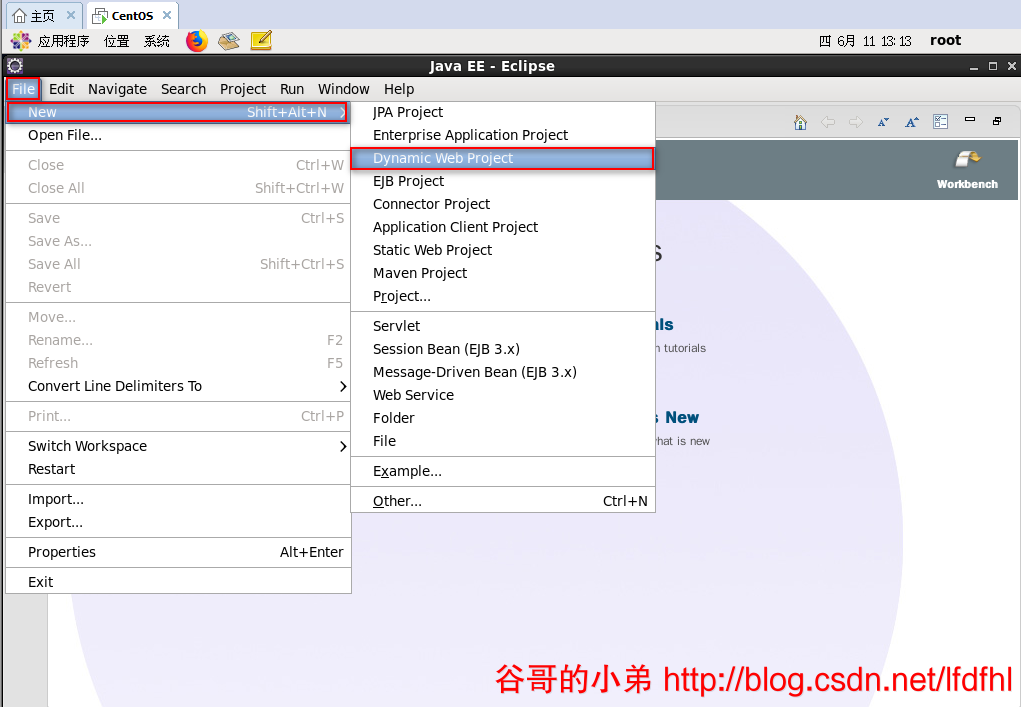
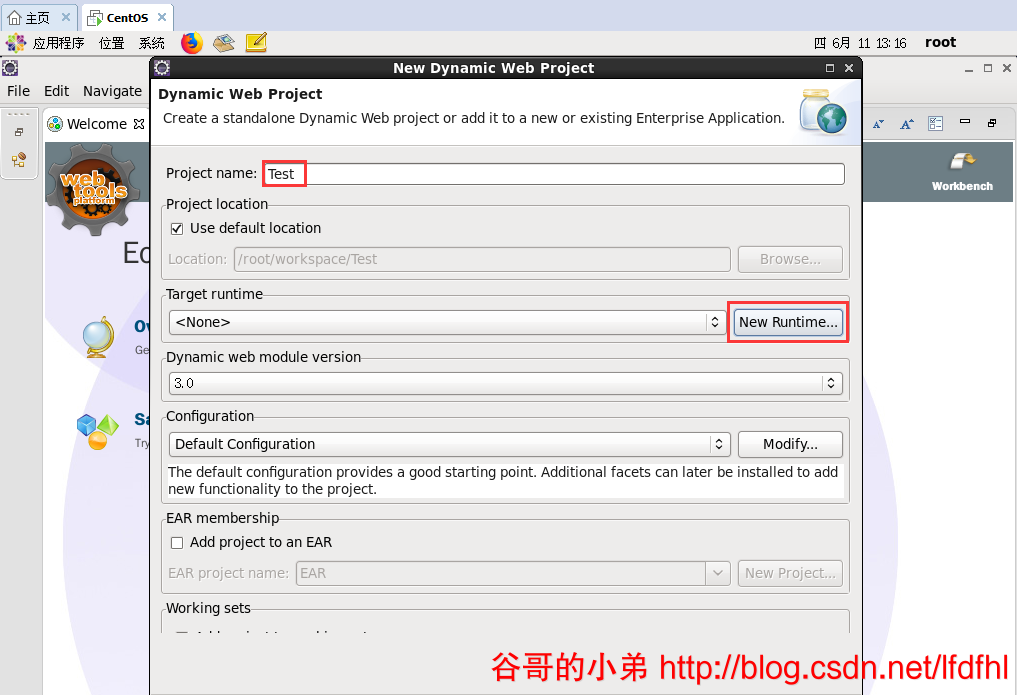
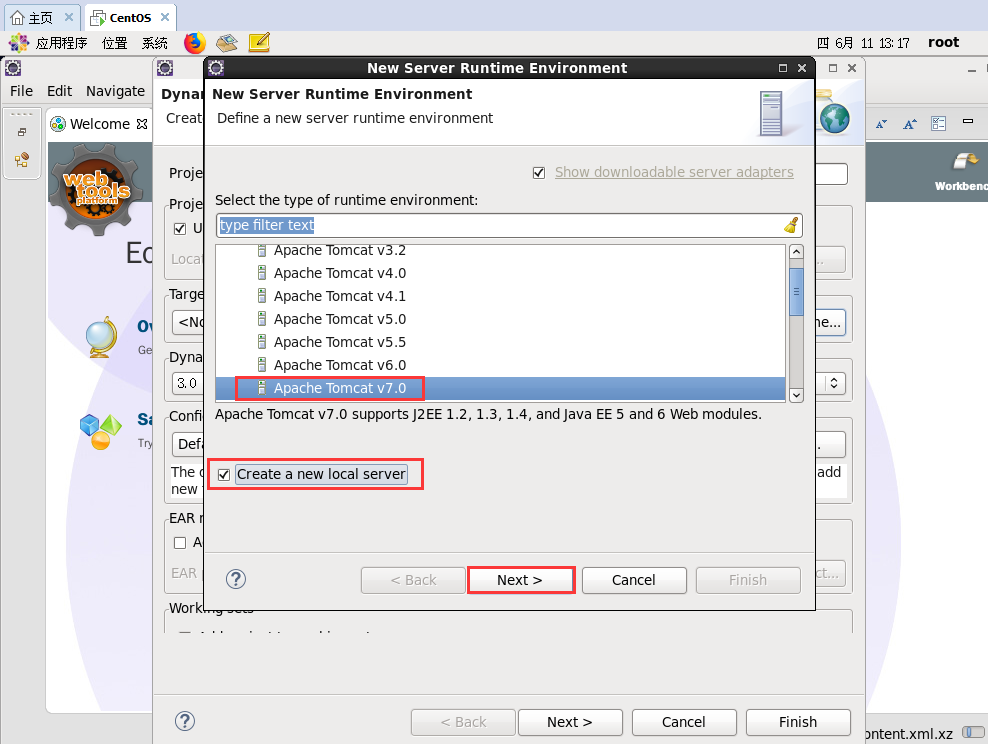
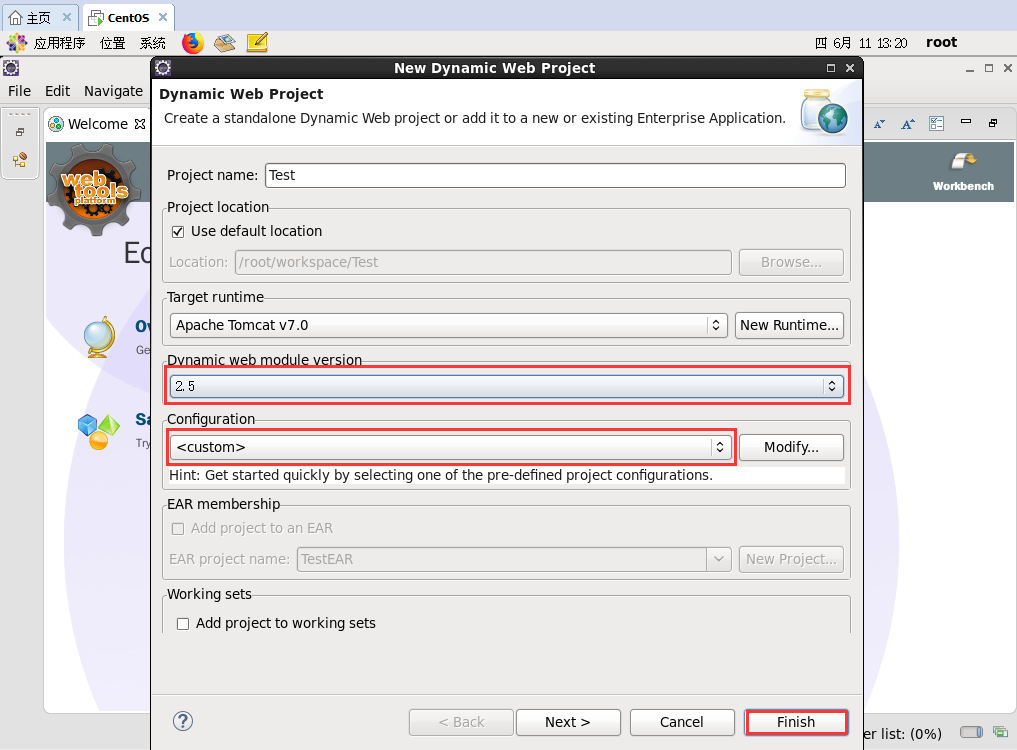
第四步:创建JavaWeb工程
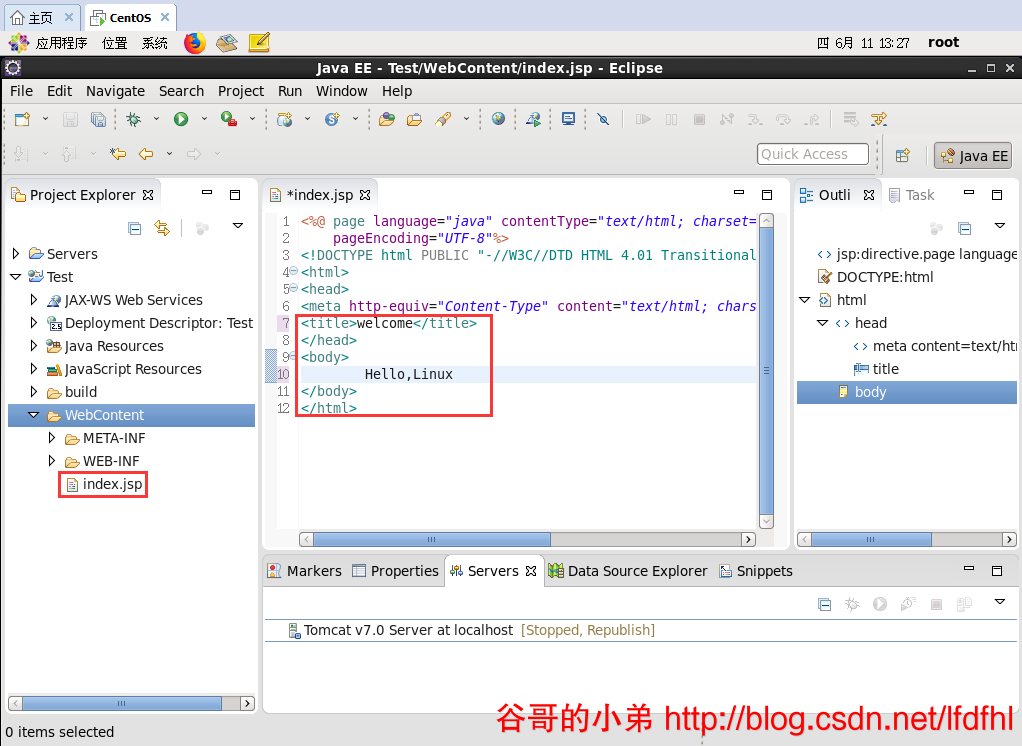
第五步:编写JavaWeb工程代码
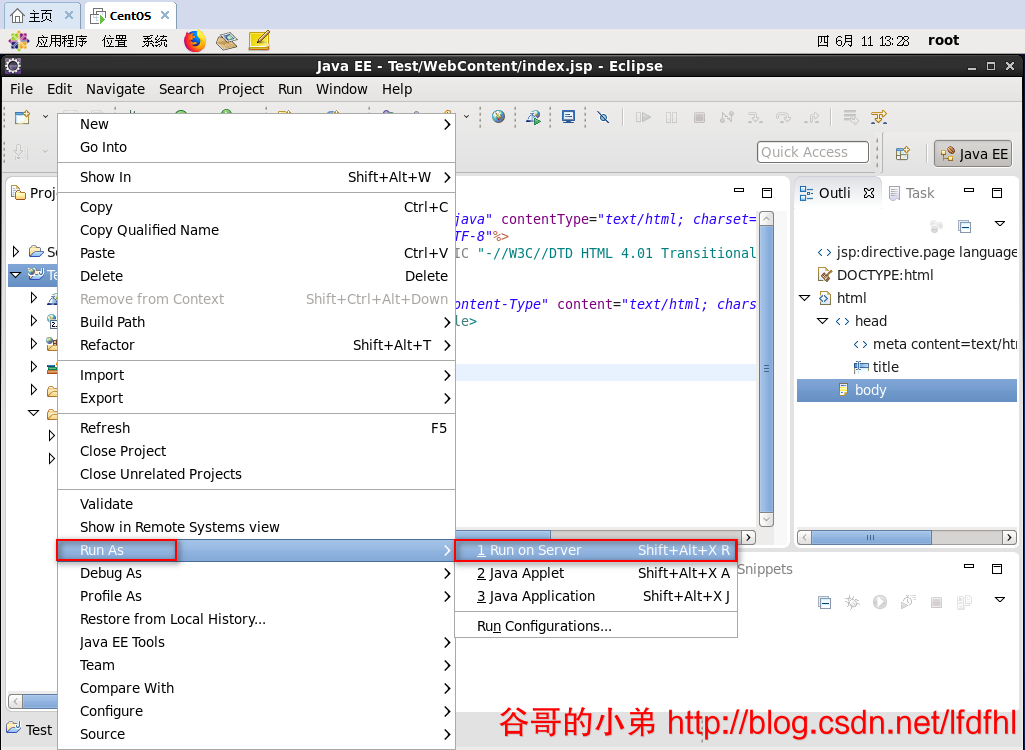
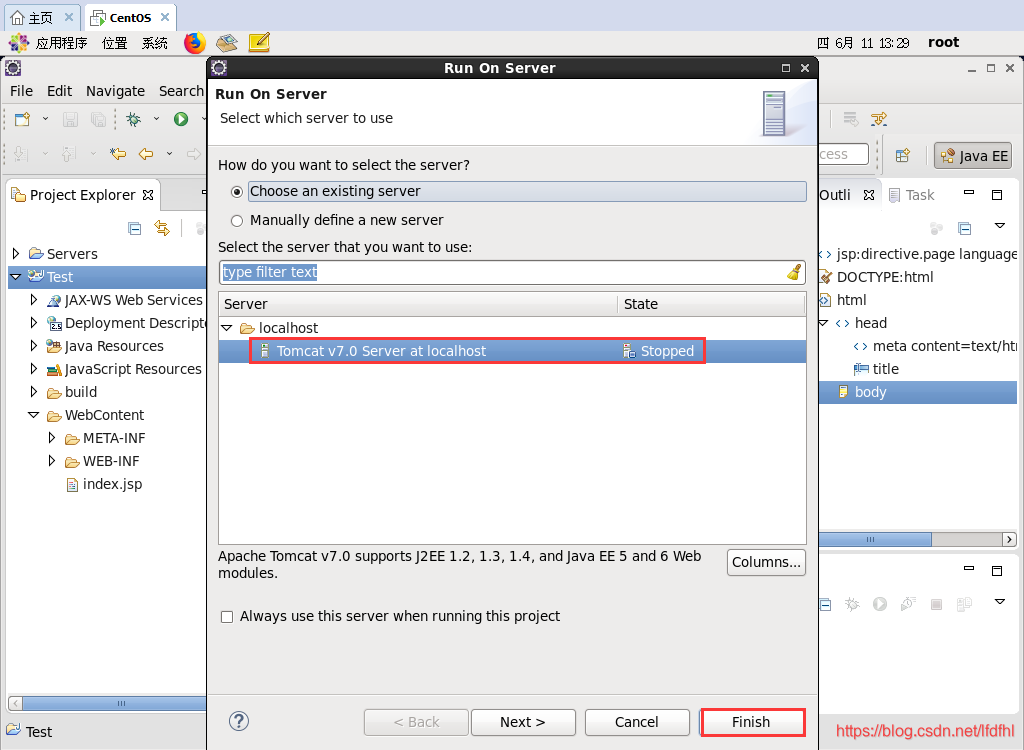
第六步:部署JavaWeb工程
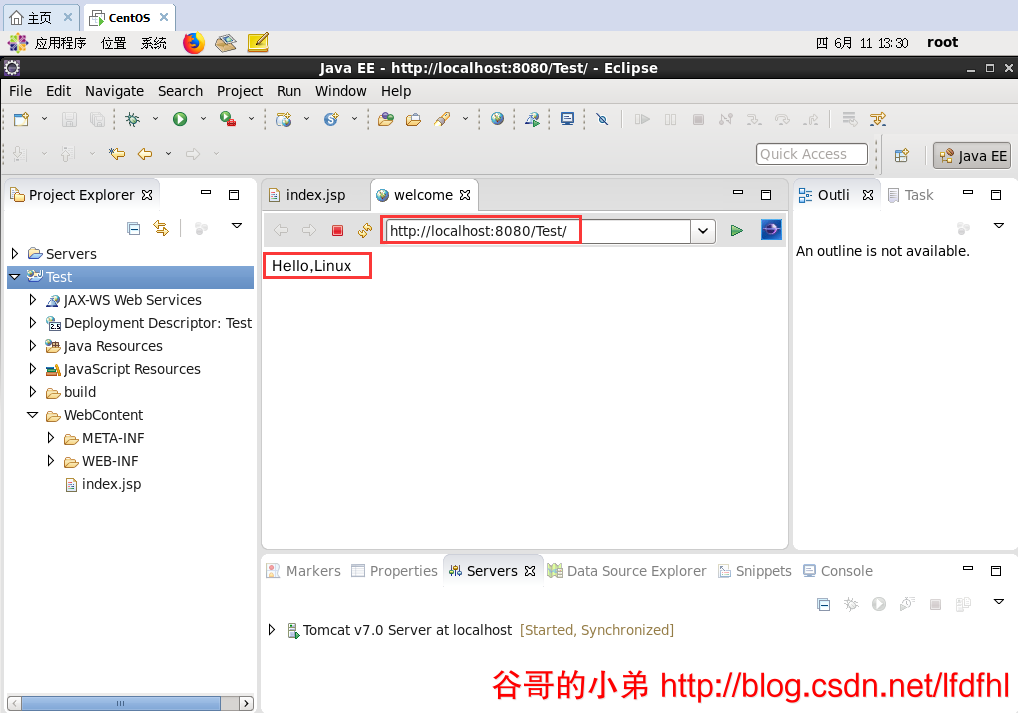
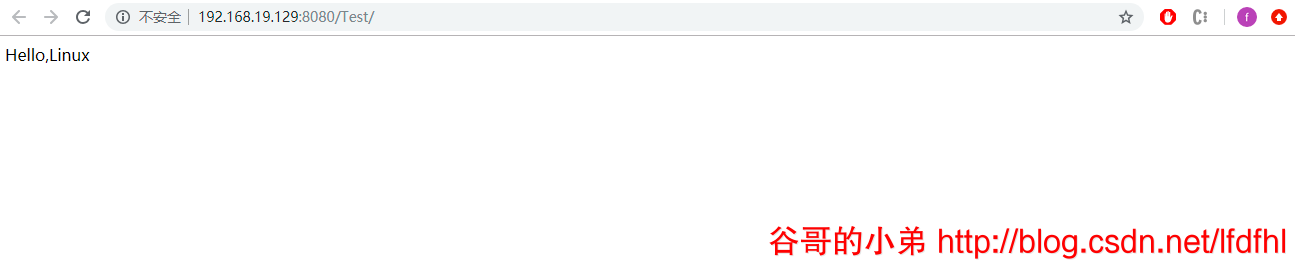
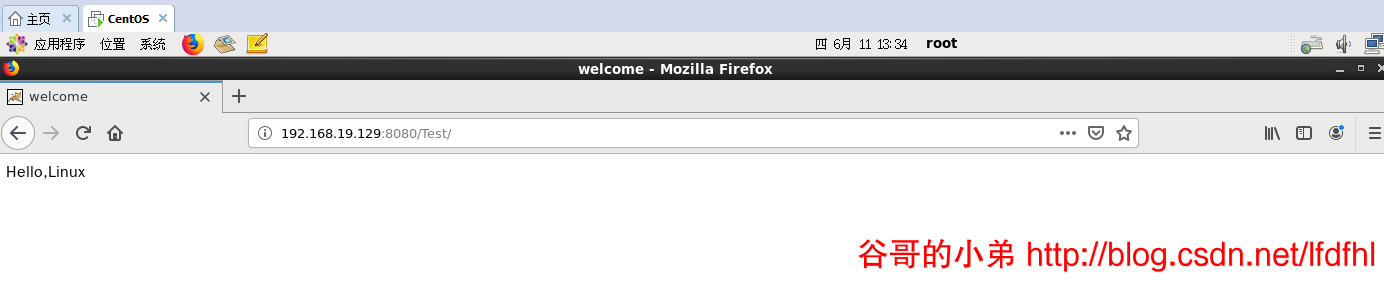
第七步:访问JavaWeb工程
请分别在Windows系统和CentOS系统中访问JavaWeb工程的默认主页: