一、Spring的JDBC的模板
- Spring是EE开发的一站式的框架,有EE开发的每一层的解决方案。Spring对持久层一提供了解决方案:ORM模块和JDBC的模板
1、Spring提供了很多的模板用于简化开发

2、JDBC模板使用的入门
(1)创建项目,引入jar
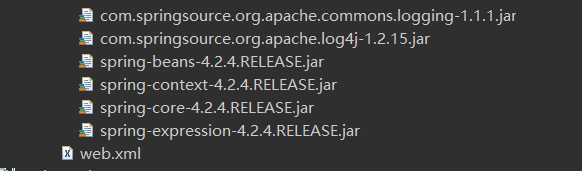
- 引入基本开发包
- 引入数据库驱动

- Spring的JDBC模板的jar包

- 引入单元测试的包

- Spring4在做IOC的开发的实现也需要引入aop的包

(2)创建数据库和表
create database spring4_test;
use spring4_test;
create table account(
     id int primary key auto_increment,
     name varchar(20),
     money double
);
(3)使用JDBC的模板:保存数据(入门)
package com.itzheng.jdbc.demo1;
import org.junit.Test;
import org.springframework.jdbc.core.JdbcTemplate;
import org.springframework.jdbc.datasource.DriverManagerDataSource;
/*
JDBC 模板的使用
 */
public class JdbcDemo1 {
	@Test
	//jdbc模板的使用类似于Dbutils.
	public void demo1() {
		//创建数据库连接池
		DriverManagerDataSource dataSource = new DriverManagerDataSource();
		dataSource.setDriverClassName("com.mysql.jdbc.Driver");
		dataSource.setUrl("jdbc:mysql:///spring4_test");
		dataSource.setUsername("root");
		dataSource.setPassword("root");
		//创建jdbc模板
		JdbcTemplate jdbcTemplate = new JdbcTemplate(dataSource);
		jdbcTemplate.update("insert into account values(null,?,?)","张三",10000d);
	}
}
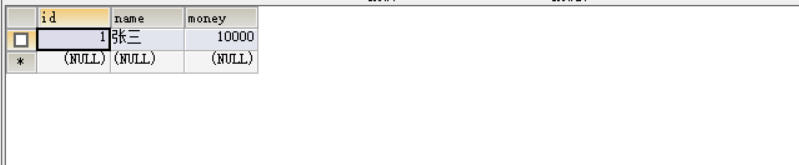
- 数据插入成功
3、将连接池和模板都交给Spring管理
(1)引入Spring的配置文件
- 在src下创建applicationContext.xml文 件
<?xml version="1.0" encoding="UTF-8"?>
<beans xmlns="http://www.springframework.org/schema/beans"
	xmlns:xsi="http://www.w3.org/2001/XMLSchema-instance"
	xmlns:context="http://www.springframework.org/schema/context"
	xmlns:aop="http://www.springframework.org/schema/aop"
	xmlns:tx="http://www.springframework.org/schema/tx"
	xsi:schemaLocation="http://www.springframework.org/schema/beans
	http://www.springframework.org/schema/beans/spring-beans.xsd
	http://www.springframework.org/schema/context
	http://www.springframework.org/schema/context/spring-context.xsd
	http://www.springframework.org/schema/aop
	http://www.springframework.org/schema/aop/spring-aop.xsd
	http://www.springframework.org/schema/tx
	http://www.springframework.org/schema/tx/spring-tx.xsd">
</beans>
(2) 在applicationContext.xml文件当中配置
- Spring内置的连接池 并 属性注入
<!-- 配置Spring内置的连接池======================== -->
	<bean id="dataSource" class="org.springframework.jdbc.datasource.DriverManagerDataSource">
		<!-- 属性注入 -->
		<property name="driverClassName" value="com.mysql.jdbc.Driver"></property>
		<property name="urrl" value="jdbc:mysql:///spring4_test"></property>
		<property name="username" value="root"></property>
		<property name="password" value="root"></property>
	</bean>
- 配置Spring的JDBC的模板
<!-- 配置Spring的JDBC的模板===================== -->
	<bean name="jdbcTemplate" class="org.springframework.jdbc.core.JdbcTemplate">
		<property name="dataSource" ref="dataSource"></property>
	</bean>
- 整体

4、使用Spring管理的JDBC模板
package com.itzheng.jdbc.demo1;

import javax.annotation.Resource;

import org.junit.Test;
import org.junit.runner.RunWith;
import org.springframework.jdbc.core.JdbcTemplate;
import org.springframework.test.context.ContextConfiguration;
import org.springframework.test.context.junit4.SpringJUnit4ClassRunner;
@RunWith(SpringJUnit4ClassRunner.class)
@ContextConfiguration("classpath:applicationContext.xml")
public class JdbcDemo2 {
	//获取到xml当中的信息
	@Resource(name = "jdbcTemplate")
	private JdbcTemplate jdbcTemplate;
	@Test
	public void demo2() {
		jdbcTemplate.update("insert into account values(null,?,?)","李四",10000d);
	}
}
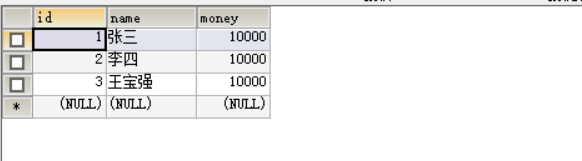
结果

二、Spring使用开源的数据库连接池
1、DBCP的使用
(1)引入DBCP的jar:在Spring的依赖包当中就有DBCP的jar
Spring的依赖包下载:https://download.csdn.net/download/qq_44757034/12585722

- 引入以下两个jar包
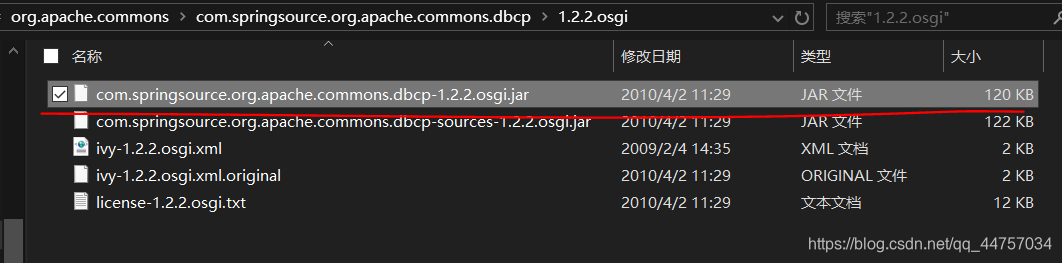
 将以上两个架包放入lib当中
(2)在applicationContext.xml当中配置DBCP连接池
<!-- 配置DBCP连接池=============================  -->
	<bean id="dataSource" class="org.apache.commons.dbcp.BasicDataSource">
		<property name="driverClassName" value="com.mysql.jdbc.Driver"/>
		<property name="url" value="jdbc:mysql:///spring4_day03"></property>
		<property name="username" value="root"></property>
		<property name="password" value="root"></property>
	</bean>

(3)测试
package com.itzheng.jdbc.demo1;
import javax.annotation.Resource;
import org.junit.Test;
import org.junit.runner.RunWith;
import org.springframework.jdbc.core.JdbcTemplate;
import org.springframework.test.context.ContextConfiguration;
import org.springframework.test.context.junit4.SpringJUnit4ClassRunner;
@RunWith(SpringJUnit4ClassRunner.class)
@ContextConfiguration("classpath:applicationContext.xml")
public class JdbcDemo2 {
	//获取到xml当中的信息
	@Resource(name = "jdbcTemplate")
	private JdbcTemplate jdbcTemplate;
	@Test
	public void demo2() {
		jdbcTemplate.update("insert into account values(null,?,?)","王宝强",10000d);
	}
}
2、C3P0的使用
(1)引C3P0的连接池的架包


(2)在applicationContext.xml当中配置C3P0连接池
<!-- 配置C3P0连接池======================= -->
	<bean id="dataSource" class="com.mchange.v2.c3p0.ComboPooledDataSource">
		<!-- 注入属性 -->
		<property name="driverClass" value="com.mysql.jdbc.Driver"></property>
		<property name="jdbcUrl" value="jdbc:mysql:///spring4_day03"></property>
		<property name="user" value="root"></property>
		<property name="password" value="root"></property>
	</bean>
- 运行测试类


3、在applicationContext.xml提取并配置JDBC的属性文件
(1)在src下创建jdbc.properties属性文件
jdbc.driverClass=com.mysql.jdbc.Driver
jdbc.url=jdbc:mysql:///spring4_test
jdbc.username=root
jdbc.password=root
(2)在Spring的配置文件当中引入属性文件:两种方式
- a、第一种方式:通过bean标签引入(很少)
<!-- 引入属性文件======================== -->
	<bean class=org.springframework.beans.factory.config.PropertyPlaceholderConfigurer>
		<property name="location" value="classpath:jdbc.properties"></property>
	</bean>
- b、第二种方式:通过context标签引入:就会加重对应的类路径下的属性文件
<!-- 第二种方式通过context标签引入:就会加重对应的类路径下的属性文件 -->
	<context:property-placeholder location="classpath:jdbc.properties"/>
(3)在applicationContext.xml文件当中获取键和值
- 语法:
${键}通过键获取引入的属性文件当中的值

- 测试

- 插入成功

三、使用Spring的JDBC的模板完成CRUD的操作
(1)增删改
package com.itzheng.jdbc.demo1;
import javax.annotation.Resource;
import org.junit.Test;
import org.junit.runner.RunWith;
import org.springframework.jdbc.core.JdbcTemplate;
import org.springframework.test.context.ContextConfiguration;
import org.springframework.test.context.junit4.SpringJUnit4ClassRunner;
@RunWith(SpringJUnit4ClassRunner.class)
@ContextConfiguration("classpath:applicationContext.xml")
public class JdbcDemo2 {
	//获取到xml当中的信息
	@Resource(name = "jdbcTemplate")
	private JdbcTemplate jdbcTemplate;
	@Test
	//保存操作
	public void demo1() {
		jdbcTemplate.update("insert into account values(null,?,?)","王老七",10000d);
	}
	@Test
	//修改操作
	public void demo2() {
		jdbcTemplate.update("update account set name = ?,money = ? where id = ?","张七",20000d,6);
	}
	@Test
	//删除操作
	public void demo3() {
		jdbcTemplate.update("delete from account where id = ?",6);
	}
}
(2)查询操作
- a、查询某个属性
@Test
//查询操作
public void demo4() {
	String queryForObject = jdbcTemplate.queryForObject("select name from account where id = ?",String.class ,5);
	System.out.println(queryForObject);
}

- b、统计个数

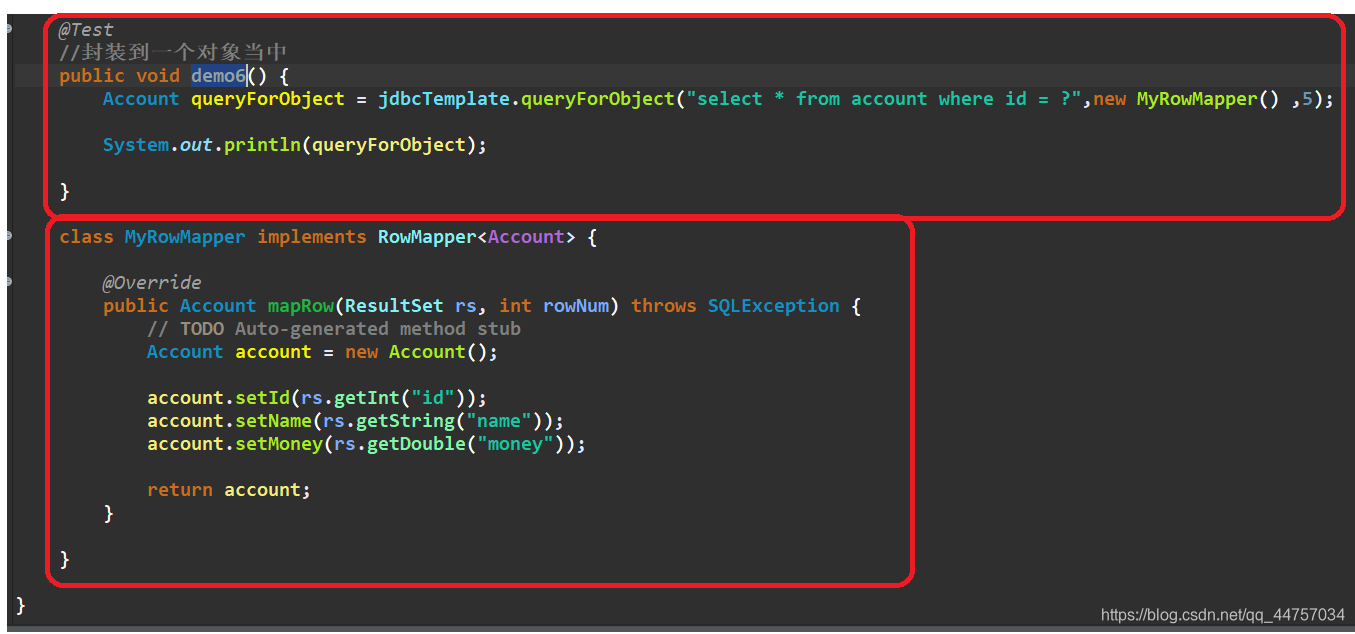
- c、查询返回对象
- Account对象封装
package com.itzheng.jdbc.demain;
public class Account {
	private Integer id;
	private String name;
	private Double money;
	public Integer getId() {
		return id;
	}
	public void setId(Integer id) {
		this.id = id;
	}
	public String getName() {
		return name;
	}
	public void setName(String name) {
		this.name = name;
	}
	public Double getMoney() {
		return money;
	}
	public void setMoney(Double money) {
		this.money = money;
	}
	public Account() {
		// TODO Auto-generated constructor stub
	}
	public Account(Integer id, String name, Double money) {
		super();
		this.id = id;
		this.name = name;
		this.money = money;
	}
	@Override
	public String toString() {
		return "Account [id=" + id + ", name=" + name + ", money=" + money + "]";
	}
}
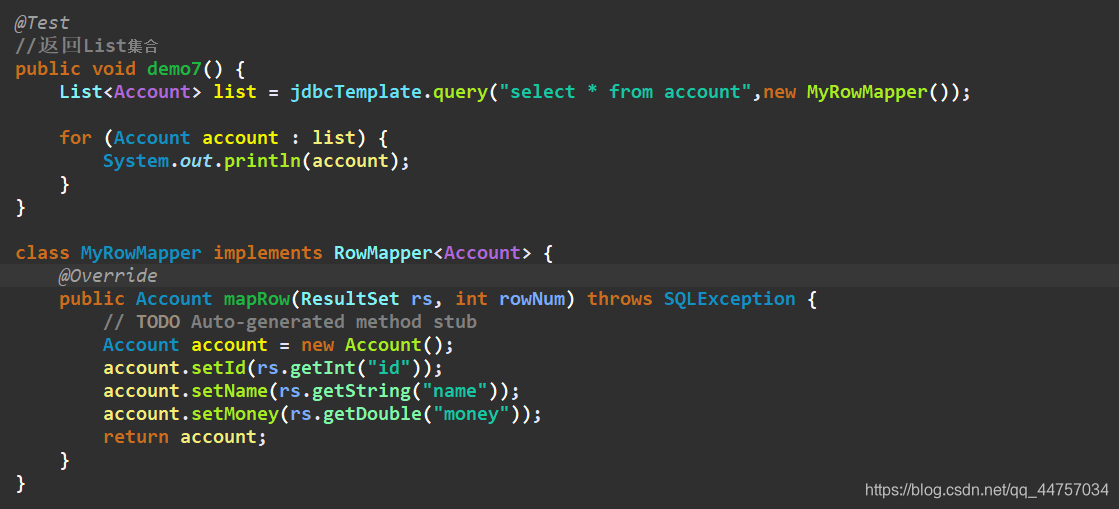
- 实现RowMapper接口设置mapRow方法(设置Account对应的属性ResultSet获取数据库当中的内容)返回Account对象

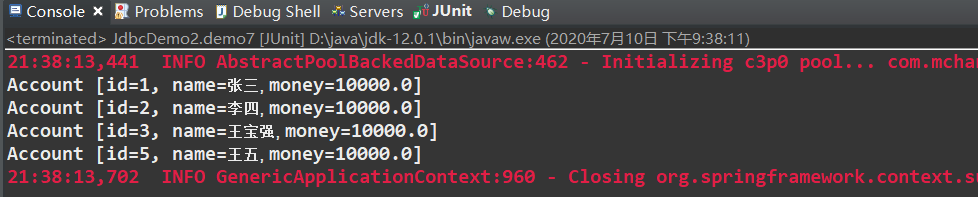
- d、查询多条记录