Android dex解密与解密原理及其代码实现
为什么要进行apk加密?答案是避免apk被有心人反编译,窃取公司重要技术和算法等。但是要给Apk加密要如何实现呢?系统在加载类的时候都是从我们apk的dex文件中加载的。ClassLoader会去维护一个这样的dex文件数组。而我们要做的就是将原apk中的dex都加密,然后将解密部分的代码单独编程成dex文件(我们称这样的dex为壳dex)连带着加密的dex一起加到新apk中。这样新apk安装后系统就能够找到我们应用启动的入口Application了,不至于由于加密导致系统找不到应用程序入口。而在这个程序入口中我们要做的就是解密被加密的dex文件,然后重新插入到ClassLoader维护的dex文件数组中(这里就涉及到大量的反射知识)。
dex解密与解密分为以下几个步骤:
1)把源 apk(要加固的apk)中的 dex 文件加密。加密之后就不再是正常的 dex 文件,那么市面上的反编译工具就不能按照正常的dex去解析了。
2)将加密后的dex文件与壳程序Apk的dex文件合并成新的dex文件,然后替换壳程序中的源dex文件,生成新的apk文件。
3)在壳程序apk的application中进行解密源apk的dex文件。
知道了原理,下面就是代码实现了。这里有三个工程:
1)原程序项目 app module(需要加密的APK)。
2)壳项目 ApkShuck module(解密源程序APK和加载APK)。
3)对原APK进行加密和壳项目的DEX的合并项目 Encrypt module。
1. 加密实现
在Android studio 中创建一个java library module(Encrypt),此module主要用来进行dex的加密工作。
1. 在开始加密之前首先建立临时目录,在 Encrypt 下建立一个source目录,然后在 source 目录建立 apk 目录和 arr 目录,最后分别在 apk 和 arr 目录下建立一个 temp 目录。apk 目录下放置原apk文件,它的 temp 目录主要用来放置原apk解压之后的文件和原apk中dex加密后的文件。arr目录放置壳apk(其实是一个arr包),它的 temp 目录主要用来放置壳apk解压之后的文件。
2. 清理临时目录的缓存文件,代码如下所示:
public class ApkEncryptMain {
  public static void main(String[] args) {
        init();
 }
    /**
     * 初始化
     */
    private static void init() {
        // 删除缓存
        FileUtils.delFolder(new File("Encrypt/source/apk/temp"));
        FileUtils.delFolder(new File("Encrypt/source/arr/temp"));
    }
}
3. 加密算法实现,主要采用的是AES加密算法,代码如下:
public class EncryptUtils {
private final byte[] KEY = "QUmkLrrISiud6RPU".getBytes(); // 加密使用的key
private final byte[] IV = "eh7aJlOdHCNsGNcD".getBytes(); // 偏移值
private final String ALGORITHM = "AES/CBC/PKCS5Padding"; // 加密算法
private Cipher encryptCipher; // 加密
/**
* 使用单例
*/
private EncryptUtils() {
try {
// 初始化加密算法
encryptCipher = Cipher.getInstance(ALGORITHM);
SecretKeySpec key = new SecretKeySpec(KEY, "AES");
encryptCipher.init(Cipher.ENCRYPT_MODE, key, new IvParameterSpec(IV));
} catch (Exception e) {
e.printStackTrace();
}
}
private static class SingletonHolder {
private static final EncryptUtils INSTANCE = new EncryptUtils();
}
public static EncryptUtils getInstance() {
return SingletonHolder.INSTANCE;
}
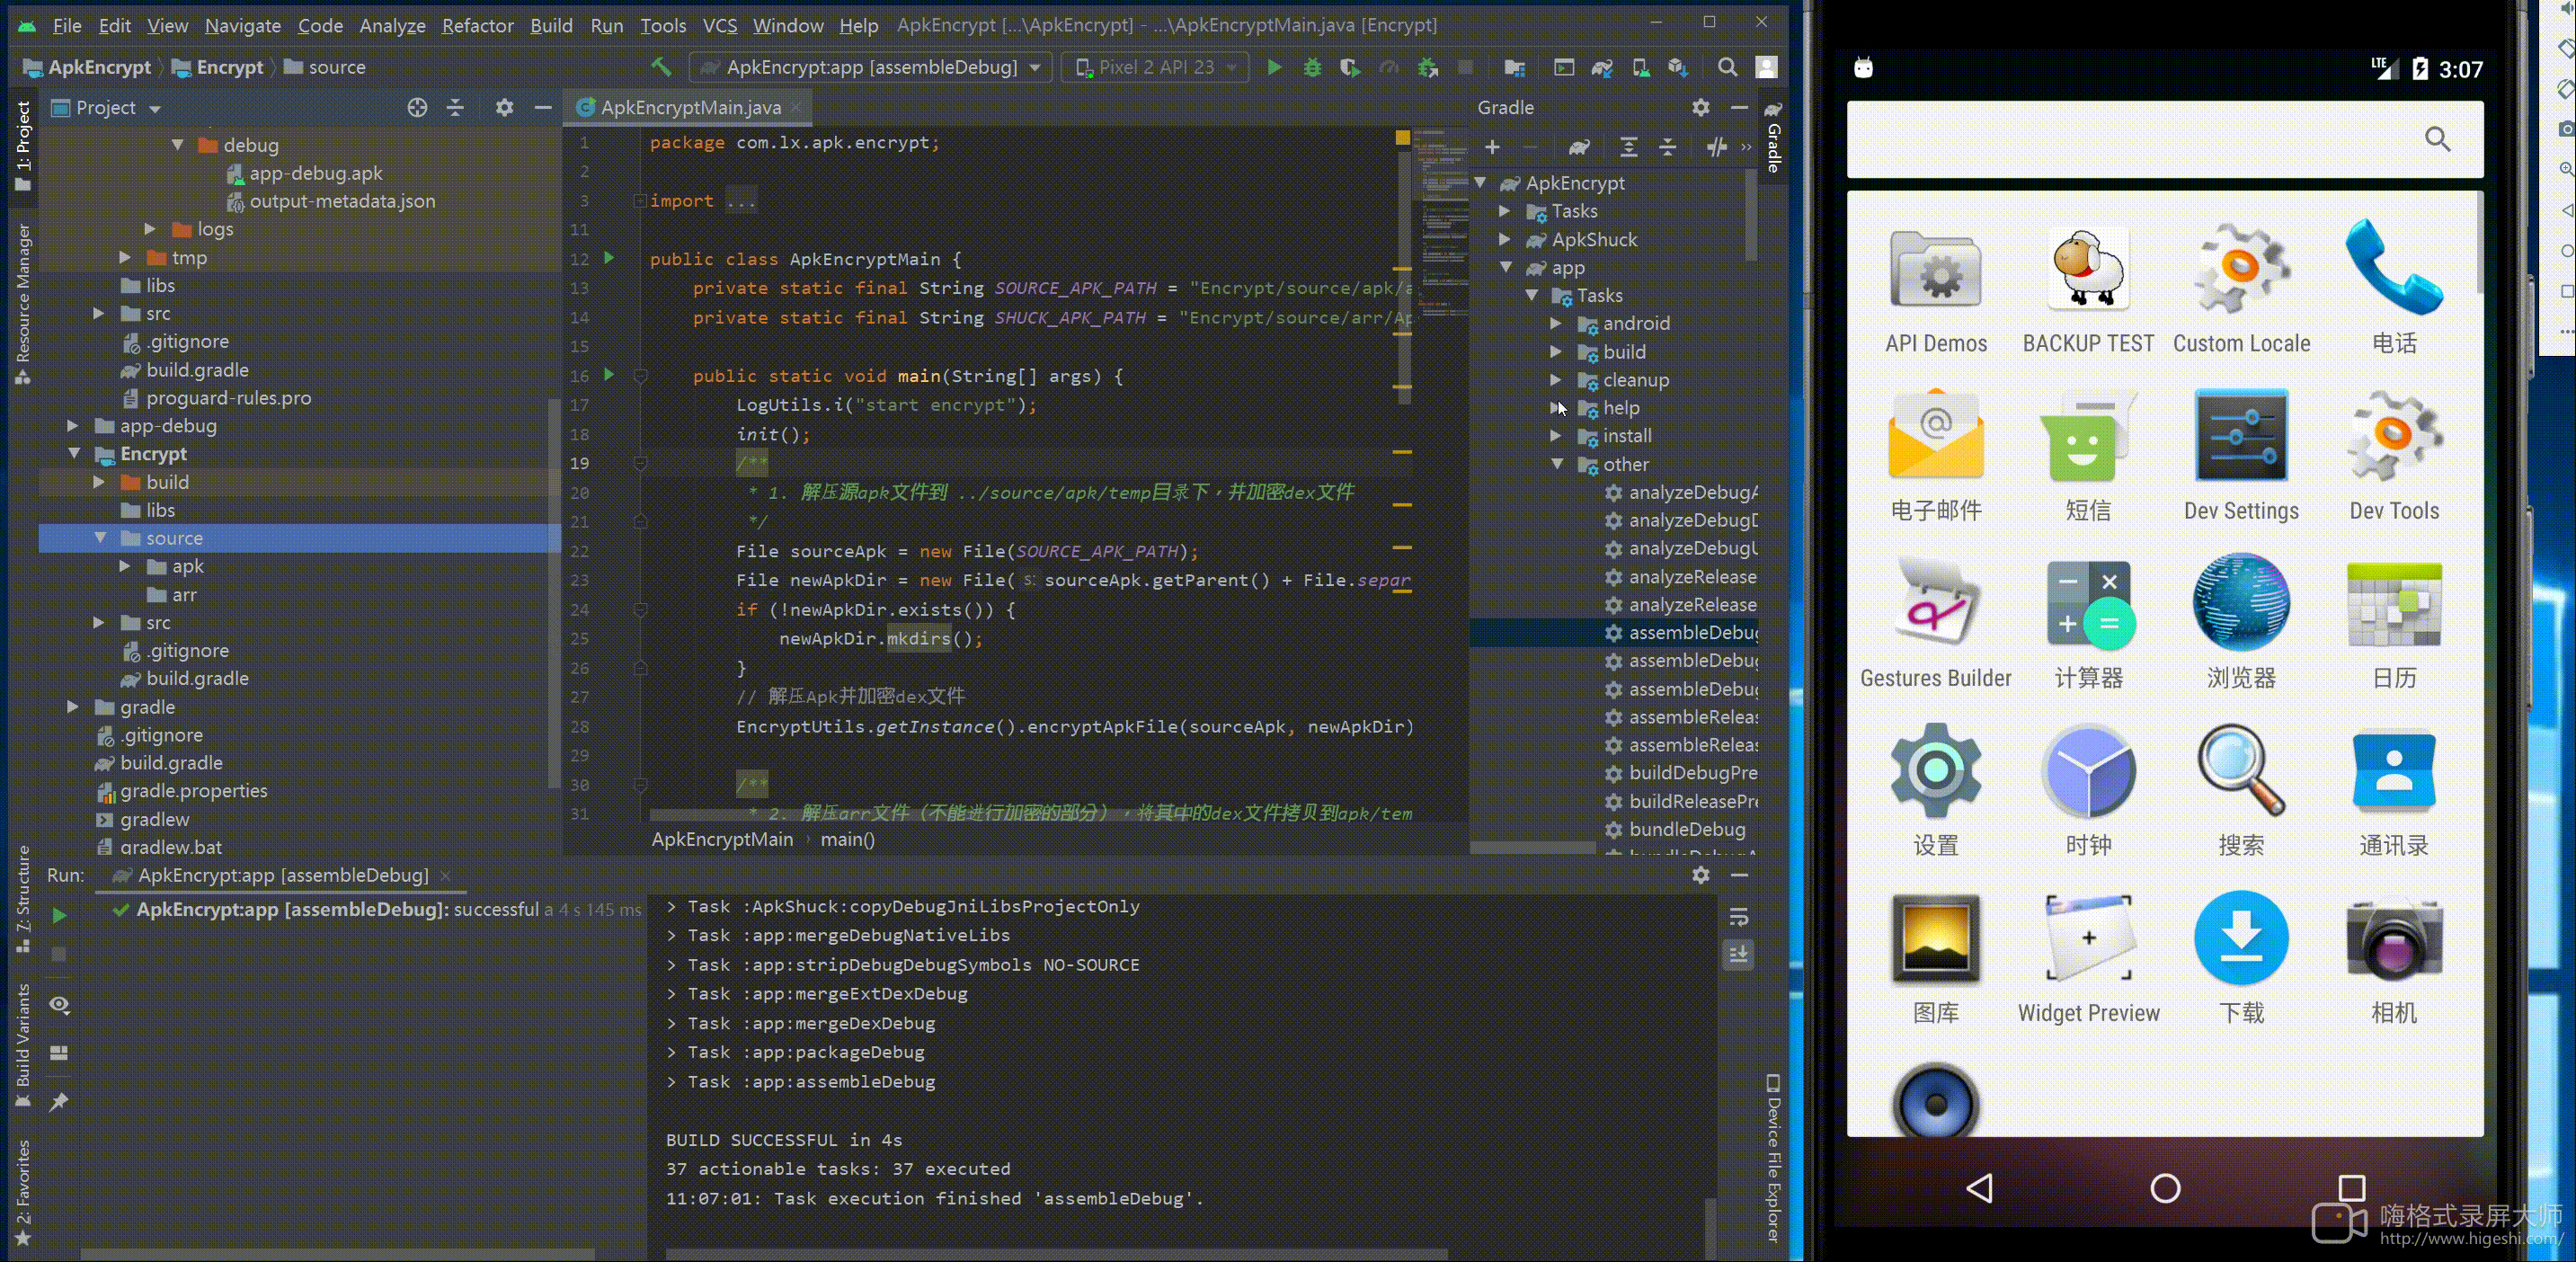
}4. 解压原apk,并加密原apk中的dex文件。
public class ApkEncryptMain {
    private static final String SOURCE_APK_PATH = "Encrypt/source/apk/app-debug.apk";

    public static void main(String[] args) {
        LogUtils.i("start encrypt");
        init();
        /**
         * 1. 解压源apk文件到 ../source/apk/temp目录下,并加密dex文件
         */
        File sourceApk = new File(SOURCE_APK_PATH);
        File newApkDir = new File(sourceApk.getParent() + File.separator + "temp");
        if (!newApkDir.exists()) {
            newApkDir.mkdirs();
        }
        // 解压Apk并加密dex文件
        EncryptUtils.getInstance().encryptApkFile(sourceApk, newApkDir);
    }
}

public class EncryptUtils {
   /**
     * 加密apk
     *
     * @param srcApkFile 源apk文件的地址
     * @param dstApkFile 新apk文件的地址
     */
    public void encryptApkFile(File srcApkFile, File dstApkFile) {
        if (srcApkFile == null || !srcApkFile.exists()) {
            LogUtils.e("srcAPKFile not exist");
            return;
        }
        // 解压apk到指定文件夹
        ZipUtils.unZip(srcApkFile, dstApkFile);

        // 获取所有的dex(可能存在分包的情况,即有多个dex文件)
        File[] dexFiles = dstApkFile.listFiles(new FilenameFilter() {
            @Override
            public boolean accept(File file, String s) {
                // 提取所有的.dex文件
                return s.endsWith(".dex");
            }
        });

       if (dexFiles == null || dexFiles.length <= 0) {
            LogUtils.i("this apk is invalidate");
            return;
        }

        for (File dexFile : dexFiles) {
            // 读取dex中的数据
            byte[] buffer = FileUtils.getBytes(dexFile);
            if (buffer != null) {
                // 加密
                byte[] encryptBytes = encrypt(buffer);
                if (encryptBytes != null) {
                    //修改.dex名为_.dex,避免等会与aar中的.dex重名
                    int indexOf = dexFile.getName().indexOf(".dex");
                    String newName = dexFile.getParent() + File.separator +
                            dexFile.getName().substring(0, indexOf) + "_.dex";
                    // 写数据, 替换原来的数据
                    FileUtils.wirte(new File(newName), encryptBytes);
                    dexFile.delete();
                } else {
                    LogUtils.e("Failed to encrypt dex data");
                    return;
                }
            } else {
                LogUtils.e("Failed to read dex data");
                return;
            }
        }
    }

    /**
     * 加密
     * @param data
     * @return
     */
    private byte[] encrypt(byte[] data) {
        try {
            return encryptCipher.doFinal(data);
        } catch (Exception e) {
            e.printStackTrace();
        }
        return null;
    }
}

public class ZipUtils {
    /**
     * 解压zip文件
     *
     * @param srcFile 需要解压的zip文件
     * @param dstFile 解压后的文件
     */
    public static void unZip(File srcFile, File dstFile) {
        if (srcFile == null) {
            LogUtils.e("unZip: srcFile is null");
            return;
        }
        try {
            ZipFile zipFile = new ZipFile(srcFile);
            Enumeration<? extends ZipEntry> entries = zipFile.entries();
            while (entries.hasMoreElements()){
                ZipEntry zipEntry = entries.nextElement();
                String name = zipEntry.getName();
                if (name.equals("META-INF/CERT.RSA") || name.equals("META-INF/CERT.SF") || name
                        .equals("META-INF/MANIFEST.MF")) {
                    continue;
                }
                if(!zipEntry.isDirectory()){
                    File file = new File(dstFile, name);
                    if (!file.getParentFile().exists()) file.getParentFile().mkdirs();
                    FileOutputStream fos = new FileOutputStream(file);
                    InputStream is = zipFile.getInputStream(zipEntry);
                    byte[] buffer = new byte[1024];
                    int len;
                    while ((len = is.read(buffer)) != -1) {
                        fos.write(buffer, 0, len);
                    }
                    is.close();
                    fos.close();
                }
            }
            zipFile.close();
        } catch (Exception e) {
            e.printStackTrace();
        }
    }
}
5. 解压arr文件,并生成壳dex。
public class ApkEncryptMain {
    public static void main(String[] args) {

        /**
         * 2. 解压arr文件(不能进行加密的部分),将其中的dex文件拷贝到apk/temp目录中。
         */
        File shuckApk = new File(SHUCK_APK_PATH);
        File newShuckDir = new File(shuckApk.getParent() + File.separator + "temp");
        if (!newShuckDir.exists()) {
            newShuckDir.mkdirs();
        }
        // 解压arr文件,并将arr中的jar文件转化为dex文件
        DxUtils.jar2Dex(shuckApk, newShuckDir);
        // 拷贝arr中的classes.dex 到 apk/temp 目录中
        File copyDstFile = new File("Encrypt/source/apk/temp/classes.dex");
        FileUtils.copyFile(dstDex, copyDstFile);
    }
}

public class DxUtils {
    /**
     * 解压arr并将jar转化为 dex
     *
     * @param srcFile
     * @param dstFile
     */
    public static void jar2Dex(File srcFile, File dstFile) {
        if (srcFile == null || !srcFile.exists()) {
            LogUtils.e("shuck arr file not exist");
            return;
        }
        // 解压apk到指定文件夹
        ZipUtils.unZip(srcFile, dstFile);

        // 获取所有的jar
        File[] jarFiles = dstFile.listFiles(new FilenameFilter() {
            @Override
            public boolean accept(File file, String s) {
                // 提取所有的.dex文件
                return s.endsWith(".jar");
            }
        });

        if (jarFiles == null || jarFiles.length <= 0) {
            LogUtils.i("this arr is invalidate");
            return;
        }
        // 一般情况下这个壳arr中只会有一个classes.jar文件,这里classes_jar就是classes.jar文件
        File classes_jar = jarFiles[0];
        // 将classes_jar 转为为 classes.dex
        File dstDex = new File(classes_jar.getParent() + File.separator + "classes.dex");
        // 使用 android tools 里面的dx.bat 命令将 jar 转化为 dex
        dxCommand(classes_jar, dstDex);
    }


    private static void dxCommand(File jarFile, File dexFile) {
        Runtime runtime = Runtime.getRuntime();
        // 这里使用的是dx.bat的绝对路径。
        String command = "cmd.exe /C E:\\development_tools\\android_sdk\\android_sdk\\build-tools\\29.0.2\\dx --dex --output=" + dexFile.getAbsolutePath()
                + " " + jarFile.getAbsolutePath();
        Process process = null;
        BufferedReader buffer = null;
        try {
            process = runtime.exec(command);
            process.waitFor();
            String line;
            if (process.exitValue() != 0) {
                buffer = new BufferedReader(new InputStreamReader(process.getErrorStream()));
                while ((line = buffer.readLine()) != null) {
                    LogUtils.e(line);
                }
            } else {
                buffer = new BufferedReader(new InputStreamReader(process.getInputStream()));
                while ((line = buffer.readLine()) != null) {
                    LogUtils.i(line);
                }
            }
        } catch (Exception e) {
            e.printStackTrace();
        } finally {
            if (process != null) {
                process.destroy();
            }
            if(buffer!=null){
                try {
                    buffer.close();
                } catch (IOException e) {
                    e.printStackTrace();
                }
            }
        }
    }
}
7. 打包apk/temp目录生成新的未签名的apk文件
/**
* 特别注意!!!
* 这里一定要用"/" 千万不要用File.separator
* 因为这里是java 工程,它运行在 windows环境,在Windows环境下 File.separator 获取的是 "\"
* 而在 Android 系统中 File.separator 获取的是 "/"
* 因此在这里如果使用 File.separator 时获取的 "\" 在 android中识别不了,将会导致程序运行不起来。
*
*/
public class ApkEncryptMain {
    private static final String SOURCE_APK_PATH = "Encrypt/source/apk/app-debug.apk";
    private static final String SHUCK_APK_PATH = "Encrypt/source/arr/ApkShuck-release.aar";

    public static void main(String[] args) {
        /**
         * 3. 打包apk/temp目录生成新的未签名的apk文件
         */
        File unsignedApk = new File("Encrypt/result/apk-unsigned.apk");
        unsignedApk.getParentFile().mkdirs();
        ZipUtils.zip(newApkDir, unsignedApk);
    }
}

public class ZipUtils {

    /**
     * 压缩
     * @param sourceFile
     * @param zipFile
     */
    public static void zip(File sourceFile, File zipFile) {
        if (sourceFile == null) {
            LogUtils.e("The original file that needs to be compressed does not exist");
            return;
        }
        zipFile.delete();
        // 对输出文件做CRC32校验
        ZipOutputStream zos = null;
        try {
            zos = new ZipOutputStream(new CheckedOutputStream(new FileOutputStream(zipFile), new CRC32()));
            compress(sourceFile, zos, "");
            zos.flush();
        } catch (Exception e) {
            e.printStackTrace();
        } finally {
            if (zos != null) {
                try {
                    zos.close();
                    zos = null;
                } catch (IOException e) {
                    e.printStackTrace();
                }
            }
        }
    }

   private static void compress(File srcFile, ZipOutputStream zos, String dir) throws IOException {
        if (srcFile.isDirectory()) {
            File[] files = srcFile.listFiles();
            for (File file : files) {
                /**
                 *    特别注意!!!
                 *    这里一定要用"/" 千万不要用File.separator
                 *    因为这里是java 工程,它运行在 windows环境,在Windows环境下 File.separator 获取的是 "\"
                 *    而在 Android 系统中 File.separator 获取的是 "/"
                 *    因此在这里如果使用 File.separator 时获取的 "\" 在 android中识别不了,将会导致程序运行不起来。
                 *
                 */
                compress(file, zos, dir + srcFile.getName() + "/");
            }
        } else {
            compressFile(srcFile, zos, dir);
        }
    }


    private static void compressFile(File file, ZipOutputStream zos, String dir) throws IOException {
        // temp/classes.dex
        String fullName = dir + file.getName();
        // 需要去掉temp
        String[] dirNames = fullName.split("/");
        // 正确的文件目录名(去掉了temp)
        StringBuffer sb = new StringBuffer();
        if (dirNames.length > 1) {
            for (int i = 1; i < dirNames.length; i++) {
                sb.append("/");
                sb.append(dirNames[i]);
            }
        } else {
            sb.append("/");
        }
        ZipEntry entry = new ZipEntry(sb.toString().substring(1));
        zos.putNextEntry(entry);
        FileInputStream fis = new FileInputStream(file);
        int count;
        byte[] bytes = new byte[1024];
        while ((count = fis.read(bytes, 0, 1024)) != -1) {
            zos.write(bytes, 0, count);
        }
        fis.close();
        zos.closeEntry();
    }
}
7. 给新的未签名的apk签名
public class ApkEncryptMain {
    public static void main(String[] args) {
        /**
         * 4 .给新apk添加签名,生成签名apk
         */
        File signedApk = new File("Encrypt/result/apk-signed.apk");
        SignUtils.signature(unsignedApk, signedApk);
    }
}

public class SignUtils {
    public static void signature(File unSignApk, File signApk) {
        if (unSignApk == null || !unSignApk.exists()) {
            LogUtils.e("The APK that needs to be signed does not exist");
            return;
        }
        String command = "cmd.exe /C jarsigner -sigalg SHA1withRSA -digestalg SHA1 " +
                "-keystore C:/Users/Administrator/.android/debug.keystore -storepass android -keypass android " +
                "-signedjar " + signApk.getAbsolutePath() + " " + unSignApk.getAbsolutePath() + " androiddebugkey";
        Process process = null;
        BufferedReader buffer = null;
        try {
            LogUtils.i(command);
            process = Runtime.getRuntime().exec(command);
            process.waitFor();
            String line;
            if (process.exitValue() != 0) {
                LogUtils.i("sign fail");
                buffer = new BufferedReader(new InputStreamReader(process.getErrorStream()));
                while ((line = buffer.readLine()) != null) {
                    LogUtils.e(line);
                }
            } else {
                LogUtils.i("sign success");
                buffer = new BufferedReader(new InputStreamReader(process.getInputStream()));
                while ((line = buffer.readLine()) != null) {
                    LogUtils.i(line);
                }
            }
        } catch (Exception e) {
            e.printStackTrace();
        } finally {
            if (process != null) {
                process.destroy();
                process = null;
            }

            if (buffer != null) {
                try {
                    buffer.close();
                    buffer = null;
                } catch (IOException e) {
                    e.printStackTrace();
                }
            }
        }
    }
}
到此dex加密过程就完成了,生成的apk-signed.apk就是签名了的apk,可以直接安装使用。
2. 解密实现
要完成解密,我们需要完成如下几个步骤:
1)找到合适的解密时机。
2)壳 dex 并没有被加密,需要排除在解密的 dex 文件之外。
3)解密后的 dex 文件需要重新插入到 ClassLoader 中,这与热修复思想是一样的。
1. 解密时机
作为一个被加密的应用,安装的时候我们应用本身是无法控制。所以应用第一次启动的时候就成了我们最佳的解密时机了。 所以我们将解密的逻辑放到Application的attachBaseContext()方法中。
2. 解压apk、脱壳并解密被加密的原apk中的 dex
说明: 这里只是为了实现功能而将解密的代码用java实现了,而这部分代码没有被加密,所以还是很容易被反编译查看到解密方法,这样被加密的dex也很容易被破解,因此最好的方案就是把加密和解密代码用JNI方式实现,这样即使人家反编译壳apk的dex文件也没有办法知道加密和解密方法,也就无法破解原apk的dex文件了。
 /**
     * 解压apk并解密被加密了的dex文件
     *
     * @param apkFile 被加密了的 apk 文件
     * @param app     存放解压和解密后的apk文件目录
     */
    private void unZipAndDecryptDex(File apkFile, File app) {
        if (!app.exists() || app.listFiles().length == 0) {
            // 当app文件不存在,或者 app 文件是一个空文件夹是需要解压。

            // 解压apk到指定目录
            ZipUtils.unZip(apkFile, app);
            // 获取所有的dex
            File[] dexFiles = app.listFiles(new FilenameFilter() {
                @Override
                public boolean accept(File file, String s) {
                    // 提取所有的.dex文件
                    return s.endsWith(".dex");
                }
            });

            if (dexFiles == null || dexFiles.length <= 0) {
                LogUtils.i("this apk is invalidate");
                return;
            }

            for (File file : dexFiles) {
                if (file.getName().equals("classes.dex")) {
                    /**
                     * 我们在加密的时候将不能加密的壳dex命名为classes.dex并拷贝到新apk中打包生成新的apk中了。
                     * 所以这里我们做脱壳,壳dex不需要进行解密操作。
                     */
                } else {
                    /**
                     * 加密的dex进行解密,对应加密流程中的_.dex文件
                     */
                    byte[] buffer = FileUtils.getBytes(file);
                    if (buffer != null) {
                        // 解密
                        byte[] decryptBytes = EncryptUtils.getInstance().decrypt(buffer);
                        if (decryptBytes != null) {
                            //修改.dex名为_.dex,避免等会与aar中的.dex重名
                            int indexOf = file.getName().indexOf(".dex");
                            String newName = file.getParent() + File.separator +
                                    file.getName().substring(0, indexOf) + "new.dex";
                            // 写数据, 替换原来的数据
                            FileUtils.wirte(new File(newName), decryptBytes);
                            file.delete();
                        } else {
                            LogUtils.e("Failed to encrypt dex data");
                            return;
                        }
                    } else {
                        LogUtils.e("Failed to read dex data");
                        return;
                    }
                }
            }
        }
    }
3. 将解密后的dex文件重新插入dexElements数组中。在这个过程中需要对不同的版本做处理。这里提供一个可以在线查看源码的地址,方便大家阅读源码。http://androidxref.com/
public class LoaderDexUtils {
    public static void loader(ClassLoader loader, ArrayList<File> dexList, File dir) {

        try {
            /**
             * 1. 通过反射找到BaseDexClassLoader中的pathList属性,pathList是DexPathList类型的对象。
             * DexPathList中维护了一个dex文件数组(dexElements数组),ClassLoader加载类的时候就会从这dex数组中去查找。
             * 我们需要将解密出来的dex重新插入到这个数组里面。
             */
            // 这里的loader是PathClassLoader,PathClassLoader继承自BaseDexClassLoader
            Class<?> baseDexClassLoaderClass = loader.getClass().getSuperclass();
            Field pathListField = baseDexClassLoaderClass.getDeclaredField("pathList");
            pathListField.setAccessible(true);
            Object pathList = pathListField.get(loader);


            /**
             * 2. 创建我们自己的dex文件数组,可查看源码中的makeDexElements方法
             */
            ArrayList suppressedExceptions = new ArrayList();
            Class<?> dexPathListClass = pathList.getClass();
            Object[] elements = null;
            if (Build.VERSION.SDK_INT >= 24) {
                Method makeDexElementsMethod = dexPathListClass.getDeclaredMethod("makeDexElements", List.class, File.class, List.class, ClassLoader.class);
                makeDexElementsMethod.setAccessible(true);
                elements = (Object[]) makeDexElementsMethod.invoke(pathList, dexList, dir, suppressedExceptions, loader);
            } else if (Build.VERSION.SDK_INT >= 23) {
                Method makeDexElementsMethod = dexPathListClass.getDeclaredMethod("makePathElements", List.class, File.class, List.class);
                makeDexElementsMethod.setAccessible(true);
                elements = (Object[]) makeDexElementsMethod.invoke(pathList, dexList, dir, suppressedExceptions);
            } else {
                Method makeDexElementsMethod = dexPathListClass.getDeclaredMethod("makeDexElements", ArrayList.class, File.class, ArrayList.class);
                makeDexElementsMethod.setAccessible(true);
                elements = (Object[]) makeDexElementsMethod.invoke(pathList, dexList, dir, suppressedExceptions);
            }

            if (elements == null) {
                LogUtils.e("makeDexElements fail");
                return;
            }
            /**
             * 3. 将解密后的dex文件插入到DexPathList的dexElements数组中。
             */
            Field dexElementsField = dexPathListClass.getDeclaredField("dexElements");
            dexElementsField.setAccessible(true);
            Object[] oldDexElements = (Object[]) dexElementsField.get(pathList);
            Object[] newDexElements = (Object[]) (Array.newInstance(oldDexElements.getClass()
                    .getComponentType(), oldDexElements.length + elements.length));
            System.arraycopy(oldDexElements, 0, newDexElements, 0, oldDexElements.length);
            System.arraycopy(elements, 0, newDexElements, oldDexElements.length, elements.length);
            dexElementsField.set(pathList, newDexElements);

            // 异常处理
            if (suppressedExceptions.size() > 0) {
                Iterator iterator = suppressedExceptions.iterator();

                while (iterator.hasNext()) {
                    IOException dexElementsSuppressedExceptions = (IOException)
                            iterator.next();
                    Log.w("MultiDex", "Exception in makeDexElement",
                            dexElementsSuppressedExceptions);
                }

                Field suppressedExceptionsField = dexPathListClass.getDeclaredField("dexElementsSuppressedExceptions");
                suppressedExceptionsField.setAccessible(true);
                IOException[] dexElementsSuppressedExceptions = (IOException[])
                        suppressedExceptionsField.get(pathList);
                if (dexElementsSuppressedExceptions == null) {
                    dexElementsSuppressedExceptions = (IOException[]) suppressedExceptions
                            .toArray(new IOException[suppressedExceptions.size()]);
                } else {
                    IOException[] combined = new IOException[suppressedExceptions.size() +
                            dexElementsSuppressedExceptions.length];
                    suppressedExceptions.toArray(combined);
                    System.arraycopy(dexElementsSuppressedExceptions, 0, combined,
                            suppressedExceptions.size(), dexElementsSuppressedExceptions.length);
                    dexElementsSuppressedExceptions = combined;
                }

                suppressedExceptionsField.set(pathList, dexElementsSuppressedExceptions);
            }

        } catch (Exception e) {
            e.printStackTrace();
        }
    }

}
3. 测试


从上面的测试过程可以看出,加密dex之后再解密dex可以正常运行,然后加密过后的dex是看不到内容的,而没有加密的dex是可以看得到里面的内容的。