eclipse创建springboot项目思维导图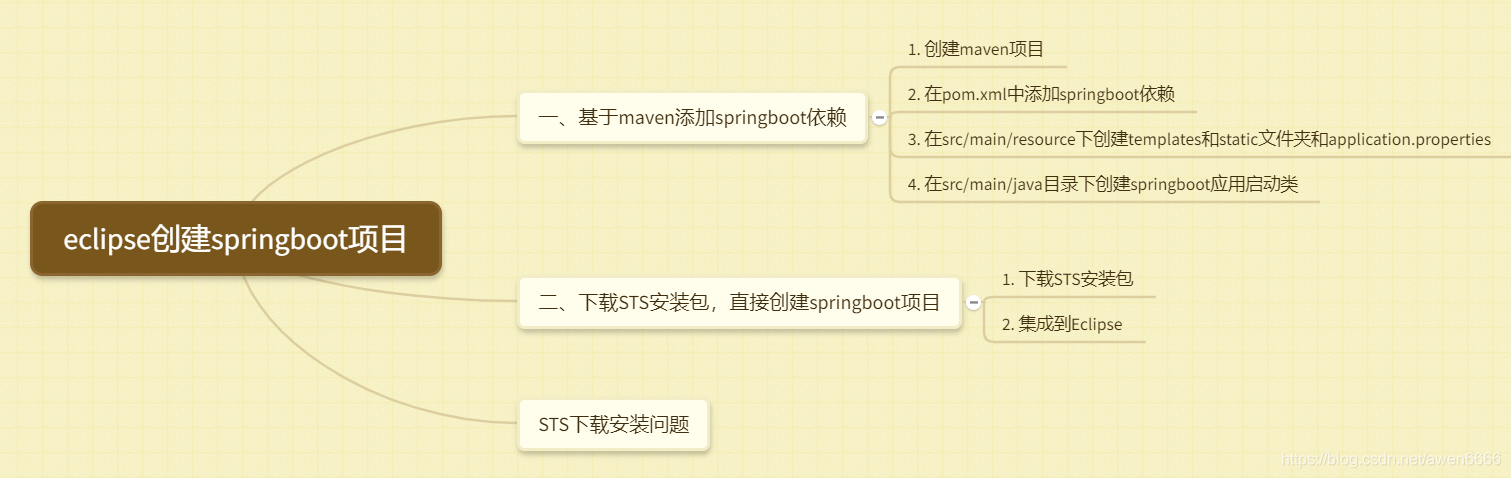
一、基于maven添加springboot依赖
- 创建maven项目


- 在pom.xml中添加springboot依赖
<project xmlns="http://maven.apache.org/POM/4.0.0" xmlns:xsi="http://www.w3.org/2001/XMLSchema-instance"
	xsi:schemaLocation="http://maven.apache.org/POM/4.0.0 http://maven.apache.org/xsd/maven-4.0.0.xsd">
	<modelVersion>4.0.0</modelVersion>
	<groupId>com.awen</groupId>
	<artifactId>springbootdemo</artifactId>
	<version>0.0.1-SNAPSHOT</version>
	<packaging>war</packaging>

	<parent>
		<groupId>org.springframework.boot</groupId>
		<artifactId>spring-boot-starter-parent</artifactId>
		<version>1.5.13.RELEASE</version>
		<relativePath />
	</parent>

	<properties>
		<project.build.sourceEncoding>UTF-8</project.build.sourceEncoding>
		<project.reporting.outputEncoding>UTF-8</project.reporting.outputEncoding>
		<java.version>1.8</java.version>
	</properties>

	<dependencies>
		<!-- spring boot依赖 -->
		<dependency>
			<groupId>org.springframework.boot</groupId>
			<artifactId>spring-boot-starter-web</artifactId>
		</dependency>

		<dependency>
			<groupId>org.springframework.boot</groupId>
			<artifactId>spring-boot-starter-tomcat</artifactId>
			<scope>provided</scope>
		</dependency>
		<dependency>
			<groupId>org.springframework.boot</groupId>
			<artifactId>spring-boot-starter-test</artifactId>
			<scope>test</scope>
		</dependency>
	</dependencies>

	<build>
		<plugins>
			<plugin>
				<groupId>org.springframework.boot</groupId>
				<artifactId>spring-boot-maven-plugin</artifactId>
			</plugin>
		</plugins>
	</build>
</project>
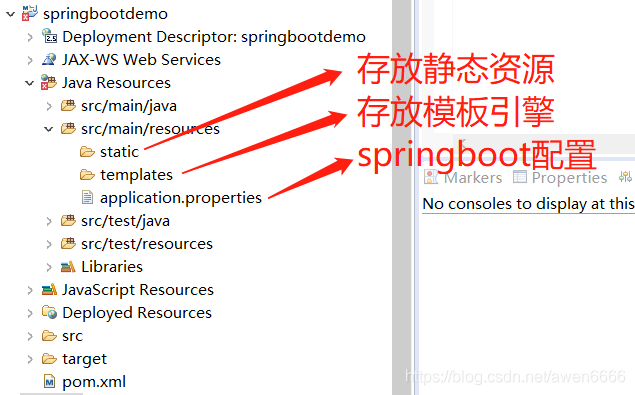
3.在src/main/resource下创建templates和static文件夹和application.properties
3. 在src/main/java目录下创建springboot应用启动类

4. 测试
创建一个简单的controller类,来检测一下spring boot是否搭建成功。
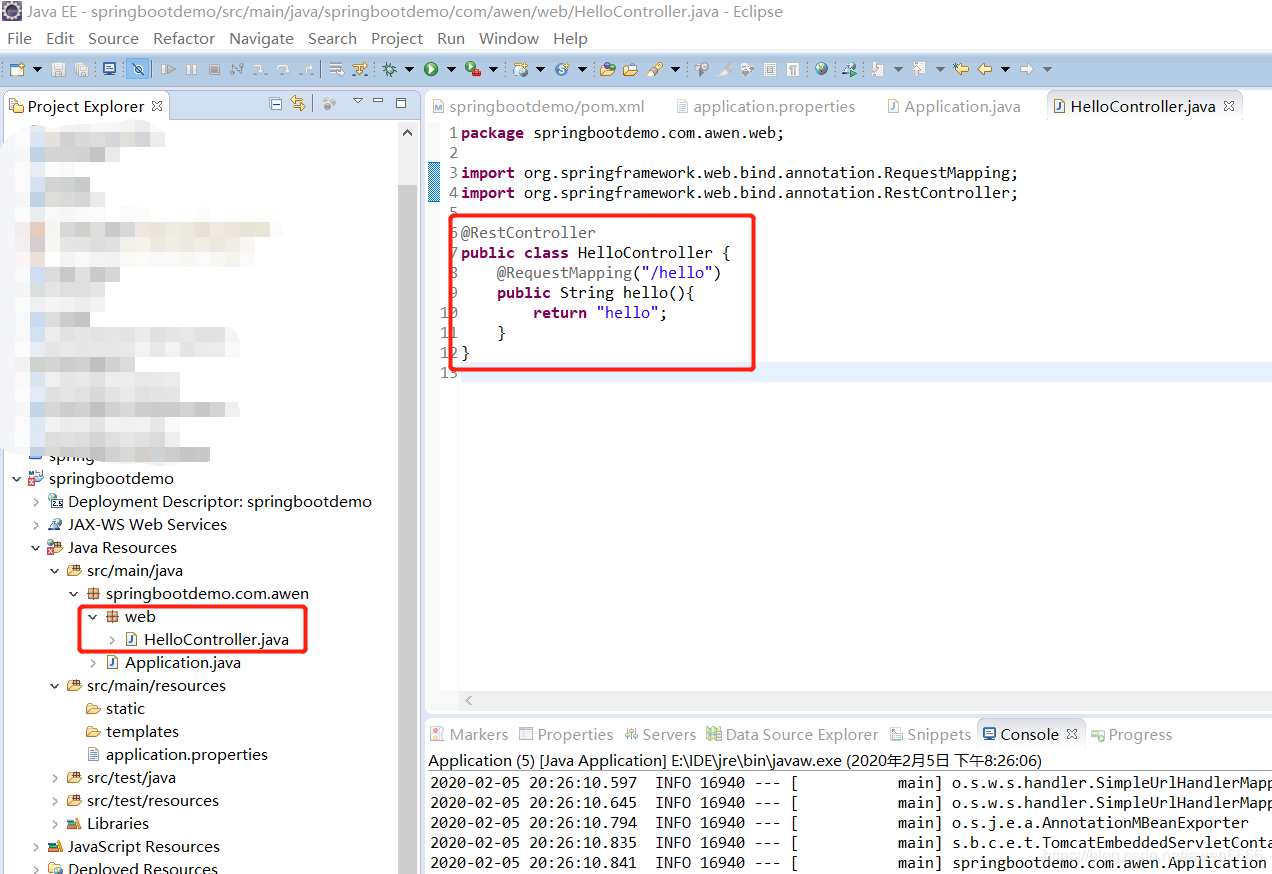
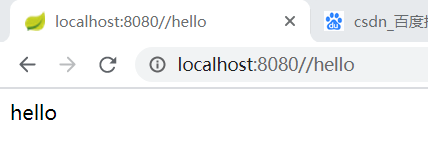
然后启动Application类,启动spring boot项目,访问请求“http://localhost:8080//hello”,出现下图显示则成功。
二、下载STS安装包,直接创建springboot项目
安装
- 下载STS安装包,并集成到Eclipse
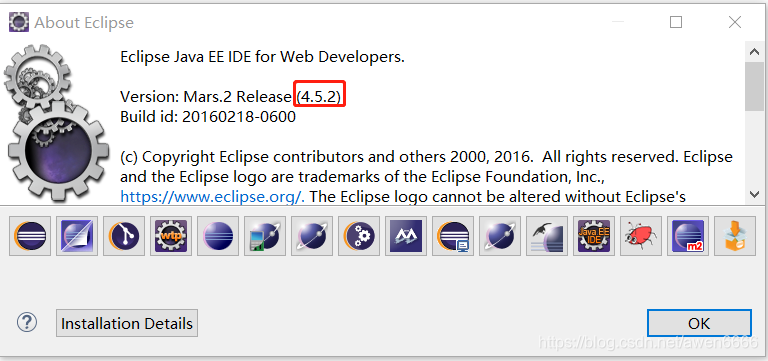
Help----About EclipseIDE 查看当前eclipse的版本号以对应STS版本;
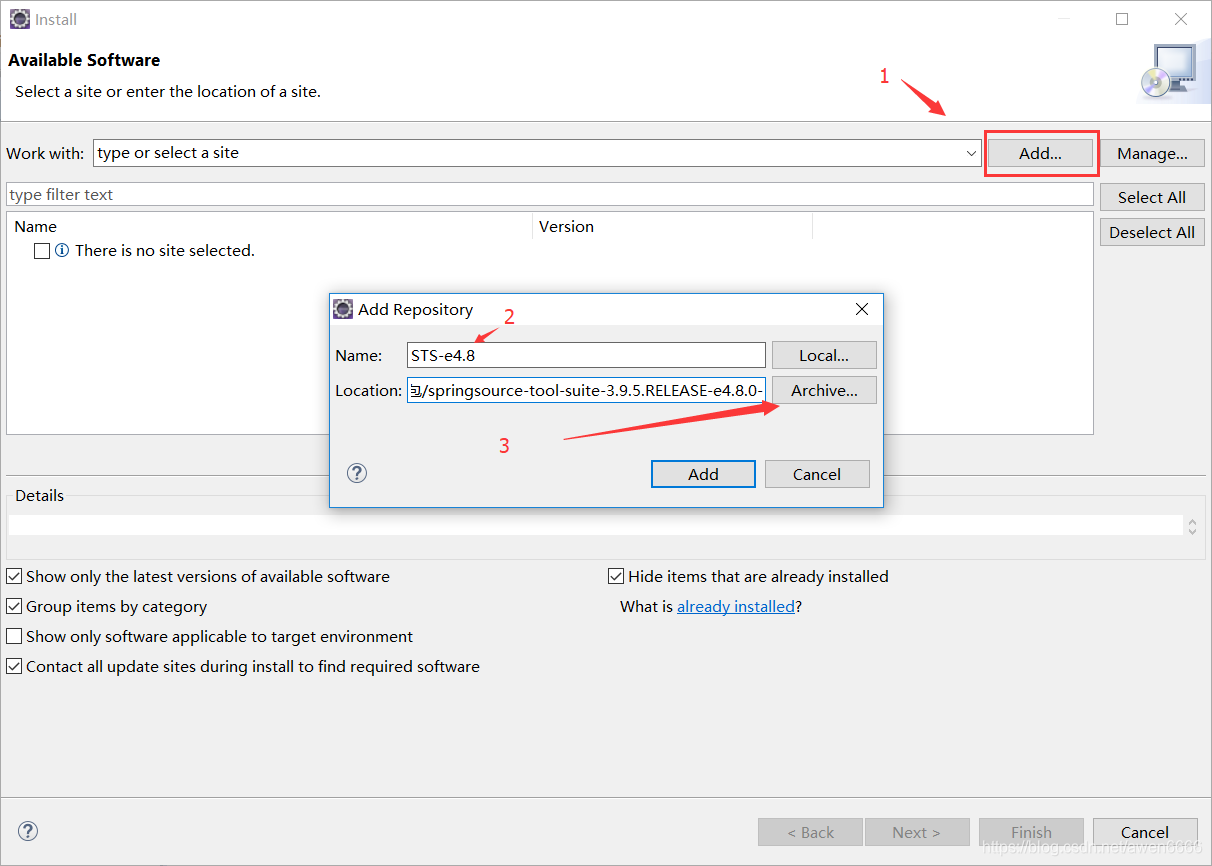
https://spring.io/tools3/sts/legacy 查看4.5对应的STS版本下载。 - 下载完成后,不要解压,直接Eclipse–Help–Install New SoftWare–选择Add–第一个自己取个名字,第二个Archive,选择刚刚下载的包
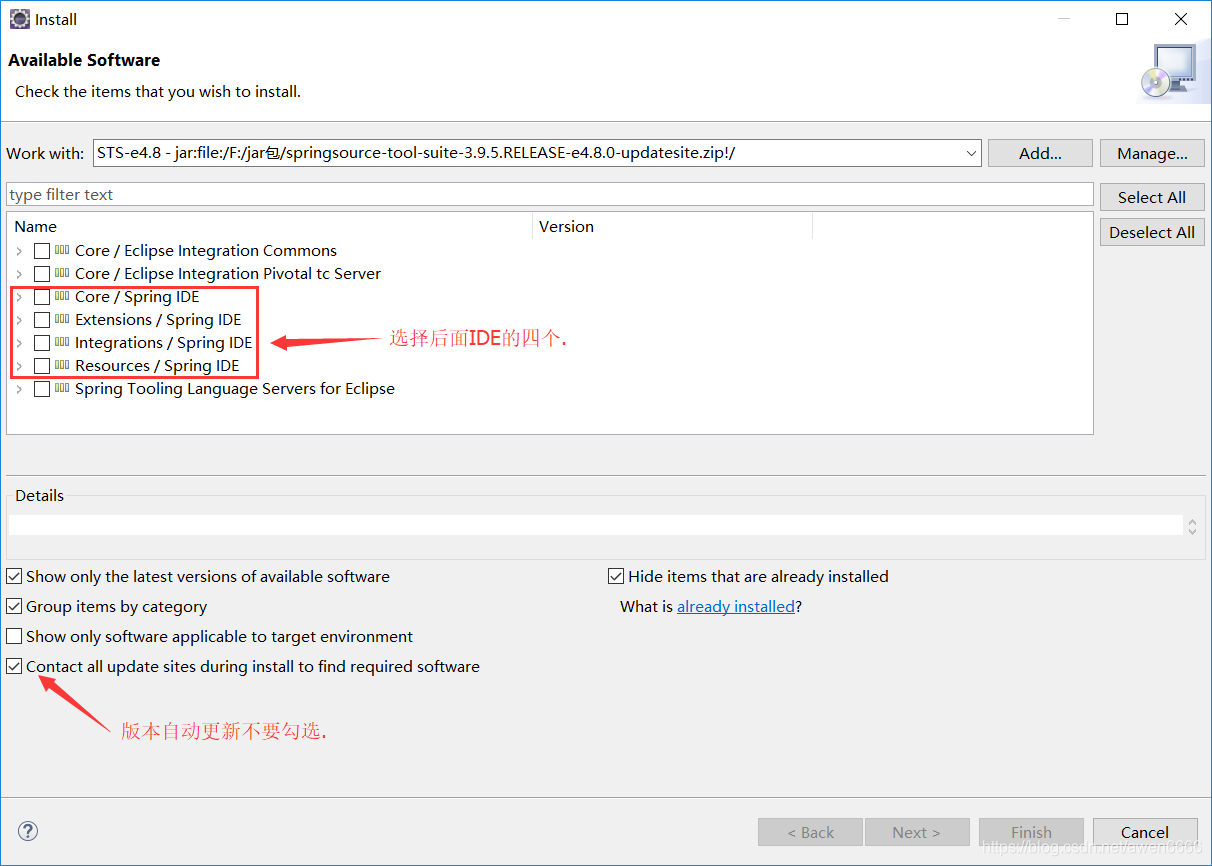
- 然后next,提示重启Eclipse,重启过后,检查一下windows—>Preferences–>搜索Spring,显示下图则成功。

- 创建项目:New–Spring Starter Project–选中要用的模块
STS下载安装问题
问题一:sts安装前出现could not find jar:file解决办法(可能是下载的软件出现问题)
解决问题参考网址:https://www.cnblogs.com/sharpest/p/10393293.html
问题二:安装过程中出现cannot perform operation.Computing alertnate solutions,may take a while :1/15
解决问题参考网址:https://blog.csdn.net/qq_39081169/article/details/79084446
问题三:安装完后不能显示spring–可能是版本不对应、可能需要重新下载eclipse和sts
eclipse下载地址(4.9.0版本):http://eclipse.stu.edu.tw/technology/epp/downloads/release/2018-09/R/eclipse-committers-2018-09-win32-x86_64.zip
STS下载地址(4.9.0):http://download.springsource.com/release/TOOLS/update/3.9.6.RELEASE/e4.9/springsource-tool-suite-3.9.6.RELEASE-e4.9.0-updatesite.zip