文章的阅读数和评论也是博客系统中经常用到的功能。
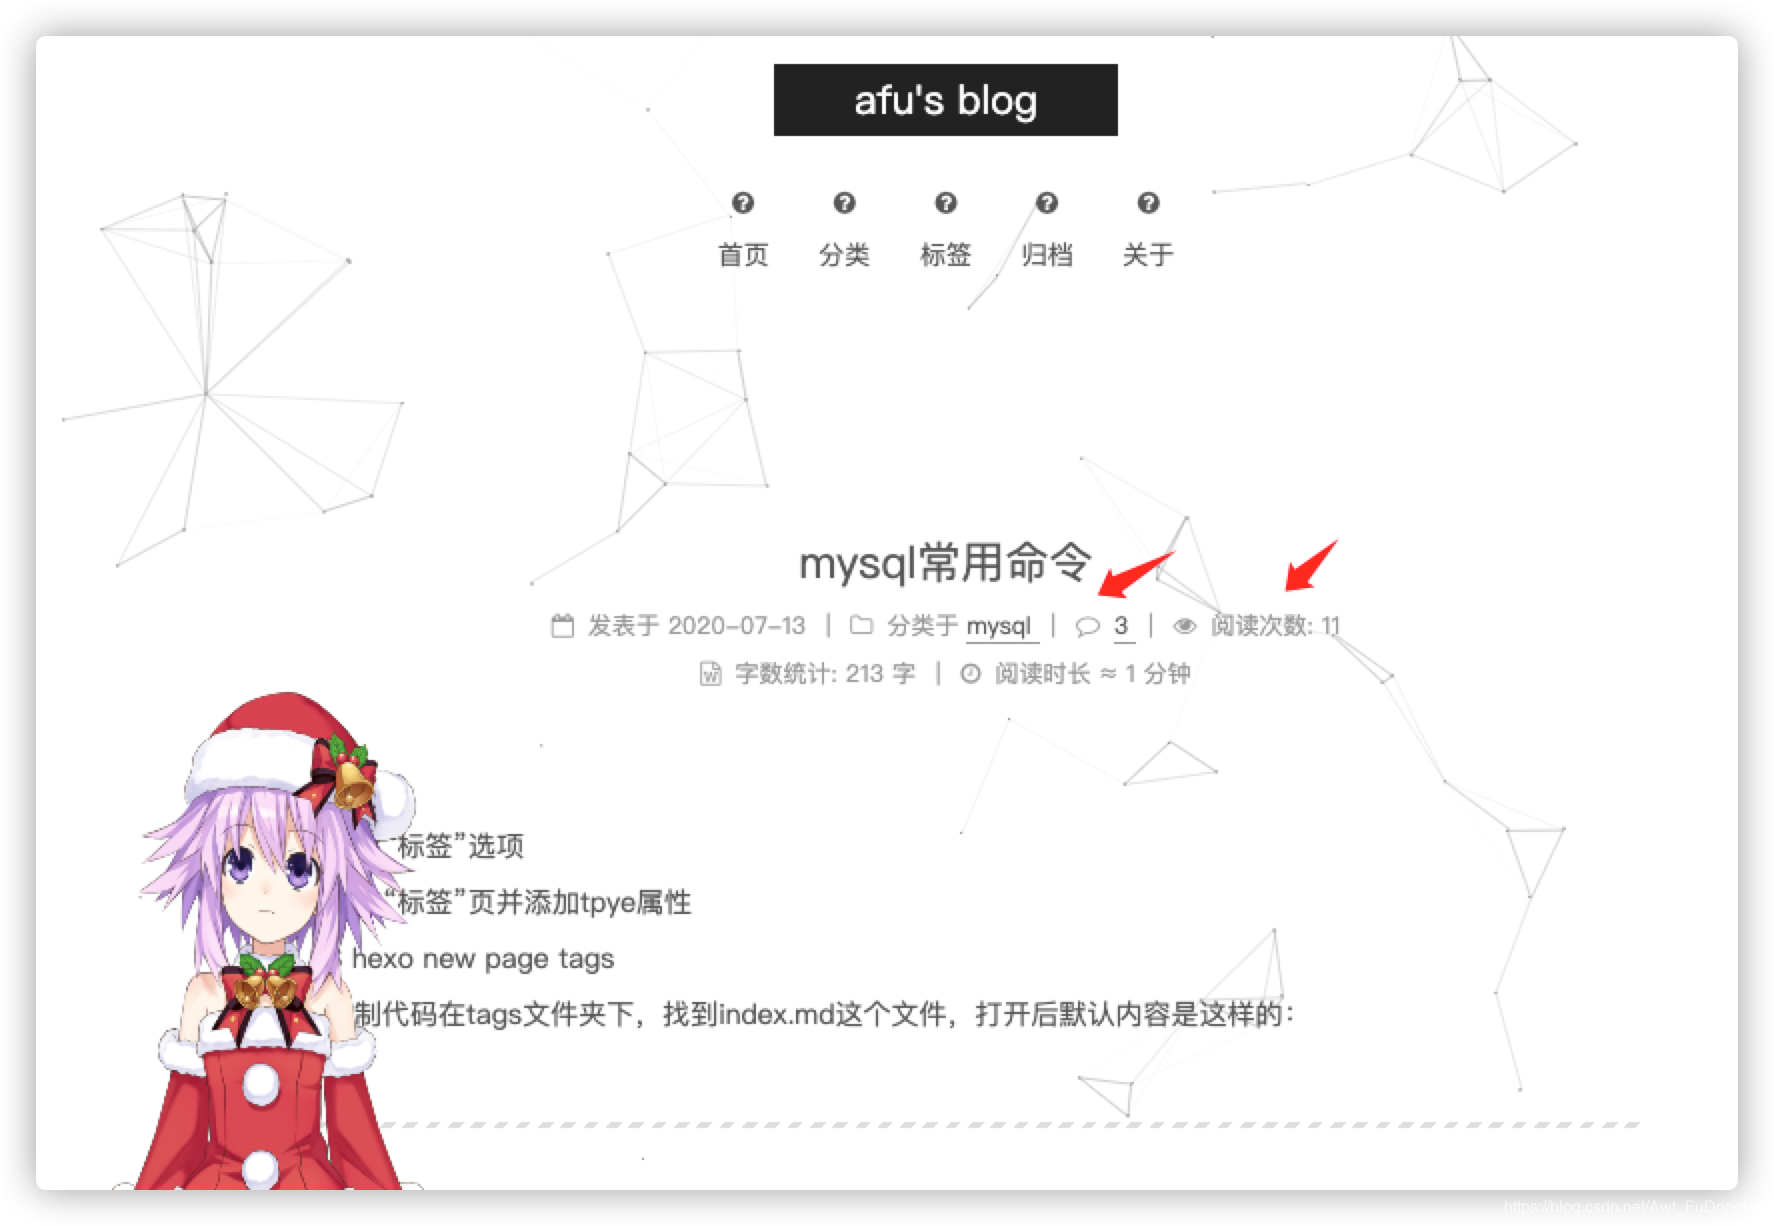
本篇博文记录如何通过第三方系统实现这两个功能。
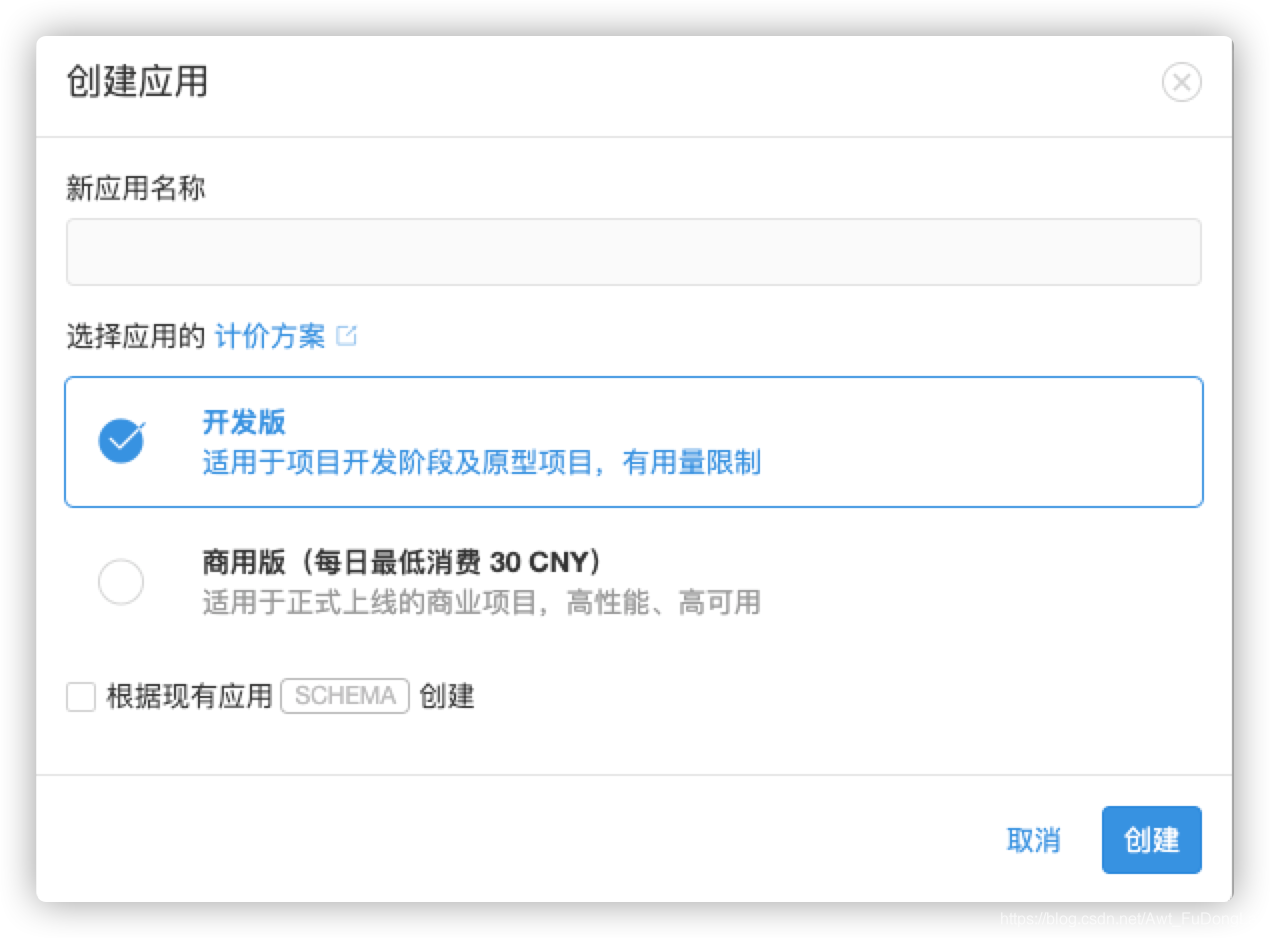
1 注册第三方系统leancloud。
(这个平台需要实名认证才能使用)
点击「创建应用」,选择开发版,名字随意取一个就行。
创建好后,点击进入应用。点击「存储」,创建一个class,名字随意,其余的设置都默认就行。
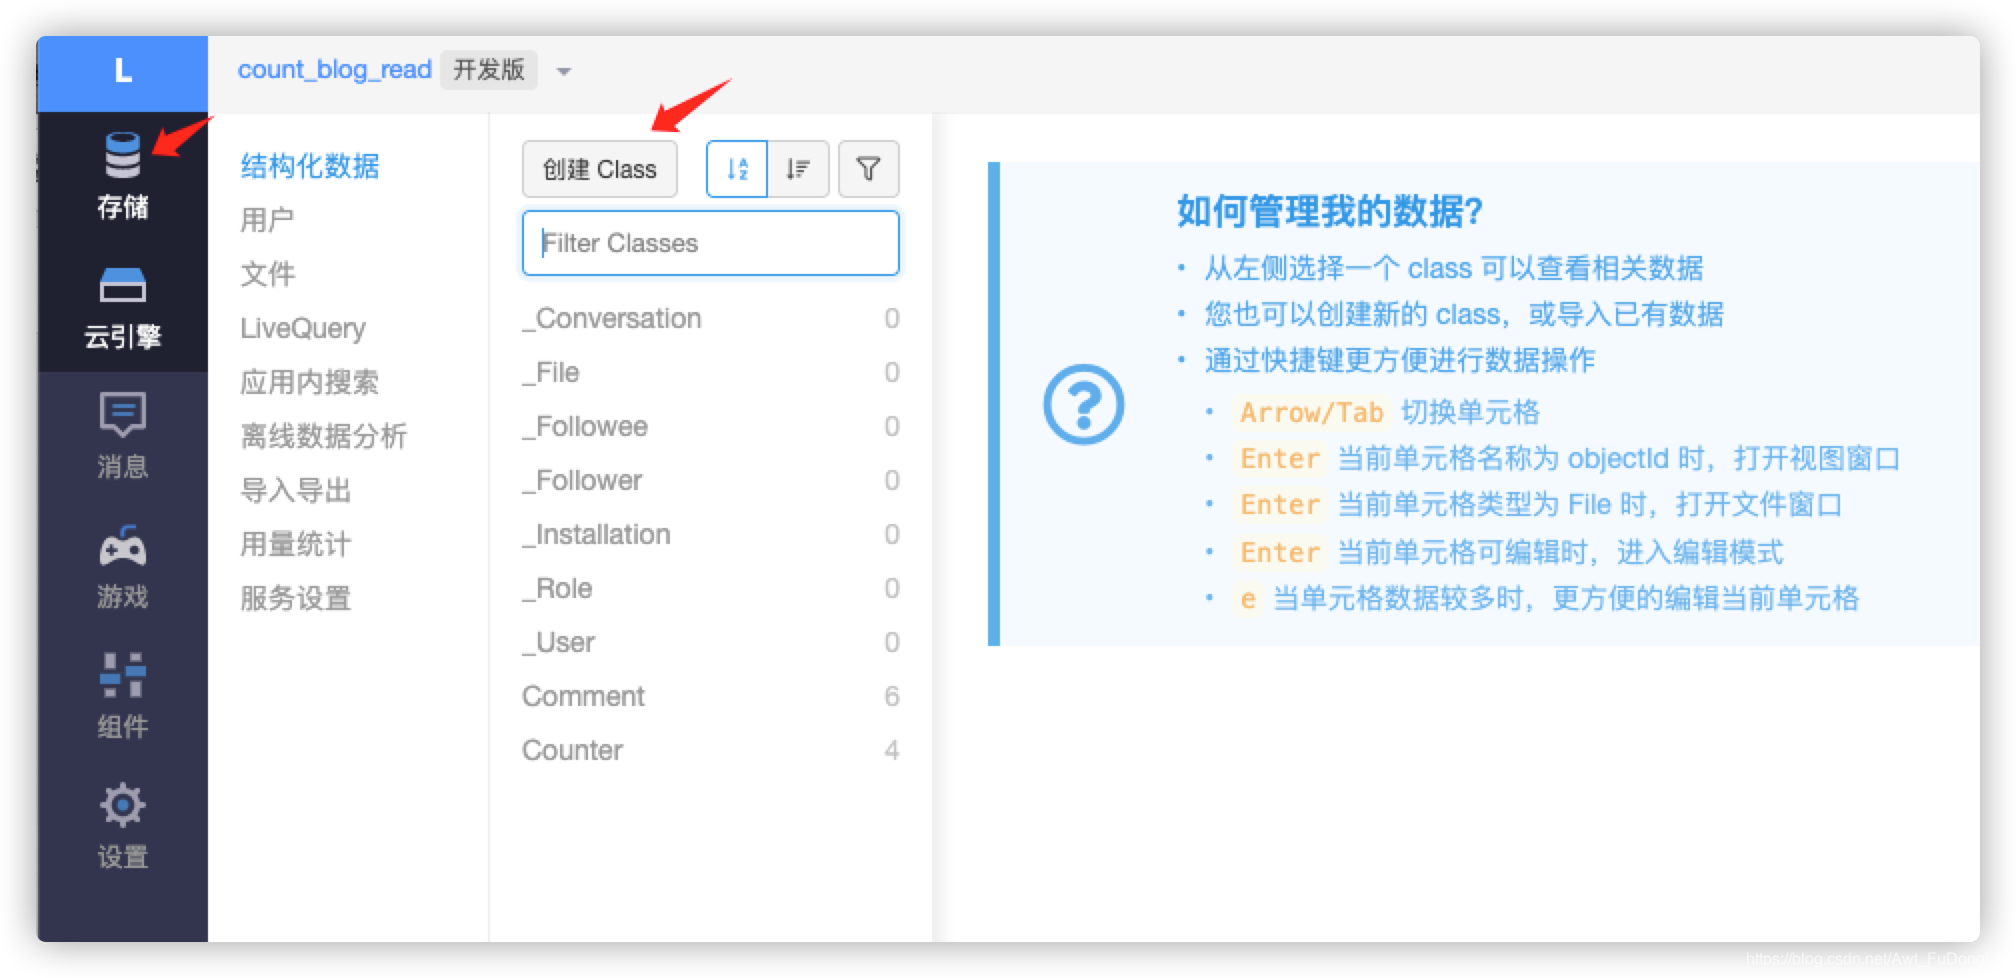
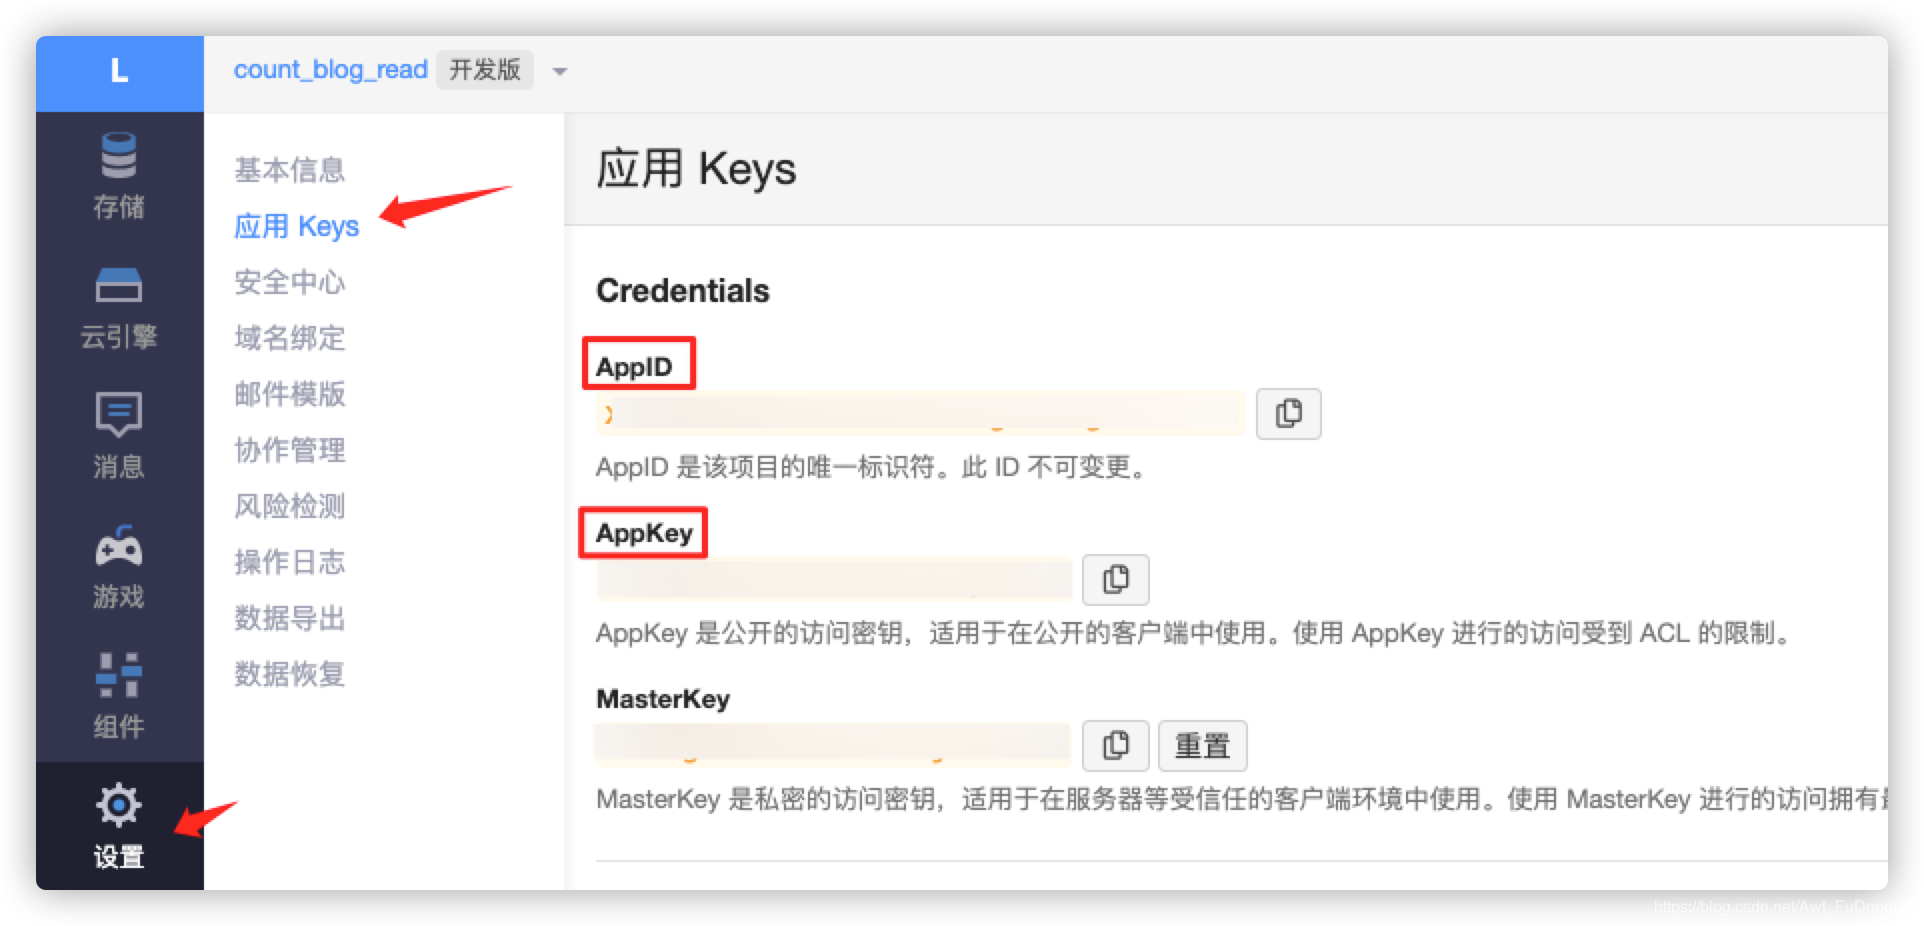
点击设置,选择「应用Keys」。复制里面的AppID和AppKey,后续需要把它们添加到配置文件中。
2 添加文章阅读数功能:
更改主题的配置文件。
cd 博客目录
vim themes/next/_config.yml

# 在配置文件中找到相应的设置,里面默认就有,配置好就行
# Show number of visitors to each article.
# You can visit https://leancloud.cn get AppID and AppKey.
leancloud_visitors:
  enable: true
  app_id: leancloud的appid
  app_key: leancloud的appkey
  security: false
  betterPerformance: false
这里唯一需要注意的是,不同文章的发布日期和标题不要相同,否则文章阅读数会归零。
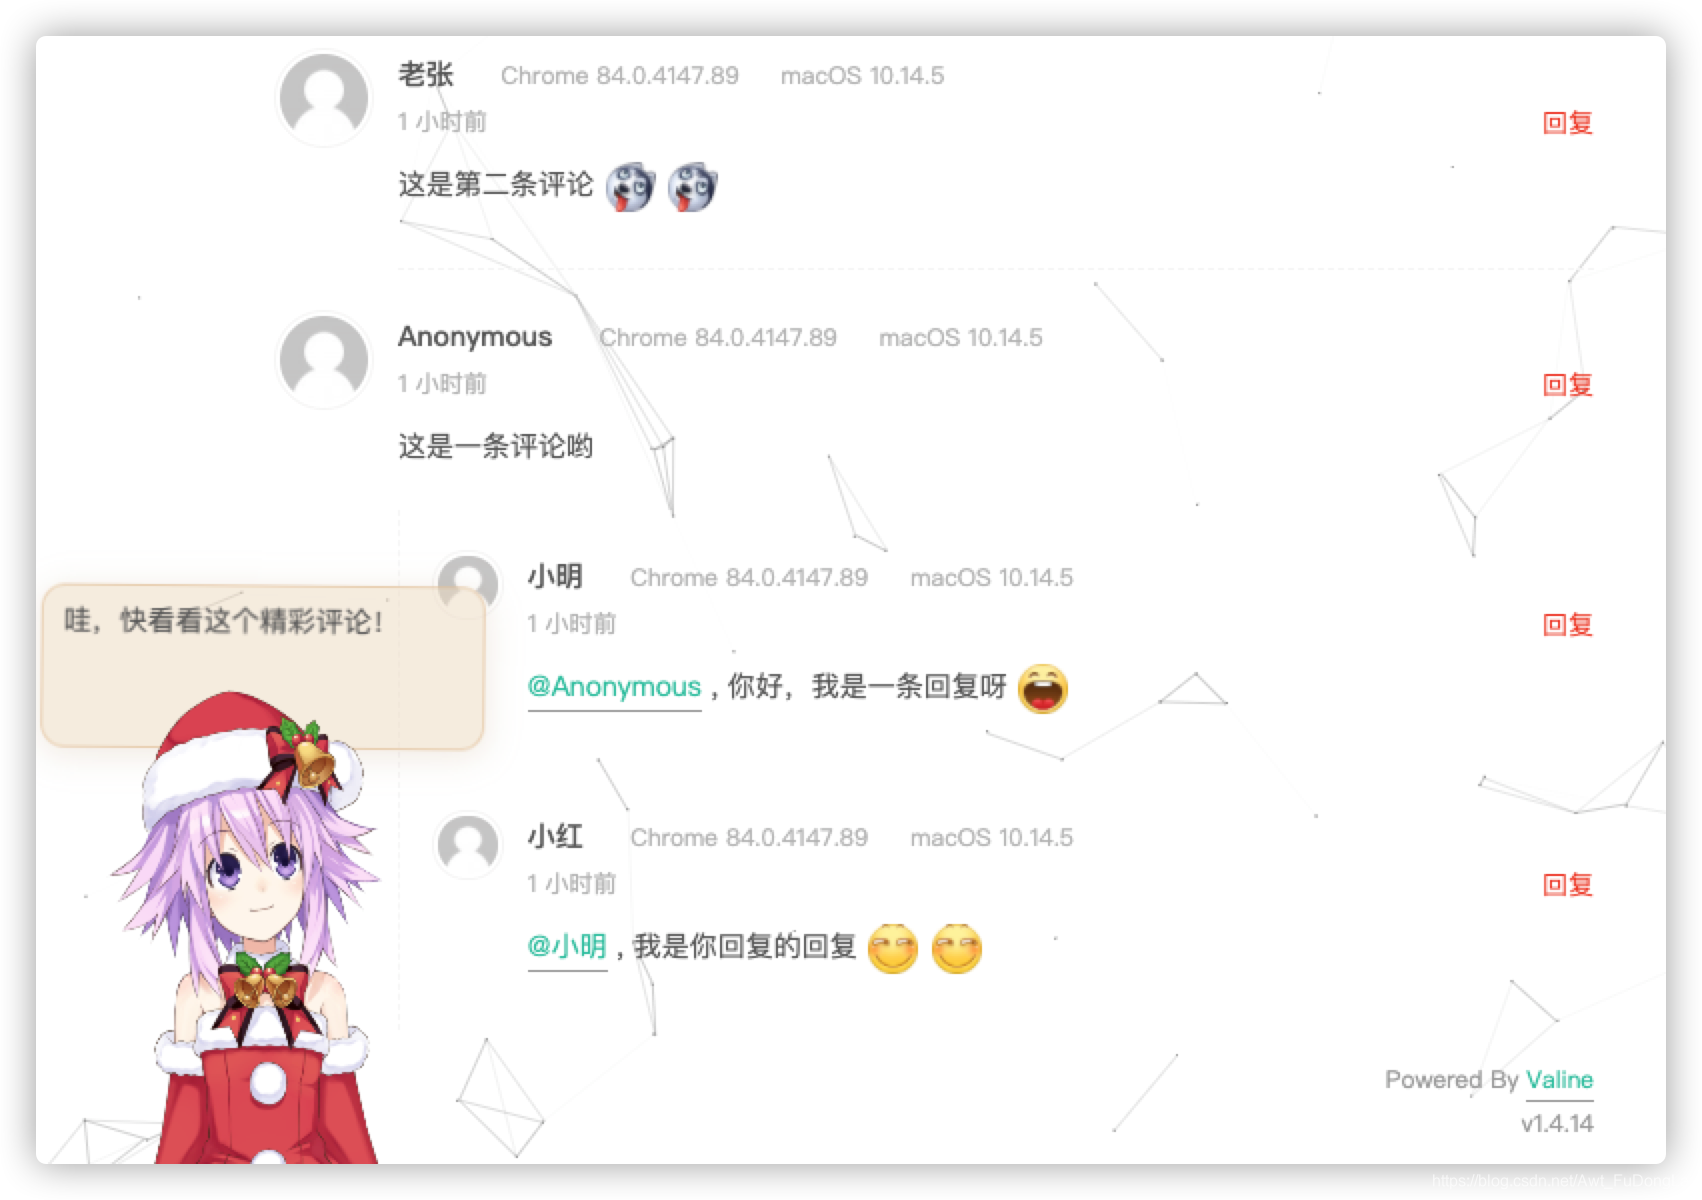
3 添加评论功能
更改主题的配置文件。
cd 博客目录
vim themes/next/_config.yml

# 更改相应设置
# Valine.
# You can get your appid and appkey from https://leancloud.cn
# more info please open https://valine.js.org
valine:
  enable: true
  appid: leancloud的appid
  appkey: leancloud的appkey
  notify: false # mail notifier , https://github.com/xCss/Valine/wiki
  verify: false # Verification code
  placeholder: 说点什么吧! # comment box placeholder
  avatar: mm # gravatar style
  guest_info: nick,mail,link # custom comment header
  pageSize: 10 # pagination size
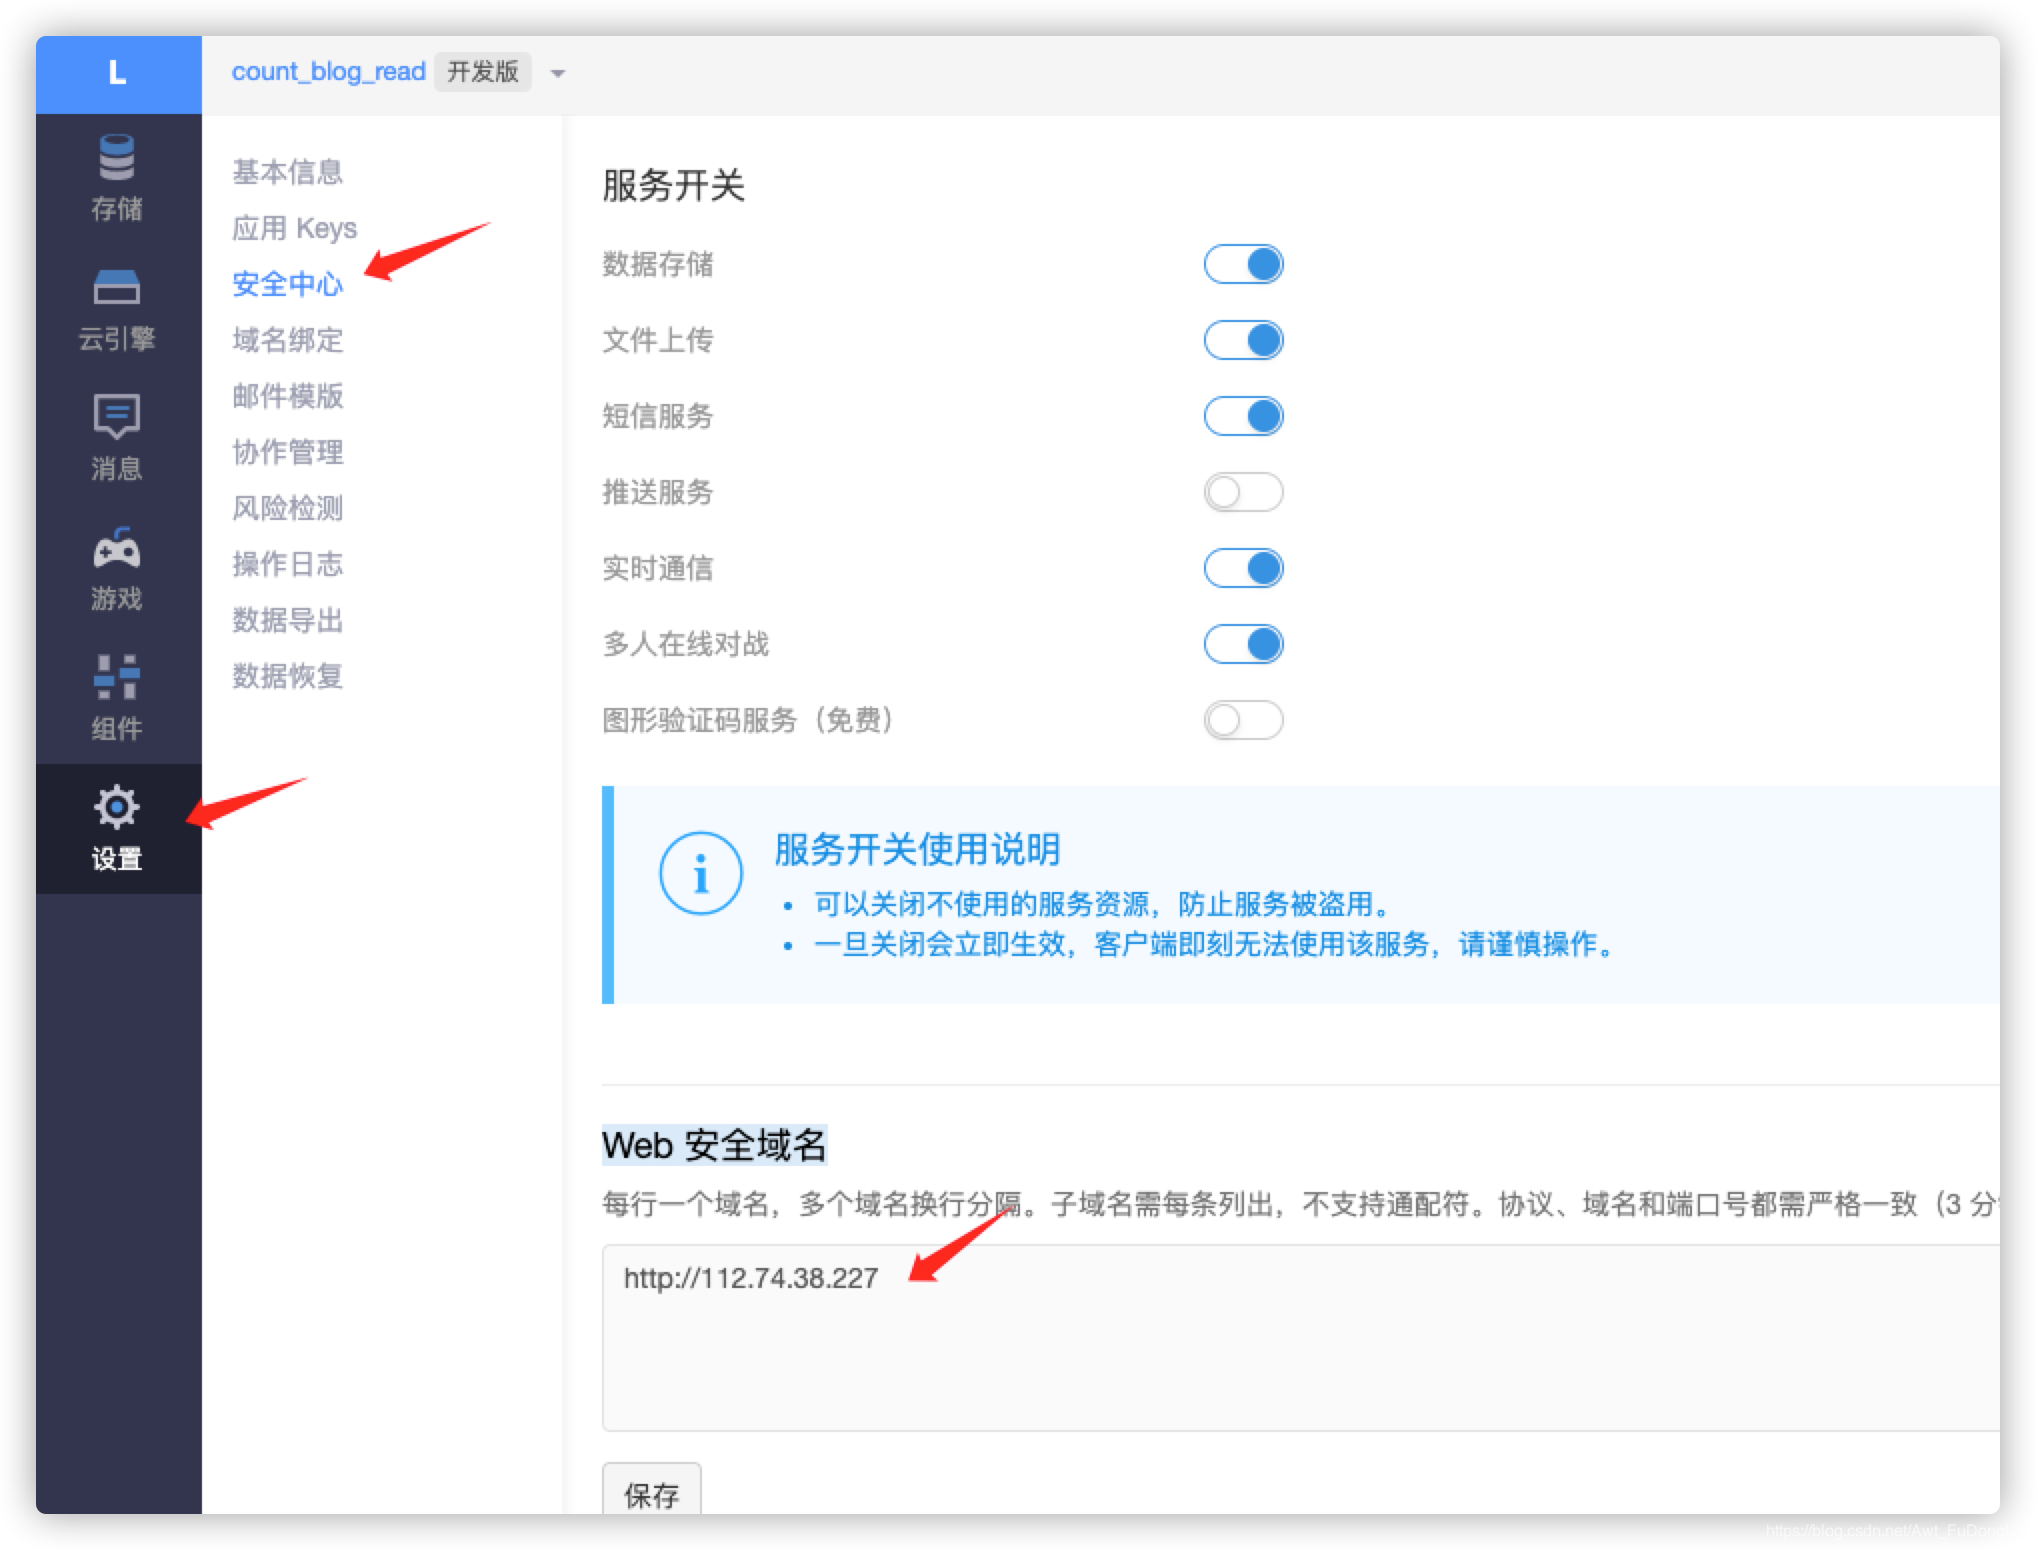
然后在leancloud后台中设置Web 安全域名(域名或者ip地址都行)。
这里需要注意的是,如果有的文章或者页面想关闭评论功能,则在相应的markdown文件开头设置comments为false即可。
---
title: 关于
date: 2018-03-24 22:24:28
type: "about"
comments: false
---