系统结构实践期末大作业
选题简介
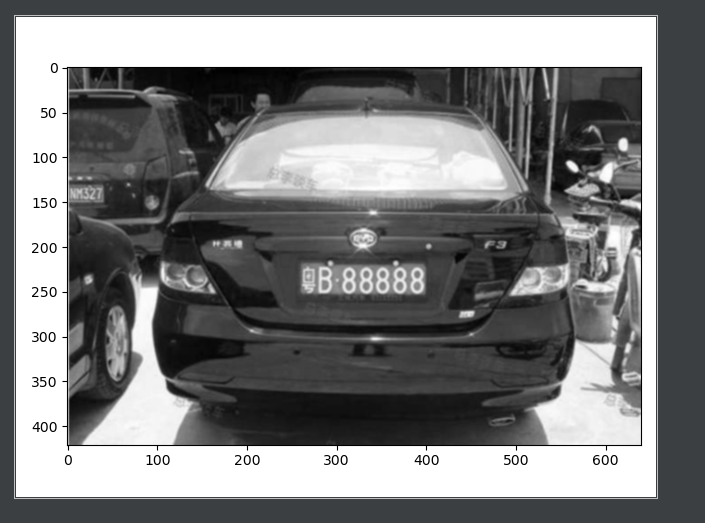
我们这次的期末大作业主要完成的是一个车牌识别的系统,部署在树莓派上,利用opencv和python来完成对车牌的提取、字符分割以及字符识别等操作,最后再以字符串的形式显示出来
首先我们先学习了YOLO论文,学习了一些机器学习相关的知识,因为之前是准备用深度学习提高识别准确性,后面发现我们基础知识欠缺的比较多,所以后面就转向了对opencv的学习
设计&&运行结果
我们本次的实践主要是以代码为主,后面本想写个可视化界面,发现时间不太充足了,在学习opencv以及图像处理那里花费了较多的实践
这里把设计方向以及结果结合在一起写出来,内容如下:
首先对图片进行高斯去噪处理
img = cv2.GaussianBlur(rawImg, (3, 3), 0)

对图片进行灰度处理
gray_img = cv2.cvtColor(img, cv2.COLOR_RGB2GRAY)
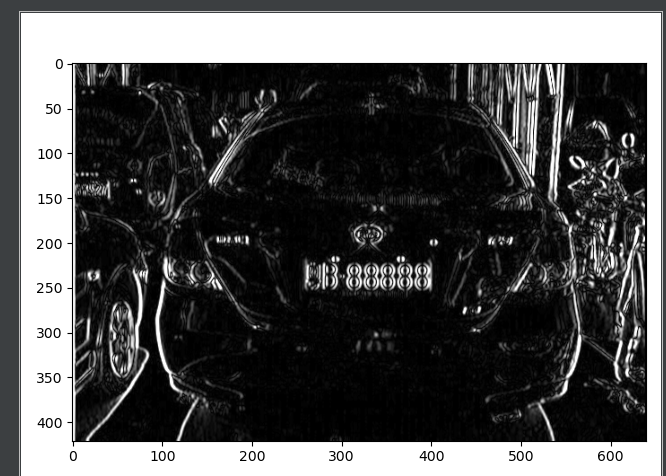
利用Sobel算子进行边缘检测--x方向
这里说明一下,对图片进行y方向检测的效果不是很理想,所以就用了x方向的处理
Sobel_x = cv2.Sobel(gray_img, cv2.CV_16S, 1, 0)
absX = cv2.convertScaleAbs(Sobel_x)
image = absX
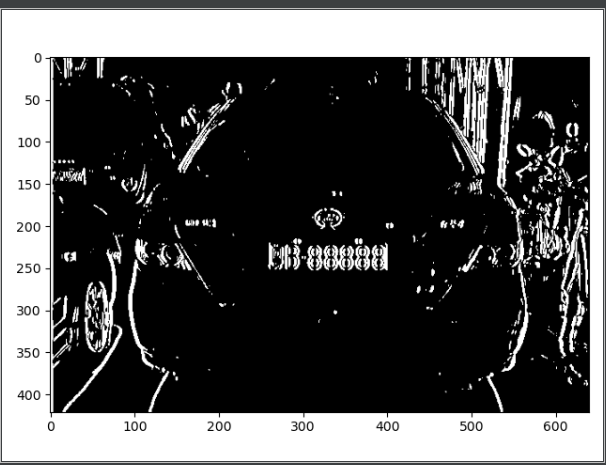
自适应阈值处理
利用图像局部阈值替换全局阈值进行图像计算的一种方法,具体针对光影变化过大的图片,或者范围内颜色差异不太明显的图片。
自适应是指保证计算机能够通过判断和计算取得该图像区域的平均阈值进行迭代。
ret, image = cv2.threshold(image, 0, 255, cv2.THRESH_OTSU)
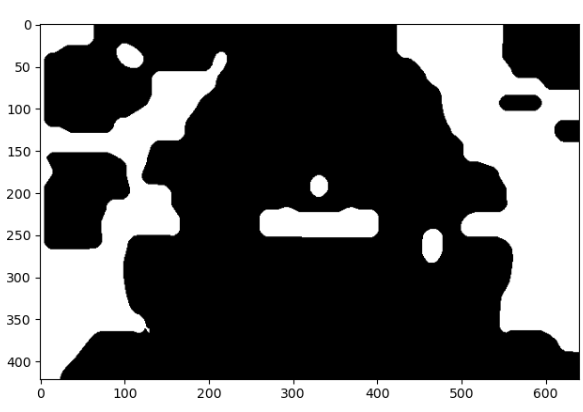
闭运算
先创建结构元素kernelX这里的17指x方向,5指方向,MORPH_RECT指返回矩形
kernelX = cv2.getStructuringElement(cv2.MORPH_RECT, (17, 5))
再对图片进行闭运算
image = cv2.morphologyEx(image, cv2.MORPH_CLOSE, kernelX, iterations=3)

具体是先进行膨胀然后进行腐蚀操作。通常是被用来填充前景物体中的小洞,或者抹去前景物体上的小黑点。因为可以想象,其就是先将白色部分变大,把小的黑色部分挤掉,然后再将一些大的黑色的部分还原回来,整体得到的效果就是:抹去前景物体上的小黑点了。
再膨胀腐蚀,腐蚀膨胀去除小的白点
# 去除一些比较小的白点
kernelX = cv2.getStructuringElement(cv2.MORPH_RECT, (20, 1))
kernelY = cv2.getStructuringElement(cv2.MORPH_RECT, (1, 19))
# 膨胀腐蚀
image = cv2.dilate(image, kernelX)
image = cv2.erode(image, kernelX)
# 腐蚀膨胀
image = cv2.erode(image, kernelY)
image = cv2.dilate(image, kernelY)

再用中值滤波去除噪点
image = cv2.medianBlur(image, 15)
对其进行轮廓检测
cv2.RETR_EXTERNAL表示只检测外轮廓
# cv2.CHAIN_APPROX_SIMPLE压缩水平方向、垂直方向、对角线方向的元素,只保留该方向的终点坐标
contours, hierarchy = cv2.findContours(image, cv2.RETR_TREE, cv2.CHAIN_APPROX_SIMPLE)
# 绘制轮廓
image_copy = rawImg.copy()
cv2.drawContours(image_copy, contours, -1, (0, 255, 0), 2)

根据长宽比再筛选出车牌位置
这里需要说明的是,车牌的长宽比介于3:1 -- 4:1之间,所以按照这个方向去找即可
for item in contours:
    rect = cv2.boundingRect(item)
    x = rect[0]
    y = rect[1]
    weight = rect[2]
    height = rect[3]
    if (weight > (height * 3)) and (weight < (height * 4)):
        image = rawImg[y:y + height, x:x + weight]
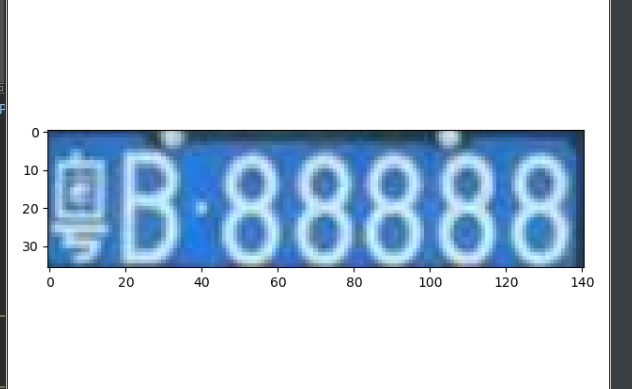
对提取出来的车牌进行字符分割
分割有两种方案:
1.根据每个字的长宽比来分割每一个字符,但问题比较明显,1这样的字符不容易被识别出来
2.对提取出来的车牌进行处理,根据其直方图找到波峰波谷,根据波峰波谷再进行字符分割
这里用的第一种方案
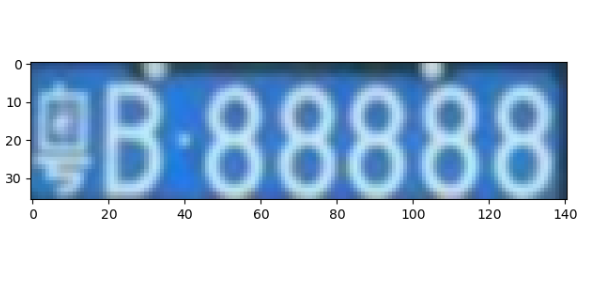
对车牌进行高斯去噪
img = cv2.GaussianBlur(image, (3, 3), 0)
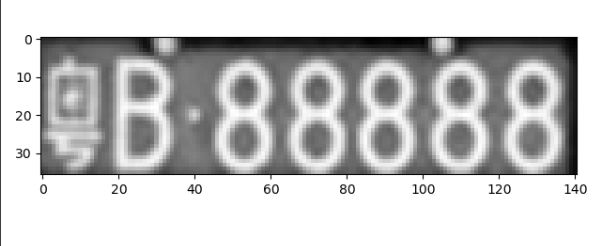
灰度处理
gray_img = cv2.cvtColor(img, cv2.COLOR_RGB2GRAY)
自适应阈值处理
ret, image = cv2.threshold(gray_img, 0, 255, cv2.THRESH_OTSU)
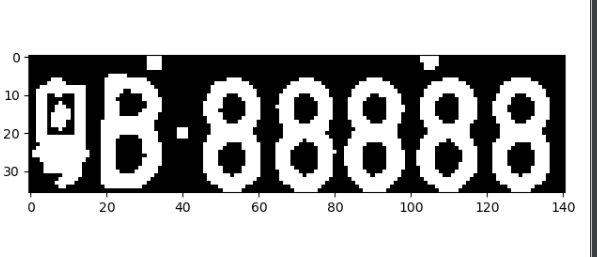
闭运算
kernel = cv2.getStructuringElement(cv2.MORPH_RECT, (2, 2))
image = cv2.dilate(image, kernel)
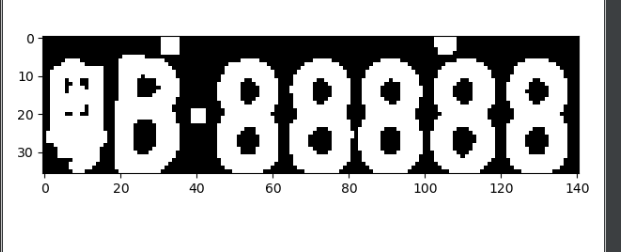
对其再进行轮廓检测
contours, hierarchy = cv2.findContours(image, cv2.RETR_EXTERNAL, cv2.CHAIN_APPROX_SIMPLE)
image_copy = rawImg2.copy()
cv2.drawContours(image_copy, contours, -1, (0, 0, 255), 1)
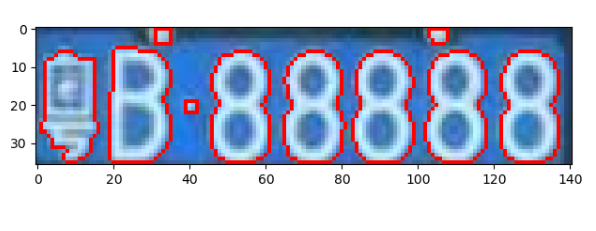
筛选出各个字符的轮廓,对其进行分割处理
words = []
word_images = []
for item in contours:
    # 用一个最小的矩形把找到的形状包起来
    word = []
    rect = cv2.boundingRect(item)
    x = rect[0]
    y = rect[1]
    weight = rect[2]
    height = rect[3]
    word.append(x)
    word.append(y)
    word.append(weight)
    word.append(height)
    words.append(word)
words = sorted(words, key=lambda s: s[0], reverse=False)
这里把每个字符的位置存到了words数组里
接下来再根据这个位置进行字符的分割处理
i = 0
for word in words:
    if (word[3] > (word[2] * 1)) and (word[3] < (word[2] * 3.5)):
        i += 1
        split_image = rawImg2[word[1]:word[1] + word[3], word[0]:word[0] + word[2]]
        # plt_show0(split_image)
        word_images.append(split_image)
for i, j in enumerate(word_images):
    plt.subplot(1, 8, i + 1)
    plt.imshow(word_images[i], cmap='gray')
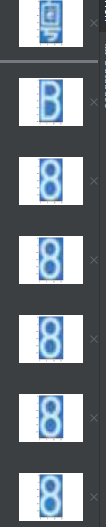
至此,字符分割完成
字符识别操作
新建一个模板template
    template = ['0', '1', '2', '3', '4', '5', '6', '7', '8', '9',
                'A', 'B', 'C', 'D', 'E', 'F', 'G', 'H', 'J', 'K', 'L', 'M', 'N', 'P', 'Q', 'R', 'S', 'T', 'U', 'V', 'W',
                'X', 'Y', 'Z',
                '藏', '川', '鄂', '甘', '赣', '贵', '桂', '黑', '沪', '吉', '冀', '津', '晋', '京', '辽', '鲁', '蒙', '闽', '宁',
                '青', '琼', '陕', '苏', '皖', '湘', '新', '渝', '豫', '粤', '云', '浙']
把模板文件导入到数组里
# 匹配中文
c_words = []
for i in range(34, 64):
    c_word = read_dictionary('./refer1/' + template[i])
    c_words.append(c_word)
# 匹配英文
e_words = []
for i in range(10, 34):
    e_word = read_dictionary('./refer1/' + template[i])
    e_words.append(e_word)
# 匹配数字和英文
m_words = []
for i in range(0, 34):
    m_word = read_dictionary('./refer1/' + template[i])
    m_words.append(m_word)
对每个字符进行操作
    i = 1
    for image in word_images:
        # 高斯去噪
        img = cv2.GaussianBlur(image, (3, 3), 0)
        # 灰度处理
        gray_img = cv2.cvtColor(img, cv2.COLOR_RGB2GRAY)
        # plt_show(gray_img)
        # 自适应阈值处理
        ret, img = cv2.threshold(gray_img, 0, 255, cv2.THRESH_OTSU)
        # 进行模板的匹配

        if i == 1:
            # 匹配中文
            best_score = []
            for c_word in c_words:
                score = []
                for word in c_word:
                    template_img = cv2.imdecode(np.fromfile(word, dtype=np.uint8), 1)
                    template_img = cv2.cvtColor(template_img, cv2.COLOR_RGB2GRAY)
                    ret, template_img = cv2.threshold(template_img, 0, 255, cv2.THRESH_OTSU)
                    height, width = template_img.shape
                    image = img.copy()
                    image = cv2.resize(image, (width, height))
                    result = cv2.matchTemplate(image, template_img, cv2.TM_CCOEFF)
                    score.append(result[0][0])
                best_score.append(max(score))
            str.append(template[34 + best_score.index(max(best_score))])
            # print(str)
            i += 1
            continue

        if i == 2:
            # 匹配第二个英文
            best_score = []
            for e_word in e_words:
                score = []
                for word in e_word:
                    template_img = cv2.imdecode(np.fromfile(word, dtype=np.uint8), 1)
                    template_img = cv2.cvtColor(template_img, cv2.COLOR_RGB2GRAY)
                    ret, template_img = cv2.threshold(template_img, 0, 255, cv2.THRESH_OTSU)
                    height, width = template_img.shape
                    image = img.copy()
                    image = cv2.resize(image, (width, height))
                    result = cv2.matchTemplate(image, template_img, cv2.TM_CCOEFF)
                    score.append(result[0][0])
                best_score.append(max(score))
            str.append(template[10 + best_score.index(max(best_score))])
            # print(str)
            i += 1
            continue
        if i > 2:
            # plt_show(img)
            best_score = []
            for m_word in m_words:
                score = []
                for word in m_word:
                    template_img = cv2.imdecode(np.fromfile(word, dtype=np.uint8), 1)
                    template_img = cv2.cvtColor(template_img, cv2.COLOR_RGB2GRAY)
                    ret, template_img = cv2.threshold(template_img, 0, 255, cv2.THRESH_OTSU)
                    height, width = template_img.shape
                    image = img.copy()
                    image = cv2.resize(image, (width, height))
                    result = cv2.matchTemplate(image, template_img, cv2.TM_CCOEFF)
                    score.append(result[0][0])
                best_score.append(max(score))
            str.append(template[best_score.index(max(best_score))])
            # print(str)
            i += 1
            continue
最后得到结果:

树莓派运行结果

组内分工 + 贡献比
| 学号 | 姓名 | 分工 | 贡献比 |
|---|---|---|---|
| 031702145 | 马连政 | 车牌范围识别,车牌提取修改bug | 18% |
| 031702243 | 杨成锦 | 车牌范围识别,车牌提取修改bug | 18% |
| 031702108 | 叶心言 | 对提取出来的字符进行字符分割 | 16% |
| 031702142 | 林德辉 | 对提取出来的字符进行字符分割 | 16% |
| 031702218 | 覃鸿浩 | 对分割出来的字符进行识别 | 16% |
| 031502115 | 黄臻 | 对分割出来的字符进行识别 | 16% |
总结
本次实验重在学习新的东西,其实感觉我们做的项目并没有很完善(还有些bug没有办法解决),项目中也遇到过了很多的问题,能解决大多数已经是万幸了,目前我们对车牌的识别还有很大的问题,很多车牌没有办法划清位置,字符的识别率也有待提高,对图片处理的参数也需要进行相应的调整。
马连政:本次实验学了很多之前没有学过的东西,像opencv这类的东西之前根本没有接触过,这次实验不仅让我接触到了opencv,还让我对他有了更进一步的了解。比如说什么闭运算开运算,还有一些对图像的处理,中值滤波高斯滤波等,可以对图片进行降噪处理,利用Sobel算子可以检测图片中物体的边缘等等,一开始本来打算用YOLO进行深度学习的训练,到后来结果没有实现,虽然没有实现,但是也加深了我对于机器学习的理解和认识。这次的实验接触的范围很广,看了很多大牛的作品,也学到了很多,也发现自身其实还是有很多的不足,还得努力.