路径(Path)是一种非常强大的工具,它可以完全替代其他几种图形,例如上篇的文章中,
几种图形:
直线、矩形、椭圆的各种画法
它可以将各种图形结合起来,形成更复杂的图形。它有一个属性是Data,它的类型是Geomery(几何图形). . . 它是一个抽象类,我们不能直接使用 . . .
文章目录
.
Geometry 的子类介绍
因为Geometry是一个抽象类,所以我们不能直接使用,但我们可以使用它的子类,Geometry的子类包括:
| LineGeometry | 直线几何图形 |
|---|---|
| Reometry | 矩形几何图形 |
| EllipseGeometry | 椭圆几何图形 |
| PathGeometry | 路径几何图形(功能最强大) |
| StreamGeometry | PathGeometry的轻量级替代品,不支持 Bidning、动画等功能 |
| CombinedGeometry | 多图形组合,形成单一几何几何图形 |
| GeometryGroup | 多图形组合,形成几何图形组 |
为了我们已经有了 Line、Rectangle、Ellipse这些属性后,还要出现上面加 Geometry的类呢?
区别在于前面的对象是可以独立存在的,而后面是不能单独存在的,要结合其它几何图形 . . .
.
直线、矩形、椭圆几何图形的使用
回到我们开头所说的 Data属性,下面这个例子是简要展示各个几何图形:
- 直线几何图形(LineGeometry):
<Path Stroke="Black" StrokeThickness="3" Grid.Column="0" Grid.Row="0">
	<Path.Data>
		<LineGeometry StartPoint="20,20" EndPoint="120,120"/>
	</Path.Data>
</Path>
LineGeometry中的 StartPoint 和 EndPoint属性设置线的开始与结束位置 . . .
效果如下:

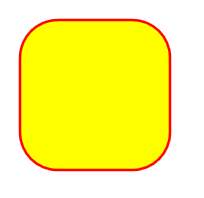
- 矩形几何图形(RectangleGeometry):
<Path Stroke="Red" Fill="Yellow" StrokeThickness="2" Grid.Column="1" Grid.Row="0">
    <Path.Data>
        <RectangleGeometry Rect="20,20,120,120" RadiusX="30" RadiusY="30"/>
    </Path.Data>
</Path>
Rect属性设置矩形的大小,Radiux设置矩形的圆角属性 . . .
效果如下:
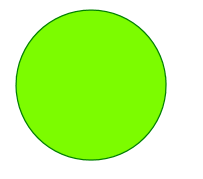
- 椭圆几何图形(EllipseGeometry):
<Path Stroke="Green" Fill="LawnGreen" Grid.Column="0" Grid.Row="1">
    <Path.Data>
        <EllipseGeometry Center="80,80" RadiusX="60" RadiusY="60"/>
    </Path.Data>
</Path>
效果如下:
Geometry的其它几个子类,我们将在下面的例子中讲解 . . .
.
PathGeometry的各种线段的使用
PathGeometry 之所以如此重要,是因为 Path的 Figures属性可以容纳 PathFigure对象,而 PathFigure 的 Segments属性又可以容纳各种线段结合成的复杂图形。它的XAML代码结构如下所示:
<Path>
    <Path.Data>
      <PathGeometry>
        <PathFigure>
		<!--各种线段-->
        </PathFigure>
      </PathGeometry>
    </Path.Data>
</Path>
为什么没有 Figures属性 和 Segments呢? 因为 Figures是 PathGeometry的默认内容属性,Segments是 Pathfigure的默认内容属性, 所以我们可以省略不写 . . .
了解了上面这个格式之后,我们就可以来认识一下线段都有哪些,它们是:
| LineSegment | 直线段 |
|---|---|
| ArcSegment | 圆弧线段 |
| BezierSegment | 三次方贝塞尔曲线段 |
| QuadraticBezierSegmnt | 二次方贝塞尔曲线段 |
| PolyLineSegment | 多直线段 |
| PolyBezierSegment | 多三次方贝塞尔曲线段 |
| PolyQuadraticBezierSegment | 多二次方贝塞尔曲线段 |
注意一下,这些线段是没有起点,起点就是前一个线段的终点 . . .
第一个起点是 PathFigure的 StartPoint 属性. . .
下面我们来演示一下这些线段的使用,最后三个不演示(只是变得将上面的方法变得简单了):
- 直线段(LineSegment):
<Path Fill="Red" Margin="20">
            <Path.Data>
                <PathGeometry>
                    <PathFigure IsClosed="True" StartPoint="0,0">
                        <LineSegment Point="150,0"/>
                        <LineSegment Point="150,30"/>
                        <LineSegment Point="90,30"/>
                        <LineSegment Point="90,150"/>
                        <LineSegment Point="60,150"/>
                        <LineSegment Point="60,30"/>
                        <LineSegment Point="0,30"/>
                    </PathFigure>
                </PathGeometry>
            </Path.Data>
</Path>
其中,我们画了好几条线,它的效果如下:

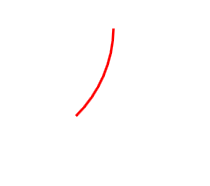
- 圆弧线段(ArcSegment):
<Path Stroke="Red" StrokeThickness="2">
    <Path.Data>
        <PathGeometry>
            <PathFigure StartPoint="130,30">
                <ArcSegment Point="100,100" Size="100,100"
                     SweepDirection="Clockwise" IsLargeArc="True"
                        RotationAngle="-45"/>
            </PathFigure>
        </PathGeometry>
    </Path.Data>
</Path>
其中,我们为 ArcSegment设置许多属性,它们分别是:
- Point:指明圆弧连接的终点
- Size:指明完整椭圆的横轴半径和纵轴半径
- IsLargeArc:指明是否使用大弧去连接 . . .
- SweepDirection :指明圆弧是顺时针方向还是逆时针方向
- RotationAngle:指明圆弧椭圆的旋转角度
效果如下:

通过对 IsLargeArc 的修改,我们可以得到如下效果:
ArcSegment 的几个属性变化时的效果对比:

.
- 贝塞尔曲线(BezierSegment):
贝塞尔曲线由 4 个点决定:
- (1)起点:前一线段的终点 或者 PathFigure 的 StartPoint
- (2)终点:Point3 属性,即曲线的终点位置
- (3)两个控制点:Point1 和 Point2 属性
例一,简单的一个三次方贝塞尔曲线:
<Path Stroke="Black" StrokeThickness="2" Margin="30">
            <Path.Data>
                <PathGeometry>
                    <PathFigure StartPoint="0,0">
                        <BezierSegment Point1="250,0" Point2="50,200"
                        	Point3="300,200"/>
                    </PathFigure>
                </PathGeometry>
            </Path.Data>
</Path>
效果如下:

二次方贝塞尔曲线和三次方差不多,只不过由 3 个点决定了而已,可以查看相关文档测试 . . .
.
例二,用 GeometryGroup 将多个贝塞尔曲线组合在一起 形成更复杂的图形:
<Path Stroke="Black" Fill="LightBlue" StrokeThickness="1">
            <Path.Data>
                <GeometryGroup>
                    <PathGeometry>
                        <PathFigure StartPoint="0,0">
                            <BezierSegment Point1="250,0" Point2="50,200" Point3 ="300,200"/>
                        </PathFigure>
                    </PathGeometry>

                    <PathGeometry>
                        <PathFigure StartPoint="0,0">
                            <BezierSegment Point1="230,0" Point2="50,200" Point3 ="300,200"/>
                        </PathFigure>
                    </PathGeometry>

                    <PathGeometry>
                        <PathFigure StartPoint="0,0">
                            <BezierSegment Point1="210,0" Point2="50,200" Point3 ="300,200"/>
                        </PathFigure>
                    </PathGeometry>

                    <PathGeometry>
                        <PathFigure StartPoint="0,0">
                            <BezierSegment Point1="190,0" Point2="50,200" Point3 ="300,200"/>
                        </PathFigure>
                    </PathGeometry>

                    <PathGeometry>
                        <PathFigure StartPoint="0,0">
                            <BezierSegment Point1="170,0" Point2="50,200" Point3 ="300,200"/>
                        </PathFigure>
                    </PathGeometry>

                    <PathGeometry>
                        <PathFigure StartPoint="0,0">
                            <BezierSegment Point1="150,0" Point2="50,200" Point3 ="300,200"/>
                        </PathFigure>
                    </PathGeometry>

                    <PathGeometry>
                        <PathFigure StartPoint="0,0">
                            <BezierSegment Point1="130,0" Point2="50,200" Point3 ="300,200"/>
                        </PathFigure>
                    </PathGeometry>

                </GeometryGroup>
          </Path.Data>
</Path>
其中大部分代码都是一样的,只不过我们改变了 Point1的值而已 . . .
他们都放在了 GeometryGroup 之中 . . .
效果如下:

.
路径标记语法的使用
Path非常的强大,但有一个大缺点,我们在上面的例子中就可以看出来,随便画出一个图形就要那么多的代码,这使程序变得繁琐起来,一个标签占一行 . . .
这个时候我们的 Path之中的 路径标记语法 就登上场了 . . .
.
常用路径标记语法的总结:

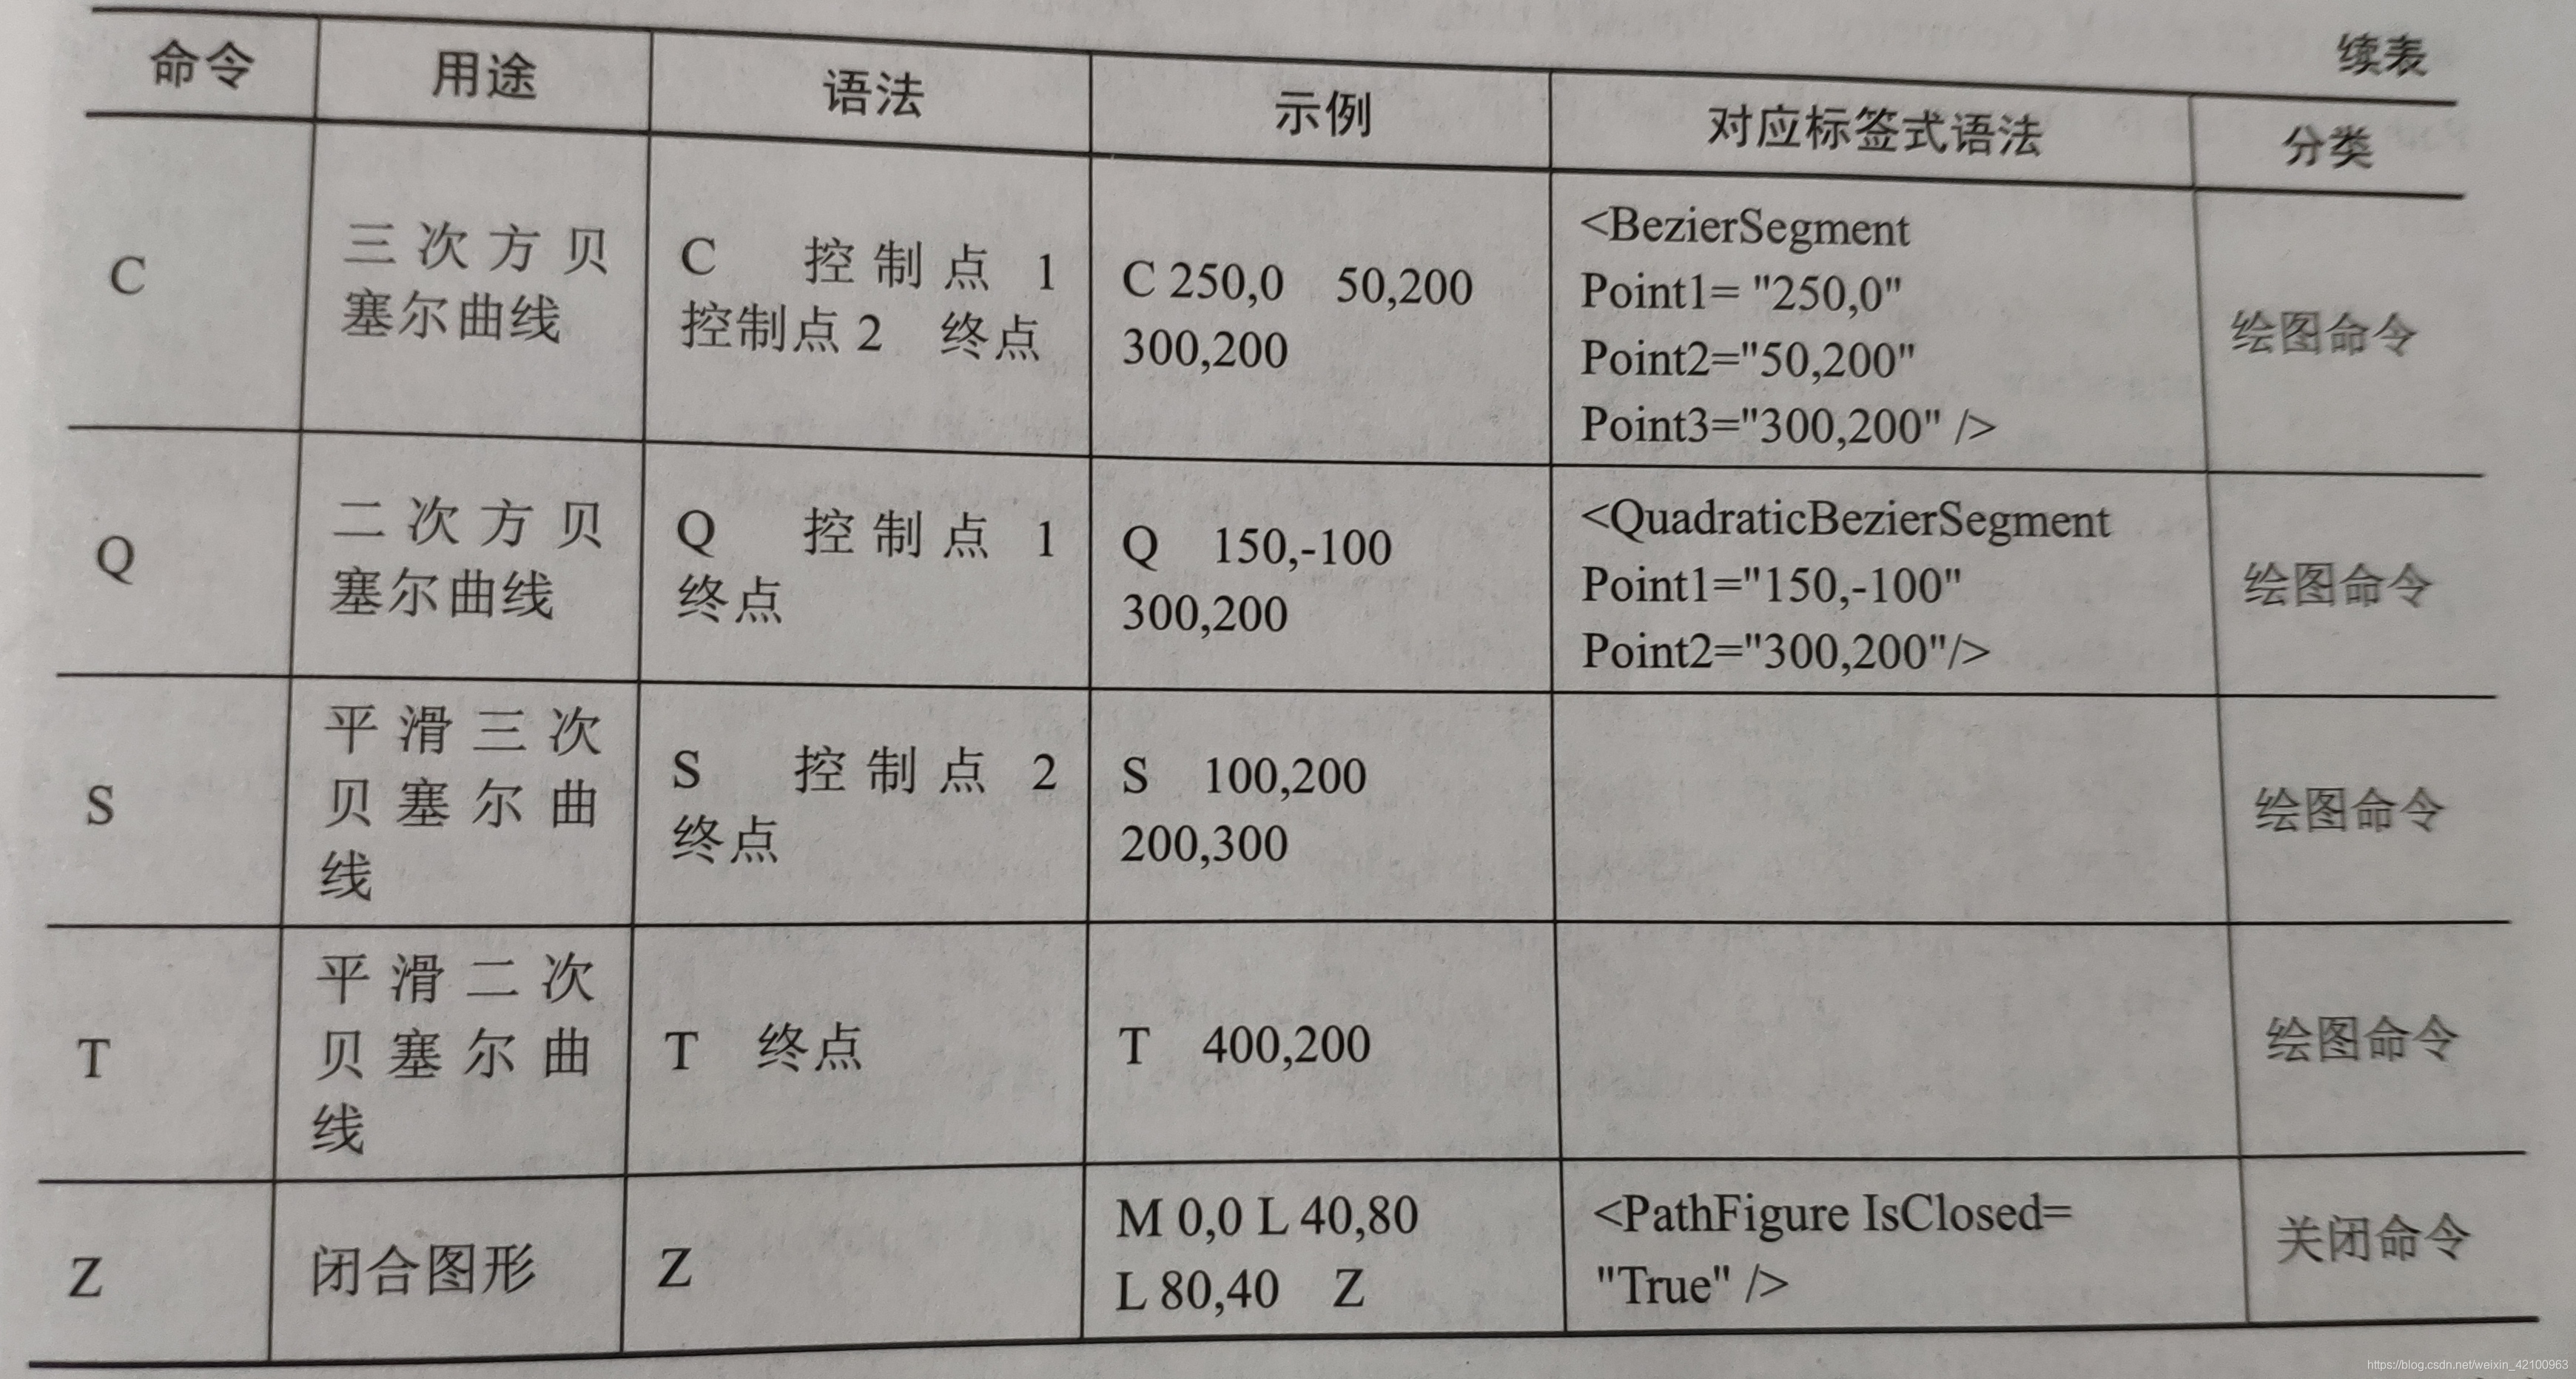
这里说明一下 平滑三次 / 二次贝塞尔曲线,其实本身意义并不是太大,但是和一般的贝塞尔曲线还是有那么一点小差别的 . . . 相关可查阅文档 . . .
我们用路径标记语法来完成一下上面那种复杂的例子:
<Path Stroke="Black" Fill="LightBlue"
              Data="m 0,0 c 250,0 50,200 300,200 z
                          c 230,0 50,200 300,200 z
                          c 210,0 50,200 300,200 z
                          c 190,0 50,200 300,200 z
                          c 170,0 50,200 300,200 z
                          c 150,0 50,200 300,200 z
                          c 130,0 50,200 300,200 z"/>
这个差别是不是非常大呢? 熟练掌握这种方式,可以减少程序的复杂度,^ _ ^
效果如下:

.
使用 Path 剪裁界面元素
我们可以通过 Clip属性来进行剪裁,这个属性在 UIElement中 . . .
- 首先我们准备一组 Path的Data数据:
<Path x:Name="clipPath"
Data="M207.8,247.6 C156.69189,236.24264 128.85058,228.91323 95.8,187.6 80.151239,168.03905
72.633042,166.98724 67.8,139.6 62.427492,109.15579 43.298718,63.814835 90.466667,43.6
121.60677,30.254242 138.46312,26.266667 174.46667,26.266667 206.23818,26.266667 230.46667,17.612716
230.46667,75.6 231.35556,75.6 232.24444,75.6 233.13333,75.6 240.66455,30.412715 252.51955,30.266667
313.13333,30.266667 354.02313,30.266667 351.94642,54.325233
385.13333,67.6 390.86143,79.056186
397.1166,91.955214 399.8,106.26667 402.2953,119.57492 401.53487,135.63777 398.46667,148.93333
390.18711,184.81142 378.03164,189.46102 341.13333,211.6 300.05452,236.24729 252.36196,230.04529
207.8,247.6 z"/>这组数据是什么呢? 下面我们就知道了...
- 准备一个 Button,当我们点击时,开始剪裁:
<Button Margin="-100, -50, 0, 0" Content="Click Me" Width="120" Height="30"
Click="Button_Click"/>- 设置窗体的两个属性:
AllowsTransparency="True"
WindowStyle="None"
可以透明,窗体风格为空 . . .
- 设置事件处理器,设置Clip的值:
private void Button_Click(object sender, RoutedEventArgs e)
{
	this.Clip = this.clipPath.Data;
}- 效果动态图如下:
我们发现Data数据表示的是一个 爱心,虽然这有点丑 . . .
这组数据是我从 Blend中画出来的 ^ - ^ . . .
.