如何部署Apollo
环境准备:
Apollo 采用 Java 语言开发,部署环境必须安装了 Java,版本要求:Java 1.8+。
Apollo 的数据存储在 Mysql 中,部署环境也需要安装 Mysql 数据库,版本要求:5.6.5+。
快速启动的脚本是 shell 编写的,要有 bash 环境,在 Linux/Mac 下无影响。
如果用户是 Windows 环境,需要安装 Git Bash(https://git-for-windows.github.io/)
检查Java版本
安装jdk1.8参考页面:https://blog.csdn.net/huangbaokang/article/details/99749296
[root@localhost /]# java -version
java version "1.8.0_121"
Java(TM) SE Runtime Environment (build 1.8.0_121-b13)
Java HotSpot(TM) 64-Bit Server VM (build 25.121-b13, mixed mode)
安装步骤:
1.下载Apollo压缩包
2.初始化数据库
3.修改demo.sh配置文件
4.连接mysql数据库,启动Apollo
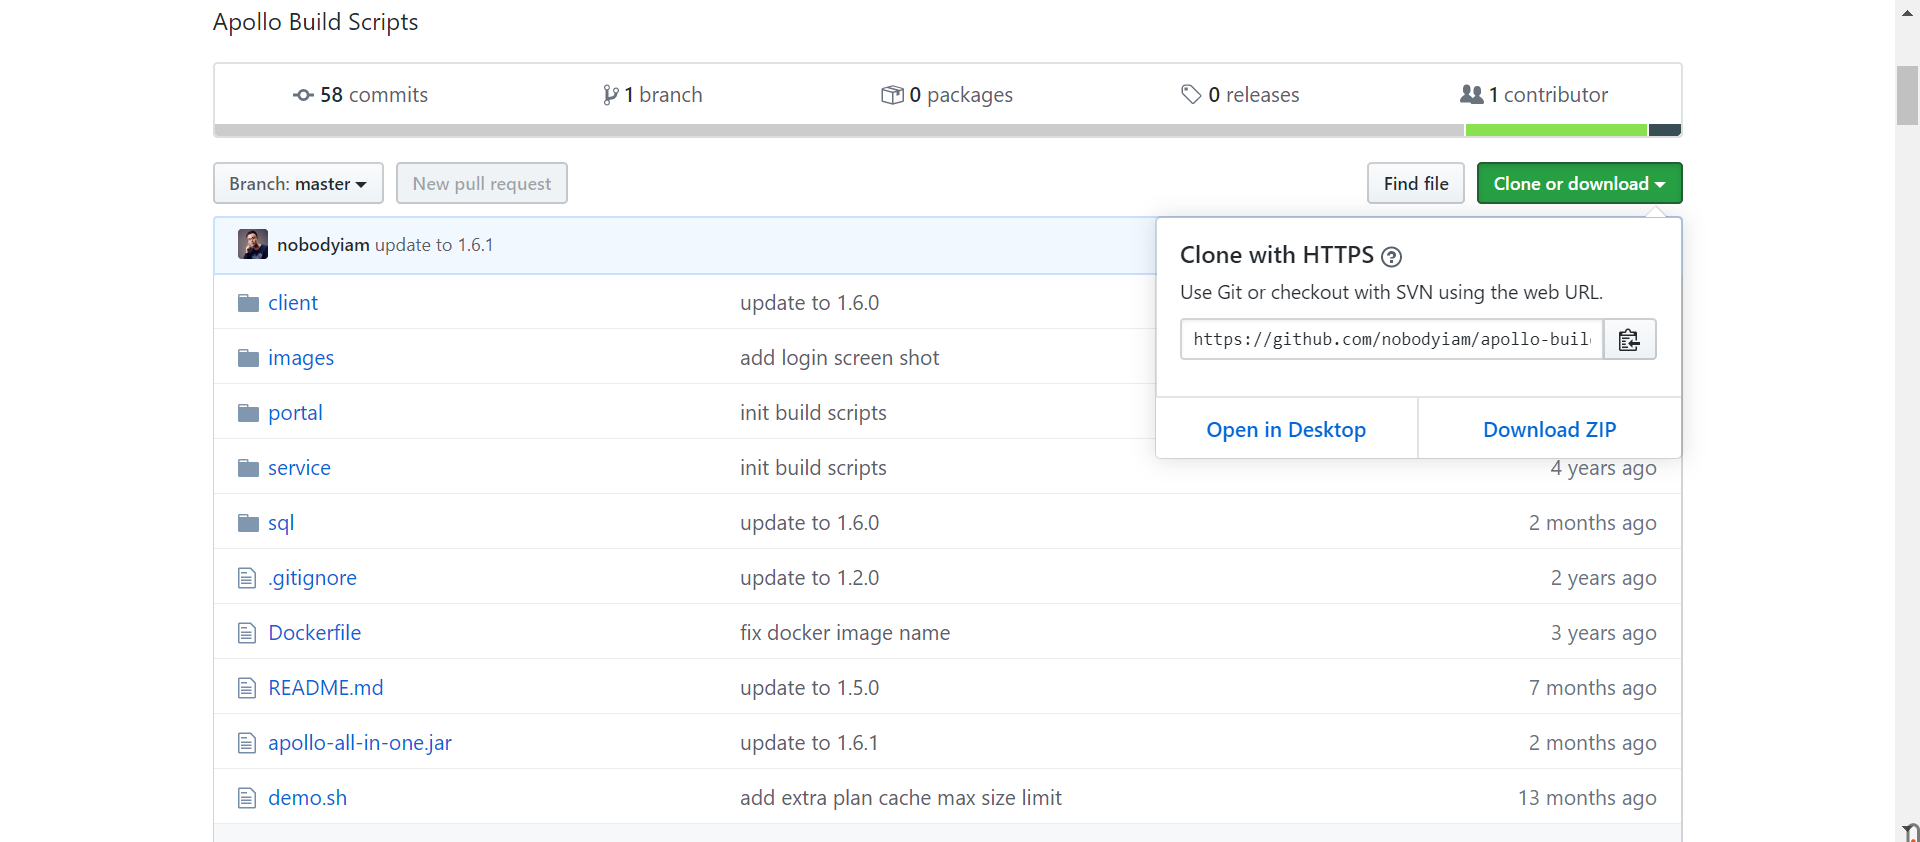
1.快速启动安装包下载地址:https://github.com/nobodyiam/apollo-build-scripts
2.初始化数据库
Apollo 服务端需要两个数据库:ApolloPortalDB 和 ApolloConfigDB。
数据库、表的创建和样例数据的 sql 文件都在快速启动安装包的 sql 目录中,解压压缩包导入数据库即可。


连接MySQL:
使用docker部署mysql: https://www.cnblogs.com/haoprogrammer/p/11008786.html
mysql版本5.7.26
查看所有容器 docker ps -a
启动容器 docker start 216cf6d4897e
进入容器 docker exec -it mysql5.7 bash
[root@localhost ~]# docker ps -a
CONTAINER ID        IMAGE                  COMMAND                  CREATED             STATUS                       PORTS                                            NAMES
216cf6d4897e        mysql:5.7.26           "docker-entrypoint.s…"   4 days ago          Exited (255) 8 minutes ago   33060/tcp, 0.0.0.0:13306->3306/tcp               mysql5.7
[root@localhost ~]# docker start 216cf6d4897e
216cf6d4897e
[root@localhost ~]# docker exec -it mysql5.7 bash
root@216cf6d4897e:/# mysql -u root -p
Enter password:
Welcome to the MySQL monitor.  Commands end with ; or \g.
Your MySQL connection id is 2
Server version: 5.7.26 MySQL Community Server (GPL)

Copyright (c) 2000, 2019, Oracle and/or its affiliates. All rights reserved.

Oracle is a registered trademark of Oracle Corporation and/or its
affiliates. Other names may be trademarks of their respective
owners.

Type 'help;' or '\h' for help. Type '\c' to clear the current input statement.

mysql>
3.修改demo.sh文件
[root@localhost apollo-build-scripts-master]# ls
apollo-all-in-one.jar  client  demo.sh  docker-compose.yml  Dockerfile  images  portal  README.md  service  sql
数据库配置
url为数据库地址,192.168.20.20为服务器IP,13306为自己配置的MySQL端口号
username为MySQL的用户名
password登录mysql的密码
# apollo config db info
apollo_config_db_url=jdbc:mysql://192.168.20.20:13306/ApolloConfigDB?characterEncoding=utf8
apollo_config_db_username=root
apollo_config_db_password=123

# apollo portal db info
apollo_portal_db_url=jdbc:mysql://192.168.20.20:13306/ApolloPortalDB?characterEncoding=utf8
apollo_portal_db_username=root
apollo_portal_db_password=123
元数据需修改服务器IP地址
# meta server url
config_server_url=http://192.168.20.20:8080
admin_server_url=http://192.168.20.20:8090
eureka_service_url=$config_server_url/eureka/
portal_url=http://192.168.20.20:8070
4.连接数据库,启动Apollo
首先确保数据库连接成功
退出mysql,启动Apollo
在bin目录下启动:./demo.sh start
mysql> exit;
Bye
root@216cf6d4897e:/# exit
exit
[root@localhost ~]# cd /usr/local/apollo-build-scripts-master/
[root@localhost apollo-build-scripts-master]# ./demo.sh start
==== starting service ====
Service logging file is ./service/apollo-service.log
Started [2226]
Waiting for config service startup.............
Config service started. You may visit http://192.168.20.20:8080 for service status now!
Waiting for admin service startup.......
Admin service started
==== starting portal ====
Portal logging file is ./portal/apollo-portal.log
Started [2437]
Waiting for portal startup...............
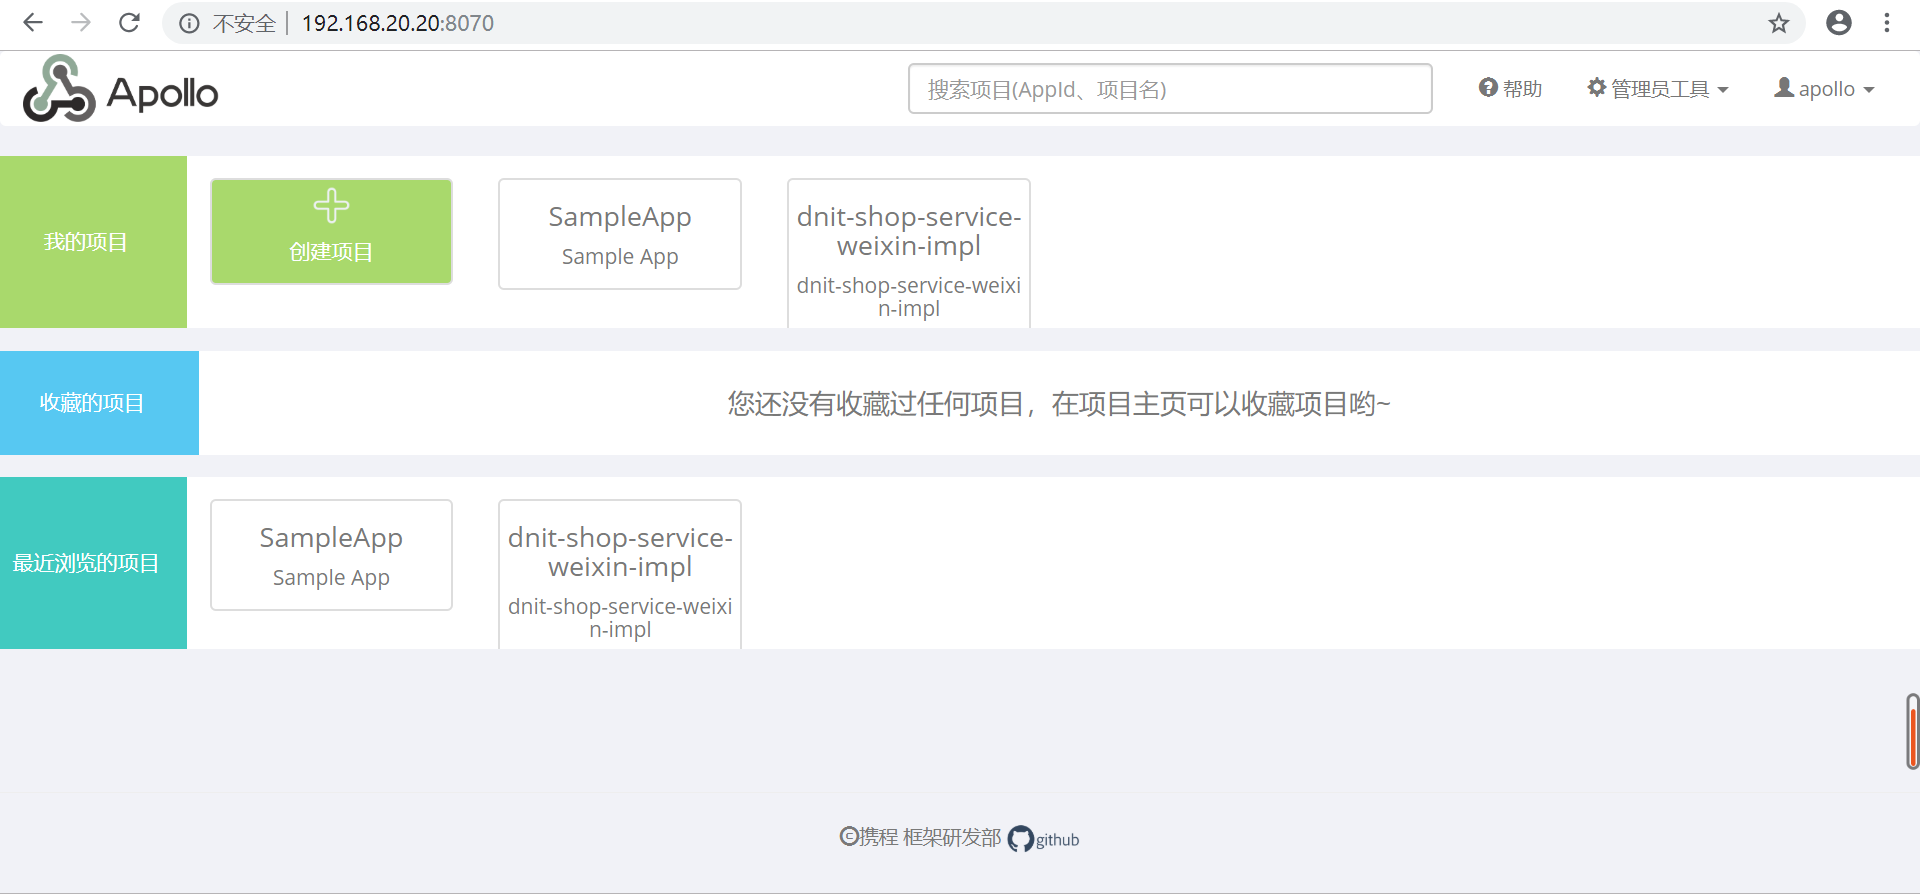
Portal started. You can visit http://192.168.20.20:8070 now!
接下来就可以访问Apollo的web管理界面了
默认账号:Apollo
密码:admin
阿波罗的基本使用参考:
http://ghoulich.xninja.org/2018/04/28/basic-usage-method-of-apollo/