使用iptables和ipset实现大量屏蔽恶意IP地址
系统环境:ubuntu18.04
用到的命令行工具:iptables; ipset; iblocklist2ipset
1. 首先检查是否有iptables和ipset两个命令:
$ iptables
iptables v1.6.1: no command specified
Try `iptables -h' or 'iptables --help' for more information.

$ ipset
ipset v6.34: No command specified.
Try `ipset help' for more information.
出现以上字样,说明存在命令。
如果没有,按照系统提示下载安装即可。
2. 下面介绍iblocklist2ipset的安装:
首先,你需要安装pip(可以参考这里)。
使用的下面命令安装iblocklist2ipset:
$ sudo pip install iblocklist2ipset
3. 从iblocklist.com得到免费的黑名单
这个网站有不同的免费和收费的名单。免费的版本是P2P格式。
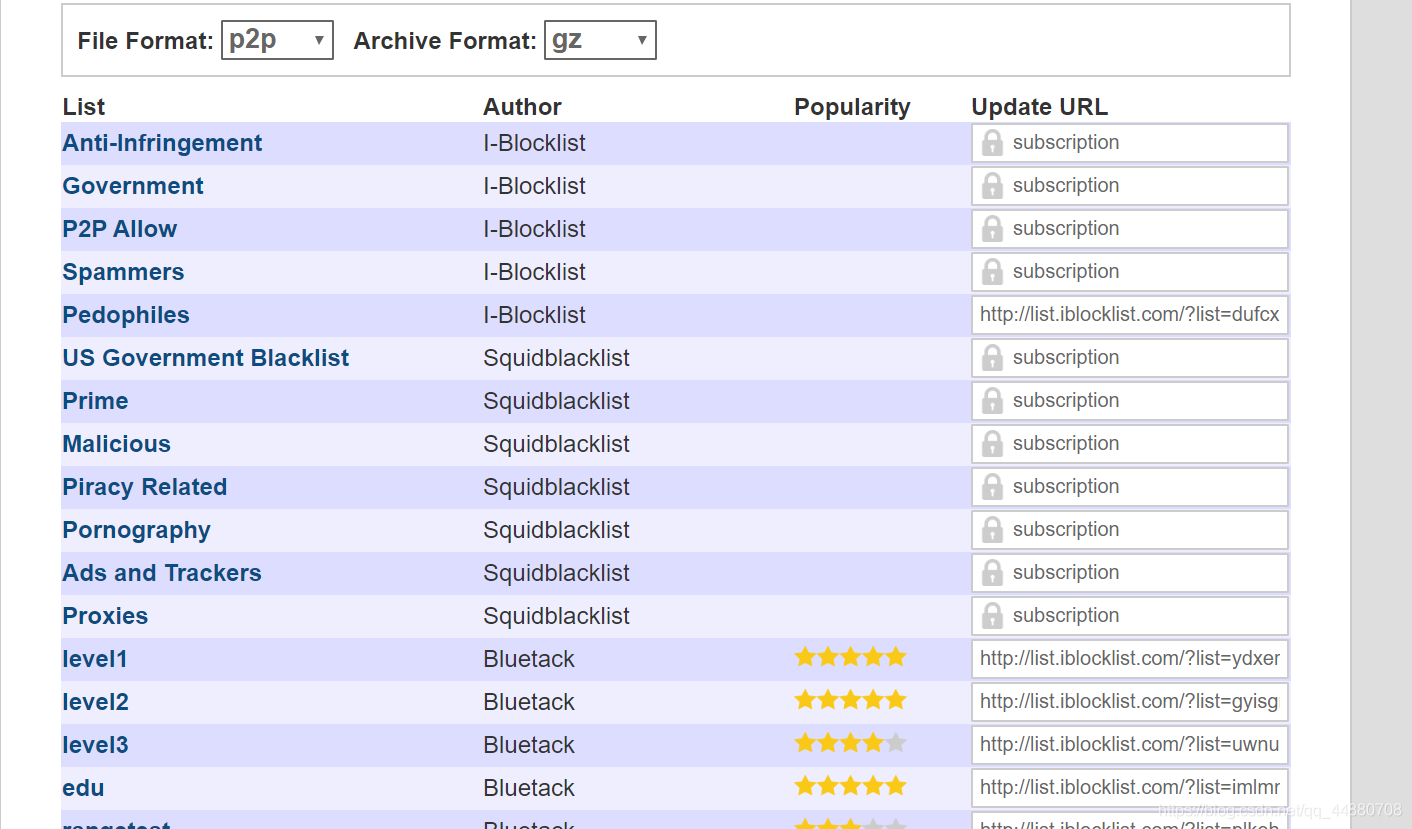
粘帖URL到下面的命令中。
$ iblocklist2ipset generate --ipset banthis "http://list.iblocklist.com/?list=ydxerpxkpcfqjaybcssw&fileformat=p2p&archiveformat=" > banthis.txt
重要的事情说三遍
执行上面命令时把copy的网址结尾的“gz”删掉
执行上面命令时把copy的网址结尾的“gz”删掉
执行上面命令时把copy的网址结尾的“gz”删掉
否则会报字符编码错误,楼主曾在这里吃大亏!
执行上面命令后你将得到一个banthis.txt的文件,打开后里面是这个样子:
$ cat banthis.ext
create banthis hash:net family inet hashsize 131072 maxelem 237302
  add banthis 1.2.4.0/24
  add banthis 1.2.8.0/24
  add banthis 1.9.75.8/32
  add banthis 1.9.96.105/32
  add banthis 1.9.102.251/32
  add banthis 1.9.189.65/32
  add banthis 1.16.0.0/14
4. ipset创建IP集
现在可以用下面的ipset命令来加载这个文件:
$ sudo ipset restore -f banthis.txt
现在可以查看自动创建的IP集:
$ sudo ipset list banthis
5. iptables创建防火墙规则
最后,创建一条iptables命令就完成了:(这里屏蔽的是80端口,可以自行修改)
$ sudo iptables -I INPUT -m set --match-set banthis1 src -p tcp --destination-port 80 -j DROP
写在后面的话:才疏学浅,如有错误或缺漏,欢迎各位大佬批评指正。