博客简介
本博客是python爬虫入门时的几个案例,记录学习过程:
- 京东页面爬取
- 亚马逊页面爬取
- 百度/360搜索关键词提交
- 网络图片的爬取和存储
- IP地址自动查询
京东页面爬取
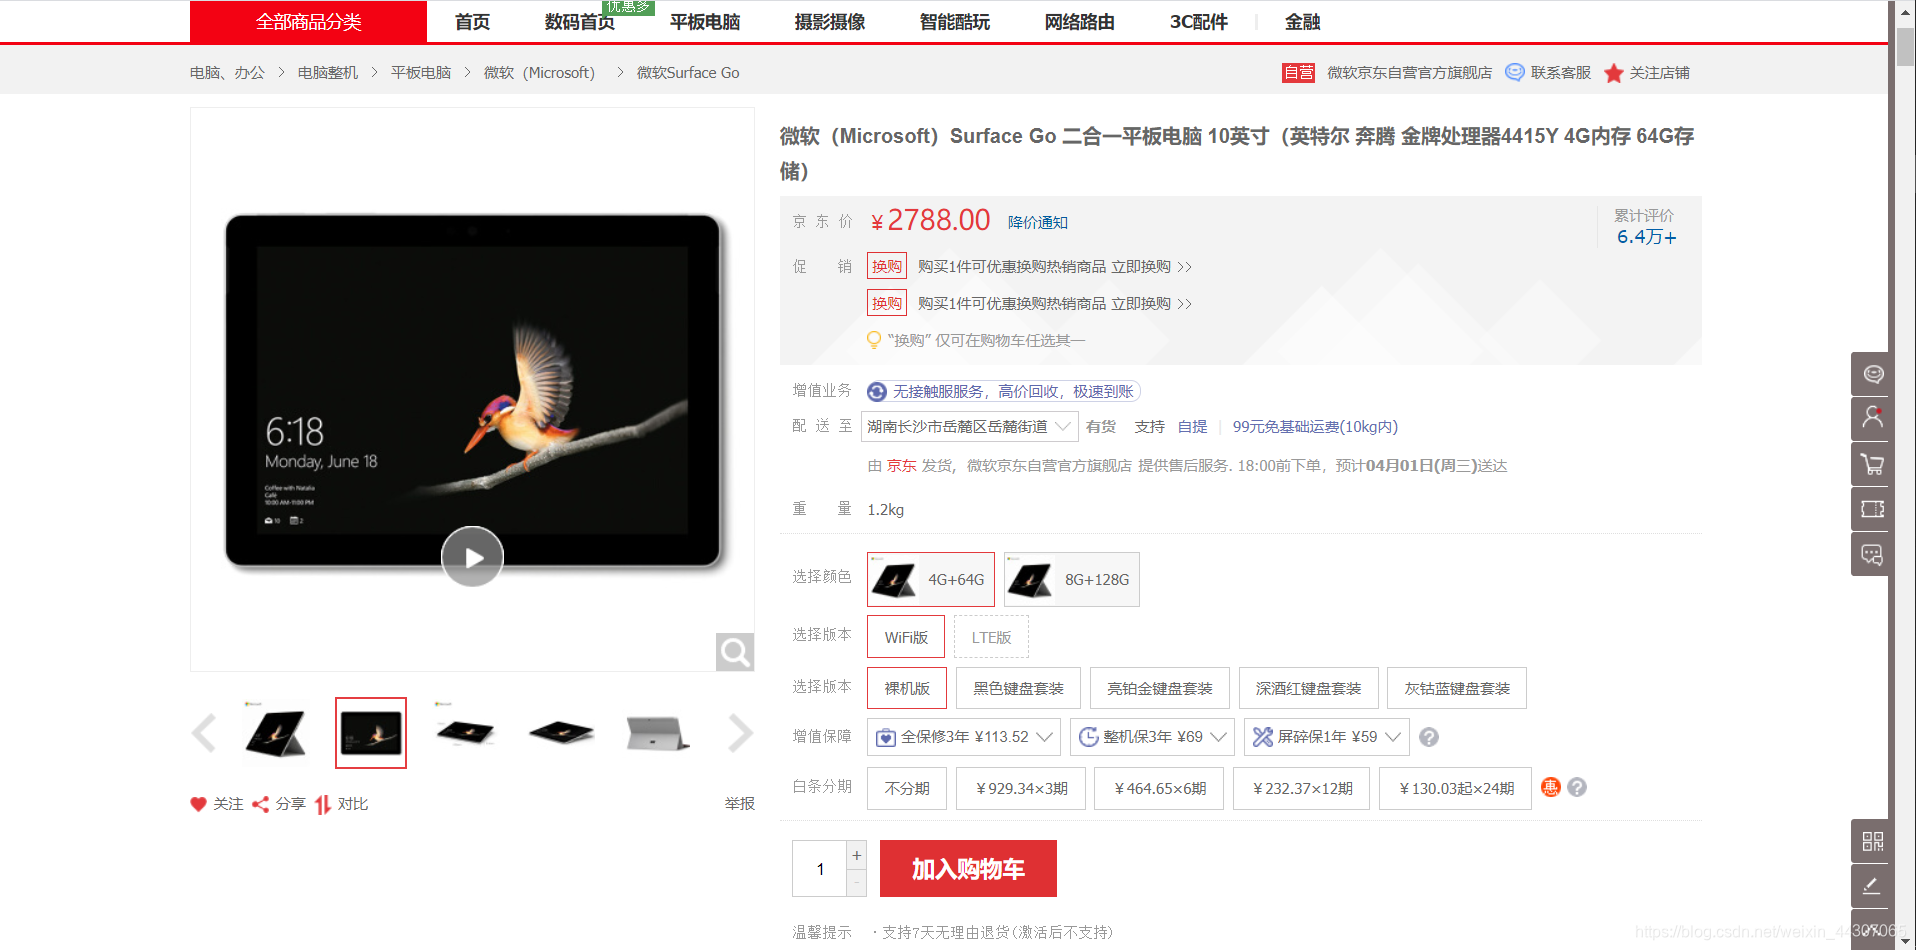
这个简单,京东的这个页面没有给页面审查,可以无障碍地访问它:
import requests
def getHtmlText(url):
    try:
        r=requests.get(url)
        r.raise_for_status()
        return r.text[:500]
    except:
        return 'Error!'
def main():
    url = 'https://item.jd.com/8639376.html'
    text=getHtmlText(url)
    print(text)
if __name__ == '__main__':
    main()
亚马逊页面爬取
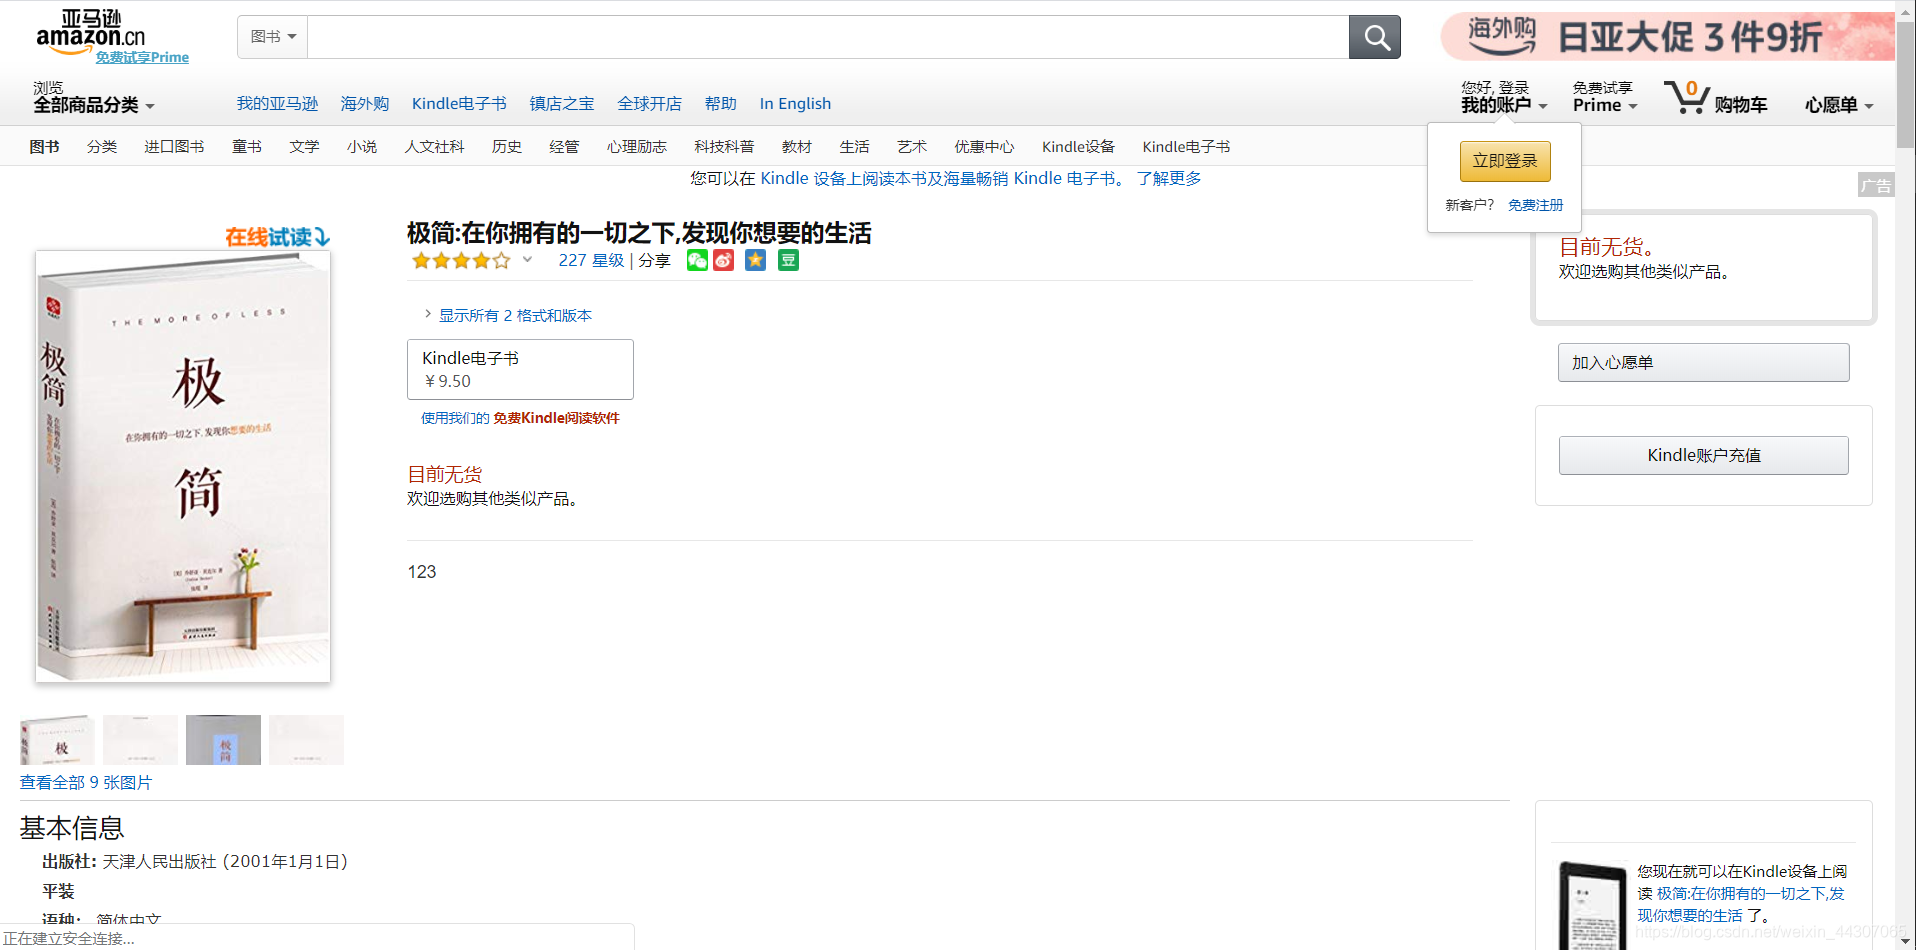
这个时候我们用上面的代码发现页面无法访问了,问题在哪?我们可以输出r.encoding和r.apparent_encoding,查看编码是否相同。进一步如果他们相同,那么问题可能出现在amazing页面对访问者审查,我们可以打印request.headers,查看request信息的heads头部:
>>>print(r.request.headers)
{
'User-Agent': 'python-requests/2.23.0', 'Accept-Encoding': 'gzip, deflate', 'Accept': '*/*',
 'Connection': 'keep-alive'
}
我们发现我们的程序直接告诉了amazing这是一个'User-Agent': 'python-requests/2.23.0'机器人访问,因此,我们要更改我们的headers参数为一个标准浏览器身份标识:Mozilla/5.0,代码如下:
import requests
def getHtmlText(url):
    try:
        kv={'user-agent':'Mozilla/5.0'}
        r=requests.get(url,headers=kv)
        r.raise_for_status()
        r.encoding=r.apparent_encoding
        return r.text
    except:
        return 'Error!'
def main():
    url = 'https://www.amazon.cn/gp/product/B01M8L5Z3Y'
    text=getHtmlText(url)
    print(text)
if __name__ == '__main__':
    main()
百度/360搜索关键词提交
- 百度关键词搜索接口:
https://baidu.com/s?wd=keyword - 360关键词搜索接口:
https:/so.com/s?q=keyword - 我们只需要将我们的键值对通过params参数加入到URL中即可:
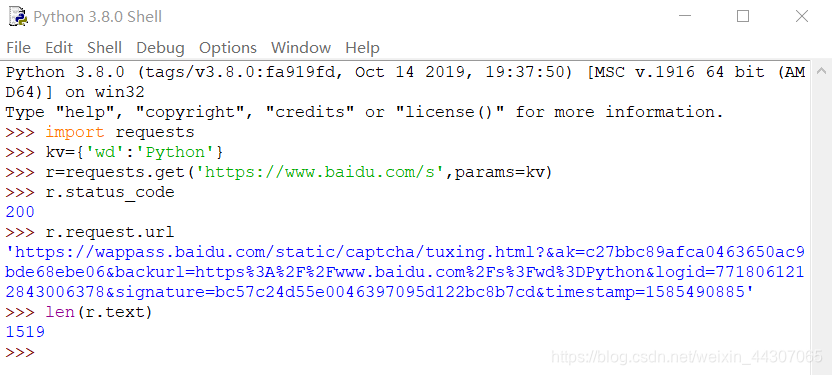
代码如下: - 百度搜索关键字:
import requests

def getinfo(url):
    try:
        kv={'kw':'Python'}
        r=requests.get(url,params=kv)
        r.encoding=r.apparent_encoding
        r.raise_for_status()
        return r.text[:500]
    except:
        return "Error"
def main():
    url = 'http://baidu.com/s'
    text=getinfo(url)
    print(text)
if __name__ == '__main__':
    main()
- 360搜索关键字:
import requests

def getinfo(url):
    try:
        kv={'q':'Python'}
        r=requests.get(url,params=kv)
        r.encoding=r.apparent_encoding
        r.raise_for_status()
        return r.text[:500]
    except:
        return "Error"
def main():
    url = 'http://so.com/s'
    text=getinfo(url)
    print(text)
if __name__ == '__main__':
    main()
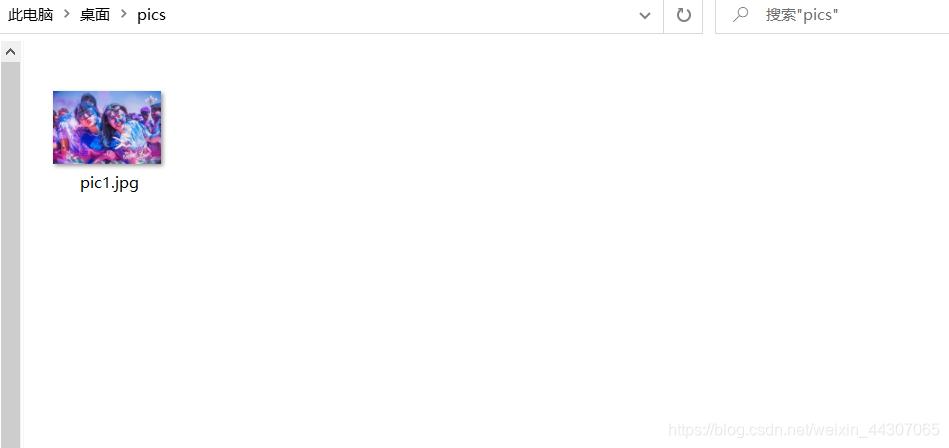
网络图片的爬取和存储
爬取一张图片并且存储有2步,第一步找到这个url,第二步将图片以某个文件名二进制写入目录
- 为方便管理,我们用os库创建目录
- 使用
open(path,'wb'):二进制写入的方式发开一个pic.jpg文件 - 保存时使用
f.write(r.content)保存到pic.jpg
import requests
import os
url='https://timgsa.baidu.com/timg?image&quality=80&size=b9999_10000&sec=1585503936476&di=d8cacf28ee13cf2f77416e5fba3b98e3&imgtype=0&src=http%3A%2F%2Fimg.sportq.com%2Fuserphoto%2FF0%2Fu10002%2Fevent%2Ff1405569614293-167862810.jpg%3FimageView%2F1%2Fw%2F750%2Fh%2F750'
root="C:\\Users\\112233\\Desktop\\pics\\"
picName='pic1.jpg'
#url.split('/')[-1]获取图片名
path=root+picName

def getPic():
    if not os.path.exists(root):
        os.mkdir(root)
    if not os.path.exists(path):
        r=requests.get(url)
        f=open(path,'wb')
        f.write(r.content)
        f.close()
        print('sucessfully load picture'+picName)
    else:
        print('picture has existed!')

if __name__ == '__main__':
    getPic()
ip地址查询
对于ip地址查询,我们也许乎用到这个网站https://www.ip138.com/,进入之后的界面是这样的:
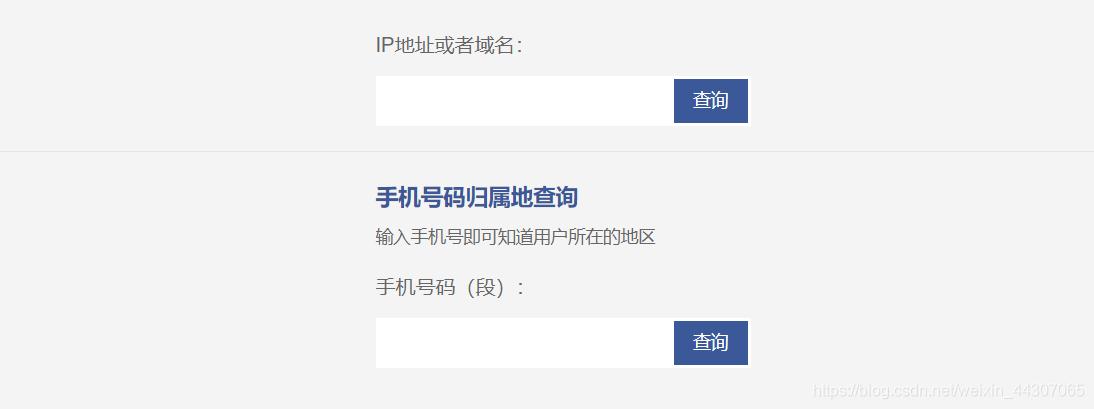
- 显然这是一个便于手动提交的界面,但是我们无法直接的对这个页面进行提交操作,因此我们尝试输入一个ip,看一看导航栏的网址:
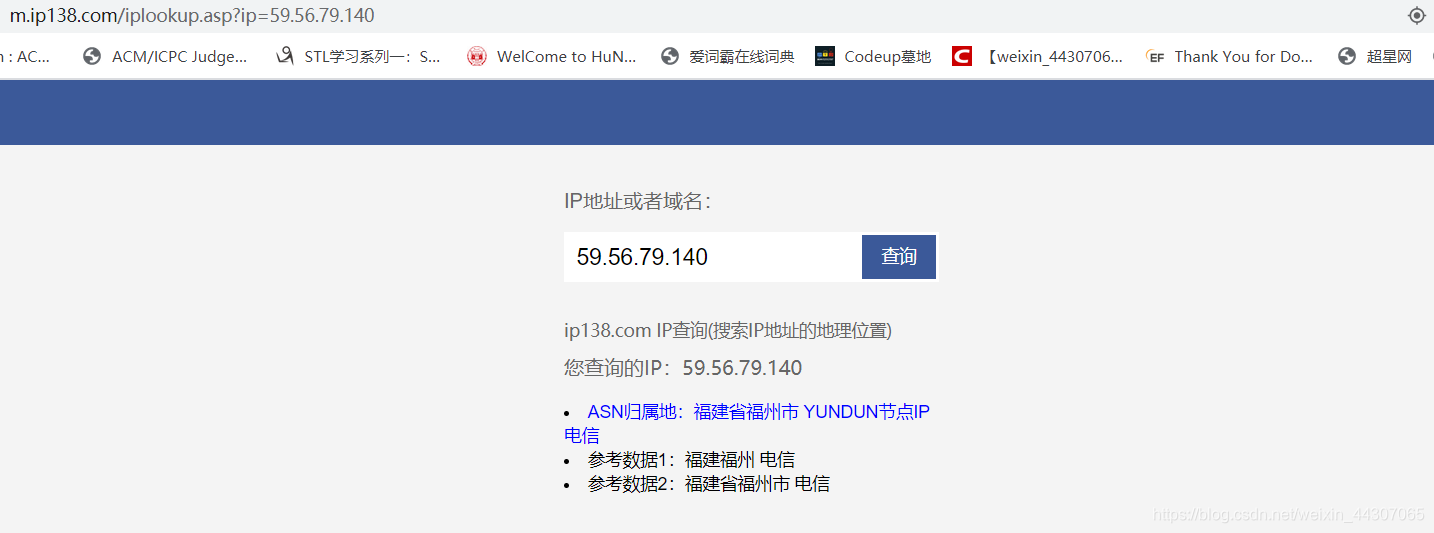
- 可以发现这个ip查询的接口格式是:
https://m.ip138.com/iplookup.asp?ip=,因此我们可以利用这个接口加上相应的参数即可实现ip查询: - 另外我们发现这个页面会对信息进行审查,要设置user-agent:
import requests
ip='59.56.79.140'
url = 'https://m.ip138.com/iplookup.asp?ip='
def getinfo():
    try:
        '''
        kv={'ip':'59.56.79.140'}
        r=requests.get(url,params=kv)
        '''
        kv2 = {'user-agent': 'Mozilla/5.0'}
        r = requests.get(url+ip,headers=kv2)
        print(r.status_code)
        print(r.request.headers)
        r.raise_for_status()
        r.encoding=r.apparent_encoding
        return r.text
    except:
        return "Error"
def main():
    text=getinfo()
    print(text)
if __name__ == '__main__':
    main()
成功访问:


