SpringBoot2.0 @Cacheable 添加超时策略
逻辑比较简单,废话不多说,直接进入正题:
需求:SpringBoot 利用注解使缓存支持过期时间 (同@Cacheable @CachePut 等注解用法)
第一步:新建注解CacheExpire


 1 @Retention(RetentionPolicy.RUNTIME)
 2 @Target({ElementType.TYPE, ElementType.METHOD})
 3 public @interface CacheExpire {
 4
 5     /**
 6      * 缓存过期时间
 7      */
 8     long expire() default 0;
 9
10     /**
11      * 仅当采用expire字段设置过期时间时生效
12      */
13     TimeUnit timeUnit() default TimeUnit.SECONDS;
14
15     /**
16      * 利用cron设置过期时间
17      */
18     String cron() default "";
19
20 }
第二步:扩展CacheInterceptor拦截器
 1 public class CacheExpireInterceptor extends CacheInterceptor {
 2
 3     private final StringRedisTemplate template;
 4
 5     public CacheExpireInterceptor(StringRedisTemplate template) {
 6         this.template = template;
 7     }
 8
 9     @Override
10     public Object invoke(MethodInvocation invocation) throws Throwable {
11         Object invoke = super.invoke(invocation);
12         setExpire(invocation);
13         return invoke;
14     }
15
16     public void setExpire(MethodInvocation invocation) {
17         try {
18             Method method = invocation.getMethod();
19             CacheExpire expire = method.getAnnotation(CacheExpire.class);
20             if (expire != null && (expire.expire() > 0 || !StringUtils.isEmpty(expire.cron()))) {
21                 Cacheable cacheable = method.getAnnotation(Cacheable.class);
22                 Object key = getKeyGenerator().generate(invocation.getThis(), method, invocation.getArguments());
23                 Set<String> names = new TreeSet<>();
24                 names.addAll(Arrays.asList(cacheable.cacheNames()));
25                 names.addAll(Arrays.asList(cacheable.value()));
26                 for (String name : names) {
27                     String tag = name + "::" + key;
28                     if (expire.expire() > 0) {
29                         template.expire(tag, expire.expire(), expire.timeUnit());
30                     } else if (!StringUtils.isEmpty(expire.cron())) {
31                         CronTrigger trigger = TriggerBuilder.newTrigger().withSchedule(CronScheduleBuilder.cronSchedule(expire.cron())).build();
32                         Date date = new Date();
33                         long time = trigger.getFireTimeAfter(date).getTime() - date.getTime();
34                         if (time > 0) {
35                             template.expire(tag, time, TimeUnit.MILLISECONDS);
36                         }
37                     }
38                 }
39             }
40         } catch (Exception e) {
41             e.printStackTrace();
42         }
43     }
44
45 }
第三步:扩展ProxyCachingConfiguration配置文件
 1 @Configuration
 2 public class ProxyCachingExpireConfiguration extends ProxyCachingConfiguration {
 3
 4     private final StringRedisTemplate template;
 5
 6     public ProxyCachingExpireConfiguration(StringRedisTemplate template) {
 7         this.template = template;
 8     }
 9
10     @Bean
11     @Override
12     public CacheInterceptor cacheInterceptor() {
13         CacheInterceptor interceptor = new CacheExpireInterceptor(template);
14         interceptor.configure(this.errorHandler, this.keyGenerator, this.cacheResolver, this.cacheManager);
15         interceptor.setCacheOperationSource(this.cacheOperationSource());
16         return interceptor;
17     }
18 }
第四步:新建Service开始使用
 1 @Service
 2 public class TsetService {
 3
 4     @CacheExpire(expire = 20)
 5     @Cacheable(value = "test")
 6     public Object get(Long id) {
 7         return System.currentTimeMillis();
 8     }
 9
10 }
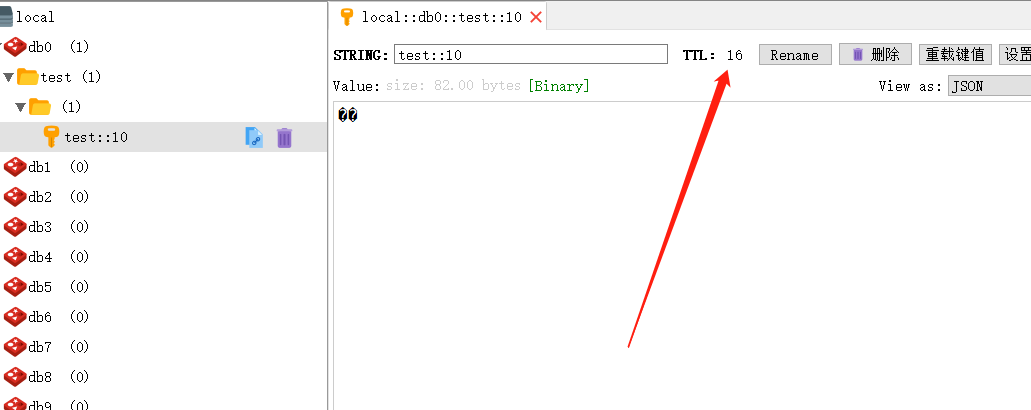
第五步:Postman调用
继续惯例:欢迎交流,QQ:1107628852(加备注博客)