Qt5 学习之路及嵌入式开发教程21:QML基础
一、启动Qt5.12
1、新建项目文件,进入界面

2、选择后

3、几个下一步后,点击完成:

4、运行,查看结果

二、在窗口中绘制一个矩形
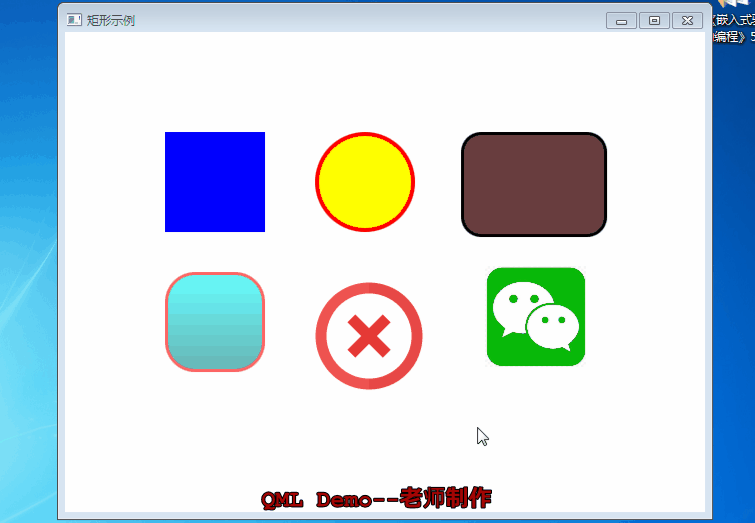
1、在title: qsTr("Hello World")中把内容改成:title: qsTr("矩形示例")

2、添加Rectangle对象
   Rectangle{

        rotation: 30

        x: 100

        y: 100

        width:  150

        height: 150

        color:  "blue"


}
运行结果:

3、添加功能:单击正方形窗口,正方形的颜色变红色
添加代码:

运行结果:

4、画一个圆形
添加代码:
    Rectangle{
        id: cicle
        x:250
        y:100
        width: 100
        height: 100
        radius: 100
        color: "red"
}
运行结果:

在同矩形内增加代码,单击圆,由经色变绿色
        MouseArea{
            anchors.fill: parent
            onClicked: parent.color = "green"
        }
运行程序后:

5、绘制圆角矩形
    Rectangle{
        id:topRect
        opacity:0.6
        x:100
        y:240
        width:100
        height:100
        radius:30
        gradient:Gradient{
            GradientStop{position:0.0;color:"aqua"}
            GradientStop{position:1.0;color:"teal"}
        }
        border{width:3;color:"red"}
}
运行结果:

6、增加一个图片:把图片加到qml.qrc下
步骤:先把图片放入工程文件夹内,然后在qml.qrc下的“/”右击,选择“添加现有文件”,从弹出对话框中选择图片即可。

Rectangle {
        x:240
        y:240
        width: 100
        height: 100
        radius:30

        border.color: "red"
        border.width: 3
        Image{
            source: "delete.png"
            fillMode: Image.Stretch

        }
    }
运行结果: