新增字段:
查看用户表相关的迁移文件:
database/migrations/2014_10_12_000000_create_users_table.php
.
.
.
    public function up()
    {
        Schema::create('users', function (Blueprint $table) {
            $table->increments('id');
            $table->string('name');
            $table->string('email')->unique();
            $table->string('password');
            $table->rememberToken();
            $table->timestamps();
        });
    }
.
.
.
以上是默认创建的 users 表里的所有字段
接下来我们使用 Laravel 自带的命令来新建迁移文件。由于我们进行的是字段添加操作,因此在命名迁移文件时需要加上前缀,遵照如 add_column_to_table 这样的命名规范,并在生成迁移文件的命令中设置 –table 选项,用于指定对应的数据库表。最终的生成命令如下:
$ php artisan make:migration add_avatar_and_introduction_to_users_table --table=users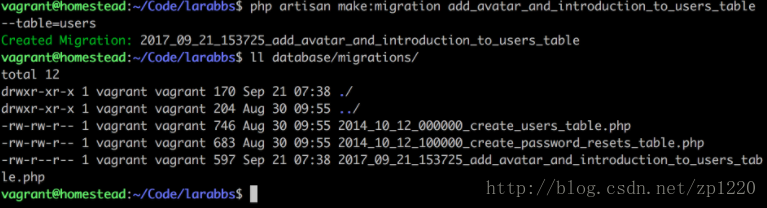
我们会将头像的图片以文件形式放置于服务器上,然后将路径子串存储于数据库中,所以我们需要用到 string 类型,用户注册并未提供头像上传功能,因此我们还需要将字段设置为 nullable,意为允许空子串。
个人简介字段存储的是短文本内容,此处我们也选择使用 string 类型,同样的我们也允许用户设置空的简介。现在让我们来为新增的迁移文件加上这两个字段:
database/migrations/[timestamp]_add_avatar_and_introduction_to_users_table.php
<?php

use Illuminate\Support\Facades\Schema;
use Illuminate\Database\Schema\Blueprint;
use Illuminate\Database\Migrations\Migration;

class AddAvatarAndIntroductionToUsersTable extends Migration
{
    /**
     * 执行迁移
     *
     * @return void
     */
    public function up()
    {
        Schema::table('users', function (Blueprint $table) {
            $table->string('avatar')->nullable();
            $table->string('introduction')->nullable();
        });
    }

    /**
     * 回滚迁移
     *
     * @return void
     */
    public function down()
    {
        Schema::table('users', function (Blueprint $table) {
            $table->dropColumn('avatar');
            $table->dropColumn('introduction');
        });
    }
}
接着我们还需要运行迁移,将字段加入到用户表中:
$ php artisan migrate