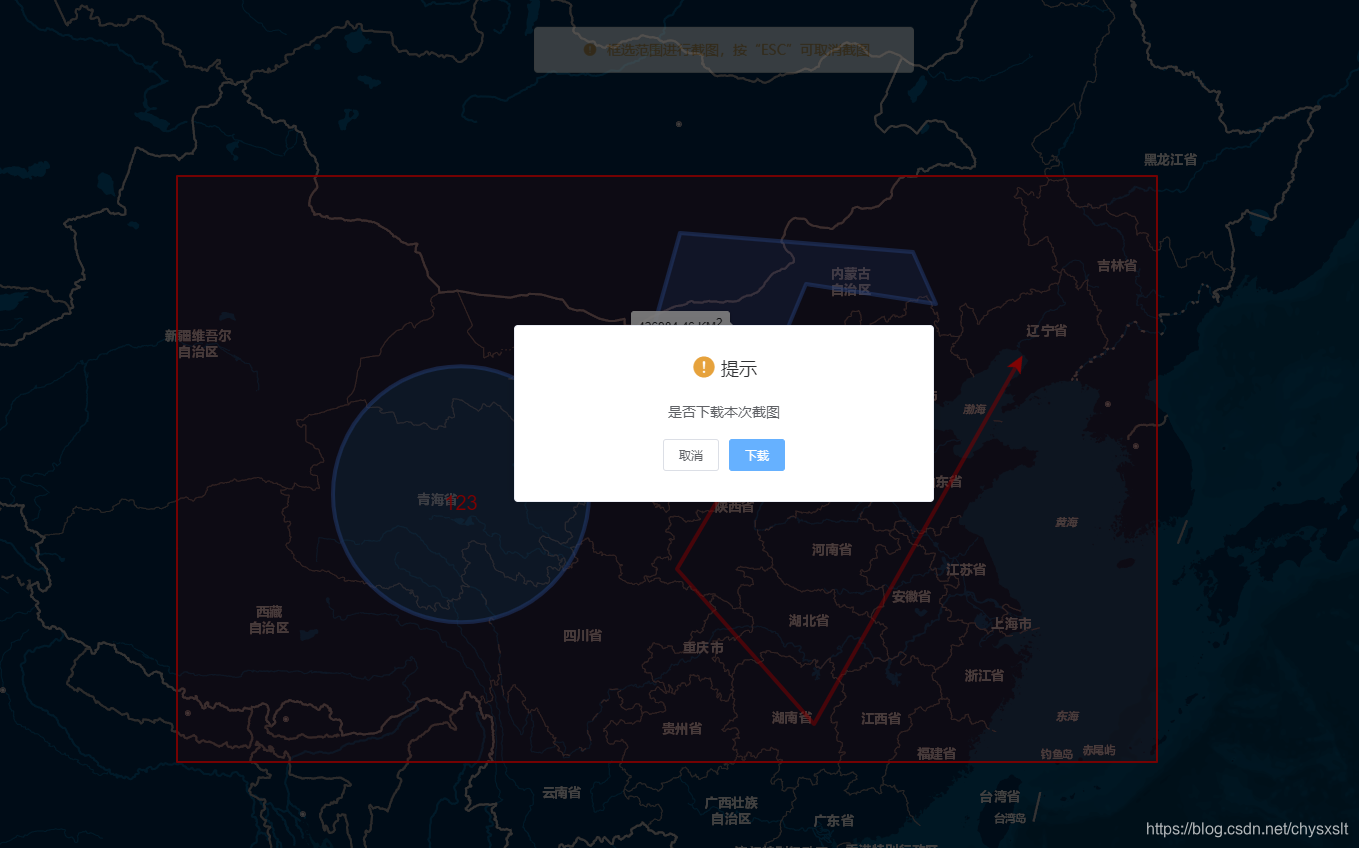
实现截图(红框中即是将要截取的内容)
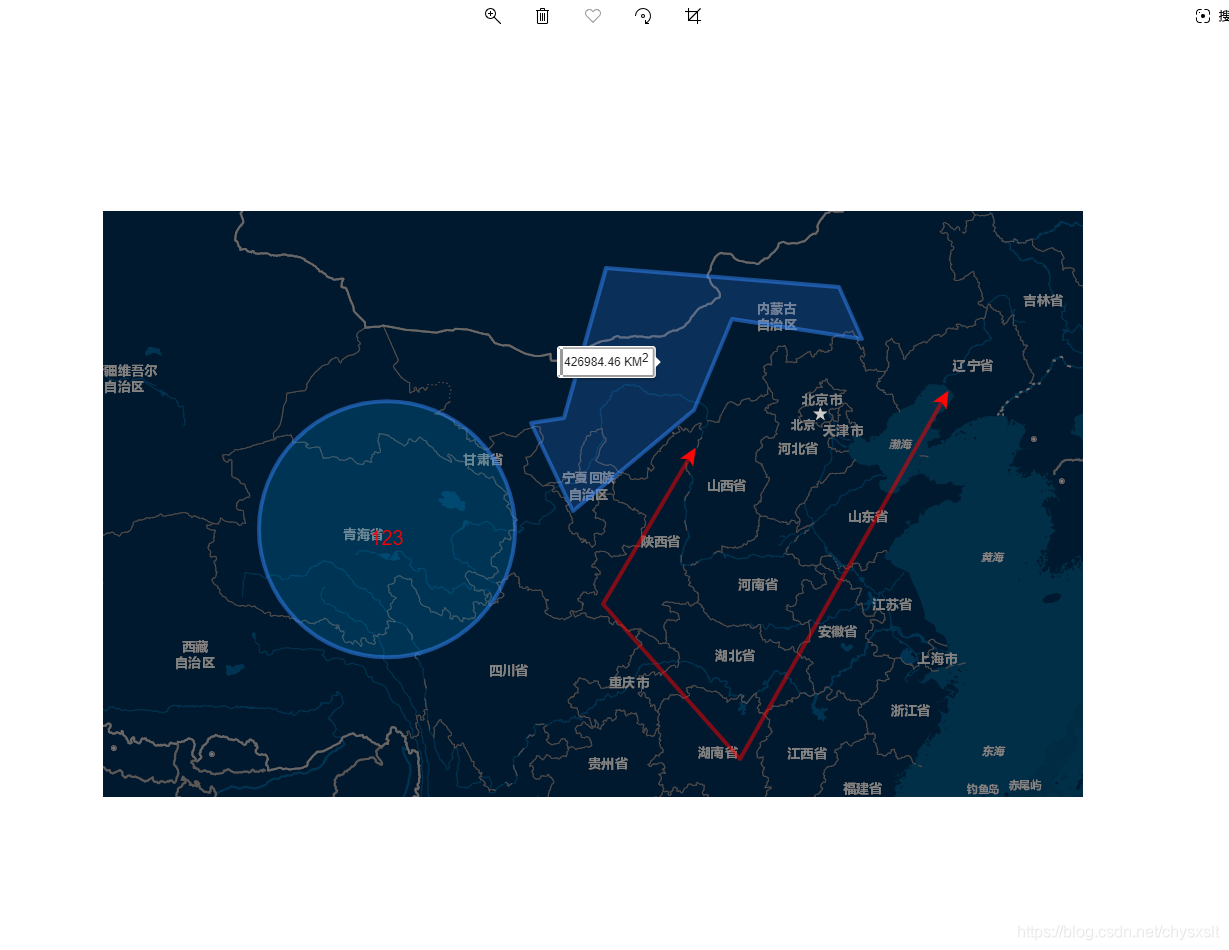
下载到本地的截图
功能需求
近日。 项目中有一需求:在Leaflet地图中进行框选载图,同时把地图中的所有标记和图形一同载图,并下载到本地。
搜索资源
在网上搜索了一下,找到一个载图的js库 html2canvs。网上的大部分例子都是基于html2canvas来完成的。找一圈并未找到现成的轮子,那就自己造一个吧。
功能拆分
框选:绘制矩形 ------» 载图:html2canvas -----»下载:生成a标签 -----» 模拟点击:下载完成。大致应该是上面三个步骤。
- 框选:绘制矩形。文中使用的绘制插件是:Leaflet.draw。
代码如下:
        // 矩形实例
        let rectangle = new L.Draw.Rectangle(this.map, {
          shapeOptions: {
            stroke: true,
            color: 'red',
            weight: 2,
            opacity: 0.9,
            fill: true,
            fillColor: null, /*same as color by default*/
            fillOpacity: 0.1,
            clickable: true
          }
        });
        rectangle.enable(); //绘制矩形
        this.map.on(L.Draw.Event.CREATED, (e) => {
          if (this.currentLayerType == type && e.layerType == 'rectangle'){
            this.featureGroup.addLayer(e.layer);
            if (!e.layer.flag){
              this.$confirm('是否下载本次截图', '提示', {
                confirmButtonText: '下载',
                cancelButtonText: '取消',
                type: 'warning',
                showClose:false,
                center: true
              }).then(() => {
                let latlngs = e.layer._latlngs[0]   // 获取矩形的 经纬度 list
                // console.log(latlngs)
                this.featureGroup.removeLayer(e.layer); // 移除框选的矩形
                this.captureScreenEnd(latlngs);    // 开始截图
                this.$message({
                  type: 'success',
                  message: '下载成功!',
                  offset:100
                });
              }).catch(() => {
                this.featureGroup.removeLayer(e.layer);
              });
            }
            e.layer.flag = true
          }
        });
        this.map.on(L.Draw.Event.DRAWSTOP, (e)=> {
          console.log('框选截图结束====')
          rectangle.disable()
        });
- 截图 : 功能核心代码。
代码如下:
        let bounds = this.map.getBounds(),
            zero = [bounds._northEast.lat,bounds._southWest.lng],
             // 计算当前 视窗内的 原点经纬度 ==> 对应的屏幕坐标 (地图位移及缩放时计算 startPoint的偏移量)必须!!!
            zeroPoint = map.latLngToLayerPoint(zero)
        let startPoint = map.latLngToLayerPoint(points[1]), // latlng 转 屏幕坐标 计算 起点及宽高
            endPoint =  map.latLngToLayerPoint(points[3]),
            width = Math.abs(startPoint.x - endPoint.x),
            height = Math.abs(startPoint.y - endPoint.y);

        html2canvas(document.getElementById('map'),{
          useCORS:true, // 底图跨域 必须!!
          // allowTaint:false
        }).then((canvas) => {
          this.downloadIamge(canvas,(startPoint.x - zeroPoint.x),(startPoint.y - zeroPoint.y),width,height)
          this.resetToolbar()
        });
- 下载:截图下载
代码如下:
        // 创建一个用于截取的canvas
        var clipCanvas = document.createElement('canvas')
        clipCanvas.width = capture_width
        clipCanvas.height = capture_height
        // 截取图片
        clipCanvas.getContext('2d').drawImage(canvas, capture_x, capture_y, capture_width, capture_height, 0, 0, capture_width, capture_height)
        var clipImgBase64 = clipCanvas.toDataURL() // 生成图片url

        // 下载图片
        let link = document.createElement("a");
        link.href = clipImgBase64;//下载链接
        link.setAttribute("download", new Date().toLocaleString() + "_截图.png");
        link.style.display = "none";//a标签隐藏
        document.body.appendChild(link);
        link.click(); // 点击下载
        document.body.removeChild(link); // 移除a标签
进阶功能
此功能是基于地图矩形绘制来实现的。如果要实际网页版的框选截图如何实现?原理都是一样的,只是第一步的框选用canvas来进行绘制就可以了。本文使用的是jcanvas,核心代码如下:
import html2canvas from 'html2canvas'

export const screenShot = {
    /**
     *  画矩形
     * @param canvasId canvasId
     * @param penColor 画笔颜色
     * @param strokeWidth 线宽
     */
    cancelFlag: false, // 是否可以进行截图操作
    defaultStrokeWidth: 1, // 默认画矩形选取框的线宽
    defaultLineColor: 'blue',
    init: function (canvasId, targetId) {
        var that = this;
        // 注册 esc 监控取消事件
        $("#" + canvasId).show()
        document.body.style.cursor = 'crosshair';
        that.cancelFlag = true
    },
    drawRect: function (canvasId, targetId, penColor, strokeWidth, callback) {
        var that = this;
        that.init(canvasId, targetId);
        that.penColor = penColor || that.defaultLineColor;
        that.penWidth = strokeWidth || that.defaultStrokeWidth;
        var canvas = document.getElementById(canvasId);
        //canvas 的矩形框
        var canvasRect = canvas.getBoundingClientRect();
        //canvas 矩形框的左上角坐标
        var canvasLeft = canvasRect.left;
        var canvasTop = canvasRect.top;

        // 要画的矩形的起点 xy
        var x = 0;
        var y = 0;

        document.addEventListener('keydown', function (e) {
            //此处填写你的业务逻辑即可
            if (e.keyCode == 27) {
                that.cancel(canvasId, callback);
                x = e.clientX - canvasLeft;
                y = e.clientY - canvasTop;
            }
        })
        //鼠标点击按下事件,画图准备
        canvas.onmousedown = function (e) {
            if (!that.cancelFlag) {
                return
            }
            //设置画笔颜色和宽度
            var color = that.penColor;
            var penWidth = that.penWidth;
            // 确定起点
            x = e.clientX - canvasLeft;
            y = e.clientY - canvasTop;
            console.log('down=====>', x, y)
            // 添加layer
            $("#" + canvasId).addLayer({
                type: 'rectangle',
                strokeStyle: color,
                strokeWidth: penWidth,
                name: 'areaLayer',
                fromCenter: false,
                x: x, y: y,
                width: 1,
                height: 1
            });
            // 绘制
            $("#" + canvasId).drawLayers();
            $("#" + canvasId).saveCanvas();

            //鼠标移动事件,画图
            canvas.onmousemove = function (e) {

                // 要画的矩形的宽高
                var width = e.clientX - canvasLeft - x;
                var height = e.clientY - canvasTop - y;
                console.log('move=====>', width, height)
                // 清除之前画的
                $("#" + canvasId).removeLayer('areaLayer');

                $("#" + canvasId).addLayer({
                    type: 'rectangle',
                    strokeStyle: color,
                    strokeWidth: penWidth,
                    name: 'areaLayer',
                    fromCenter: false,
                    x: x, y: y,
                    width: width,
                    height: height,
                });

                $("#" + canvasId).drawLayers();
            }
        };
        //鼠标抬起
        canvas.onmouseup = function (e) {
            if (!that.cancelFlag) {
                return
            }
            var color = that.penColor;
            var penWidth = that.penWidth;

            canvas.onmousemove = null;
            console.log('up=====>', x, y)
            var width = e.clientX - canvasLeft - x;
            var height = e.clientY - canvasTop - y;

            $("#" + canvasId).removeLayer('areaLayer');

            $("#" + canvasId).addLayer({
                type: 'rectangle',
                strokeStyle: color,
                strokeWidth: penWidth,
                name: 'areaLayer',
                fromCenter: false,
                x: x, y: y,
                width: width,
                height: height
            });

            $("#" + canvasId).drawLayers(); // 绘制矩形
            $("#" + canvasId).saveCanvas(); // 保存矩形

            // 把body转成canvas
            html2canvas(document.getElementById(targetId), {
                scale: 1,
                // allowTaint: true,
                useCORS: true  //跨域使用
            }).then(canvas => {
                var capture_x, capture_y
                if (width > 0) {
                    //从左往右画
                    capture_x = x + that.penWidth
                } else {
                    //从右往左画
                    capture_x = x + width + that.penWidth
                }
                if (height > 0) {
                    //从上往下画
                    capture_y = y + that.penWidth
                } else {
                    //从下往上画
                    capture_y = y + height + that.penWidth
                }
                that.printClip(canvas, capture_x, capture_y, Math.abs(width), Math.abs(height))
            });
            that.cancel(canvasId, callback)
            callback && callback();
        }
    },
    // 结束 取消截图
    cancel: function (canvasId, callback) {
        document.body.style.cursor = 'auto'
        $("#" + canvasId).removeLayer('areaLayer');
        $("#" + canvasId).clearCanvas()
        $("#" + canvasId).hide()
        this.cancelFlag = false
        callback && callback()
    },
    /**
     * 截取区域转为图片
     * @param canvas 截取的canvas
     * @param capture_x 截取的起点x
     * @param capture_y 截取的起点y
     * @param capture_width 截取的起点宽
     * @param capture_height 截取的起点高
     */
    printClip: function (canvas, capture_x, capture_y, capture_width, capture_height) {
        // 创建一个用于截取的canvas
        var clipCanvas = document.createElement('canvas')
        clipCanvas.width = capture_width
        clipCanvas.height = capture_height
        // 截取
        clipCanvas.getContext('2d').drawImage(canvas, capture_x, capture_y, capture_width, capture_height, 0, 0, capture_width, capture_height)
        var clipImgBase64 = clipCanvas.toDataURL()

        this.downloadIamge(clipImgBase64) // 下载图片

    },
    /**
     * 下载保存图片
     * @param imgUrl 图片地址
     */
    downloadIamge: function (imgUrl) {
        let link = document.createElement("a");
        link.href = imgUrl;//下载链接
        link.setAttribute("download", new Date().toLocaleString() + "_截图.png");
        link.style.display = "none";//a标签隐藏
        document.body.appendChild(link);
        link.click();
        document.body.removeChild(link)
    }
};
结束语
好了。框选截图的功能基就写完了,希望本文对您在关于地图及cavnas有一个简单的了解。
感谢您的阅读,希望本文对您有所帮助。 —— chysxslt
