| IP | Hostname | 备注 |
|---|---|---|
| 192.168.88.31 | server | nagios服务端 |
| 192.168.88.32 | client | nagios客户端 |
环境说明:firewalld关闭,selinux关闭。
软件版本:
nagios版本:4.4.3
nagios-plugins版本:2.2.1
nrpe版本:3.2.1
安装nagios-server服务端
安装所需依赖包
[root@server ~]# yum -y install httpd httpd-devel php gcc glibc glibc-common gd gd-devel perl-devel unzip perl-CPAN perl-FCGI
安装配置nagios
[root@server ~]# tar -zxvf nagioscore-nagios-4.4.3.tar.gz
[root@server ~]# cd nagioscore-nagios-4.4.3
[root@server nagioscore-nagios-4.4.3]# useradd nagios -s /sbin/nologin
[root@server nagioscore-nagios-4.4.3]# groupadd nagcmd
[root@server nagioscore-nagios-4.4.3]# usermod -a -G nagcmd nagios
[root@server nagioscore-nagios-4.4.3]# usermod -a -G nagcmd apache
[root@ server nagioscore-nagios-4.4.3]# ./configure --with-command-group=nagcmd && make all && make install && make install-init && make install-commandmode && make install-config && make install-webconf
//如果使用nagiosadmin用户登陆则不用修改配置
[root@server nagioscore-nagios-4.4.3]# htpasswd -c /usr/local/nagios/etc/htpasswd.users nagiosadmin
//如果使用其他用户登陆则需修改cgi.cfg配置,默认登陆用户为nagiosadmin。
[root@server nagioscore-nagios-4.4.3]# sed -i 's#nagiosadmin#nagios#g' /usr/local/nagios/etc/cgi.cfg
[root@server nagioscore-nagios-4.4.3]# htpasswd -c /usr/local/nagios/etc/htpasswd.users nagios
[root@server nagioscore-nagios-4.4.3]# systemctl start httpd
[root@server nagioscore-nagios-4.4.3]# systemctl enable httpd
[root@server nagioscore-nagios-4.4.3]# systemctl start nagios
[root@server nagioscore-nagios-4.4.3]# systemctl enable nagios
安装nagios-pluging插件
[root@server ~]# tar -zxvf nagios-plugins-2.2.1.tar.gz
[root@server ~]# cd nagios-plugins-2.2.1
[root@server nagios-plugins-2.2.1]# ./configure --with-nagios-user=nagios --with-nagios-group=nagios
[root@server nagios-plugins-2.2.1]# make && make install
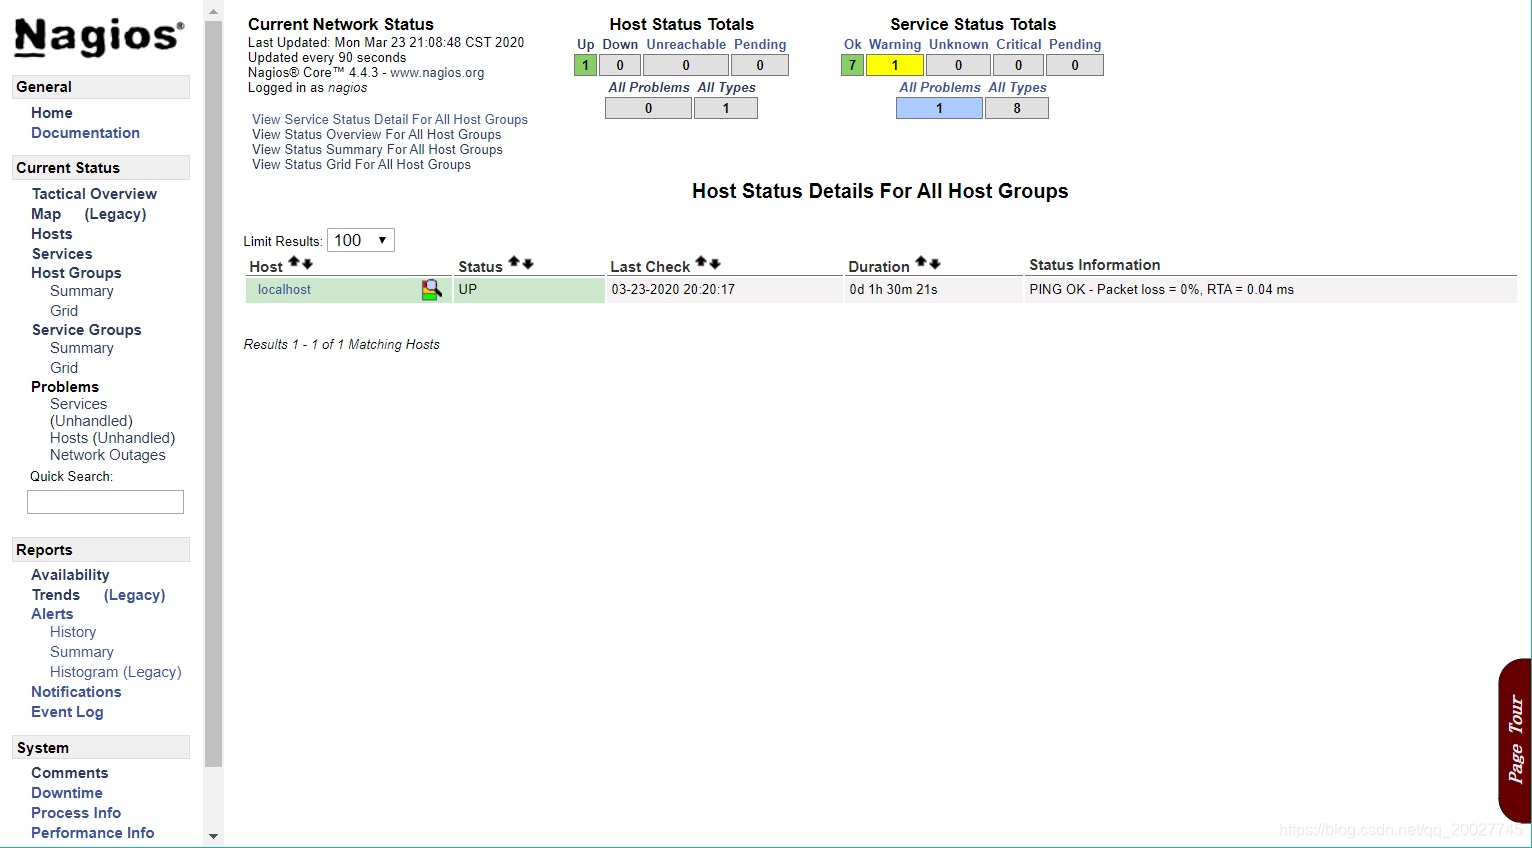
网页访问http://192.168.88.31/nagios
安装nrpe
[root@server ~]# yum -y install openssl-devel
[root@server ~]# tar -zxvf nrpe-nrpe-3.2.1.tar.gz
[root@server ~]# cd nrpe-nrpe-3.2.1
[root@server ~]# ./configure
[root@server ~]# make all && make install-plugin && make install-daemon && make install-config
[root@server ~]# cp sample-config/nrpe.cfg /usr/local/nagios/etc/nrpe.cfg
[root@server ~]# /usr/local/nagios/bin/nrpe -d -c /usr/local/nagios/etc/nrpe.cfg  //启动nrpe
[root@server ~]# echo "/usr/local/nagios/bin/nrpe -d -c /usr/local/nagios/etc/nrpe.cfg" >> /etc/rc.local  //设置开机执行
[root@server ~]# chmod +x /etc/rc.d/rc.local
[root@server ~]# netstat -lnput|grep 5666
安装nagios-client客户端
安装nagios-pluging插件
[root@client ~]# yum -y install openssl-devel gcc perl-devel perl-CPAN
[root@client ~]# useradd nagios -s /sbin/nologin
[root@client ~]# tar -zxvf nagios-plugins-2.2.1.tar.gz
[root@client ~]# cd nagios-plugins-2.2.1
[root@client nagios-plugins-2.2.1]# ./configure --with-nagios-user=nagios --with-nagios-group=nagios
[root@client nagios-plugins-2.2.1]# make && make install
安装nrpe
[root@client ~]# tar -zxvf nrpe-nrpe-3.2.1.tar.gz
[root@client ~]# cd nrpe-nrpe-3.2.1
[root@client ~]# ./configure
[root@client ~]# make all && make install-plugin && make install-daemon && make install-config
[root@client ~]# cp sample-config/nrpe.cfg /usr/local/nagios/etc/nrpe.cfg
[root@client ~]# /usr/local/nagios/bin/nrpe -d -c /usr/local/nagios/etc/nrpe.cfg  //启动nrpe
[root@client ~]# echo "/usr/local/nagios/bin/nrpe -d -c /usr/local/nagios/etc/nrpe.cfg" >> /etc/rc.local  //设置开机执行
[root@client ~]# chmod +x /etc/rc.d/rc.local
[root@client ~]# netstat -lnput|grep 5666
修改nrpe配置文件
[root@client ~]# vi /usr/local/nagios/etc/nrpe.cfg
allowed_hosts=127.0.0.1,192.168.88.31   //修改此处,加上服务端ip
重启nrpe
扫描二维码关注公众号,回复:
11085368 查看本文章

[root@client ~]# pkill nrpe
[root@client ~]# /usr/local/nagios/bin/nrpe -d -c /usr/local/nagios/etc/nrpe.cfg
客户端测试本地连接
[root@client ~]# /usr/local/nagios/libexec/check_nrpe -H localhost
NRPE v3.1.0
服务端测试客户端是否连接
[root@client ~]# /usr/local/nagios/libexec/check_nrpe -H 192.168.88.32
NRPE v3.1.0
