一、背景
登录注册基础功能虽说常见但也对于初学者来说较难,容易被劝退,使用django-rest-auth可以快速实现该功能,如何专注于业务逻辑的实现。
二、关于
- api 文档请点 :这里
三、完整流程
-
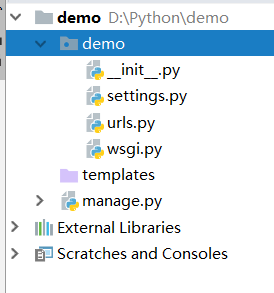
创建项目
- 新建的项目,目录结构如下
- 安装相关依赖
-
pip install django-rest-framework
pip install django-rest-auth

#使用django-rest-auth 自带的登录注册
pip install django-rest-auth[with_social]
- settings.py 增加
-
INSTALLED_APPS = [
    ...
    #django-rest-auth 组件
    'rest_framework.authtoken',
    'rest_framework',
    'rest_auth',
    'django.contrib.sites',
    'allauth',
    'allauth.account',
    'rest_auth.registration'
]

SITE_ID = 1
#若要使用mysql,修改DATABASES 设置如下
DATABASES = {
    'default': {
        'ENGINE': 'django.db.backends.mysql',
        #数据库名称
        'NAME': 'ONLINE_AUTO_TEST',
        #数据库用户名
        'USER':'dj_admin',
        'PASSWORD':'123456',
        'HOST':'127.0.0.1',
        'PORT':'3306',
    }
}
- urls.py 配置路由如下
-
urlpatterns = [
    ...
    url(r'^rest-auth/', include('rest_auth.urls')),
    url(r'^rest-auth/registration/', include('rest_auth.registration.urls'))
]
- 同步数据库
-
python manage.py migrate
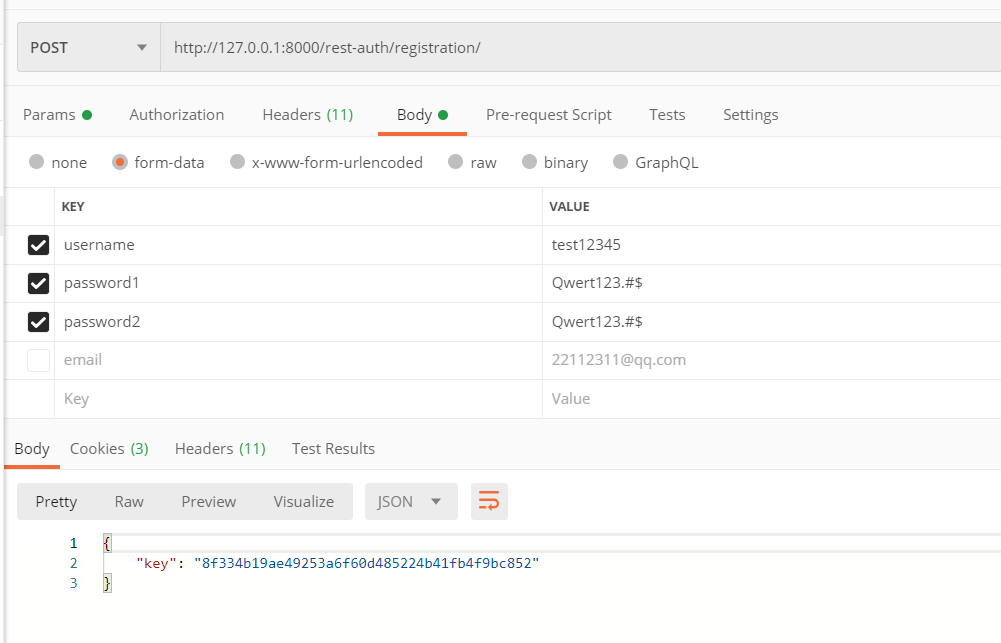
三、测试
- 弄好了可以测试下