导入jar包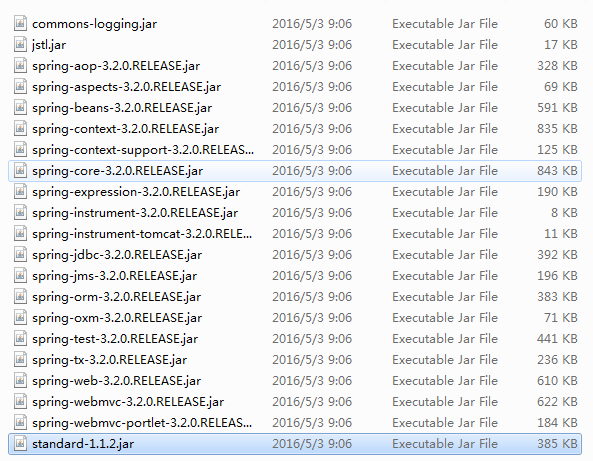
下载路径:
在web.xml里面配置
<servlet>
<servlet-name>Springmvc</servlet-name> <!--名字可以随意修改 -->
<!-- DispatcherServlet实际上是一个Servlet(它从HttpServlet继承而来)。和其它Servlet一样,DispatcherServlet定义在web应用的web.xml文件里。DispatcherServlet处理的请求必须在同一个web.xml文件里使用url-mapping定义映射。-->
<servlet-class>org.springframework.web.servlet.DispatcherServlet</servlet-class>
<init-param>
<param-name>contextConfigLocation</param_name><!--contextConfigLocation必须是这个名字 -->
<param-value>classpath*:config/spring-servlet.xml</param-value><!-- 指定加载xml(路径config/spring-servlet.xml) -->
<load-on-startup>1</load-on-startup><!--加载框架的顺序 -->
</init-param>
</servlet>
<servlet-mapping>
<servlet-name>springMVC</servlet-name>
<url-pattern>/</url-pattern><!--拦截所有文件 -->
</servlet-mapping>
配置spring-servlet.xml
<?xml version="1.0" encoding="UTF-8"?>
<beans xmlns="http://www.springframework.org/schema/beans"
xmlns:context="http://www.springframework.org/schema/context"
xmlns:p="http://www.springframework.org/schema/p"
xmlns:mvc="http://www.springframework.org/schema/mvc"
xmlns:xsi="http://www.w3.org/2001/XMLSchema-instance"
xsi:schemaLocation="http://www.springframework.org/schema/beans
http://www.springframework.org/schema/beans/spring-beans-3.0.xsd
http://www.springframework.org/schema/context
http://www.springframework.org/schema/context/spring-context.xsd
http://www.springframework.org/schema/mvc
http://www.springframework.org/schema/mvc/spring-mvc-3.0.xsd">
<bean name="/test1/helloworld" class="com.tgb.web.controller.HelloWorldController"> <!--name指url访问路径 class指拦截的是那个Controller层-->
<!-- 配置视图解析器,拦截需要通过Spingmvc容器来解析的文件-->
<bean id ="viewResolver" class="org.springframework.web.servlet.view.InternalResourceViewResolver">
<property name="prefix" value="/"></property> <!-- 拦截的前缀文件路径-->
<property name="suffix" value=".jsp"></property> <!-- 拦截的后缀文件路径-->
</bean>
</beans>
Controller层代码:
public class HelloWorldController implements Controller { //实现Spring的Controller接口
@Override//重写Controller中的方法
public ModelAndView handleRequest(HttpServletRequest arg0,
HttpServletResponse arg1) throws Exception {
System.out.println("-------hello tgb-----");
Map<String,Object> map = new HashMap<String,Object>();
map.put("map1", "提高班1");
map.put("map2", "提高班2");
map.put("map3", "提高班3");
return new ModelAndView("/welcome","map",map); //返回到的jsp页面上的内容(/welcome指返回jsp页面的路径,map指jsp页面显示的参数)
}
welcome.jsp代码:
<h>传递数据</h>
<div>
<c:forEach items="${map }" var="m">//通过jstl标签循环取出所有map
${m.key } -----> ${m.value }
</c:forEach>
</div>
