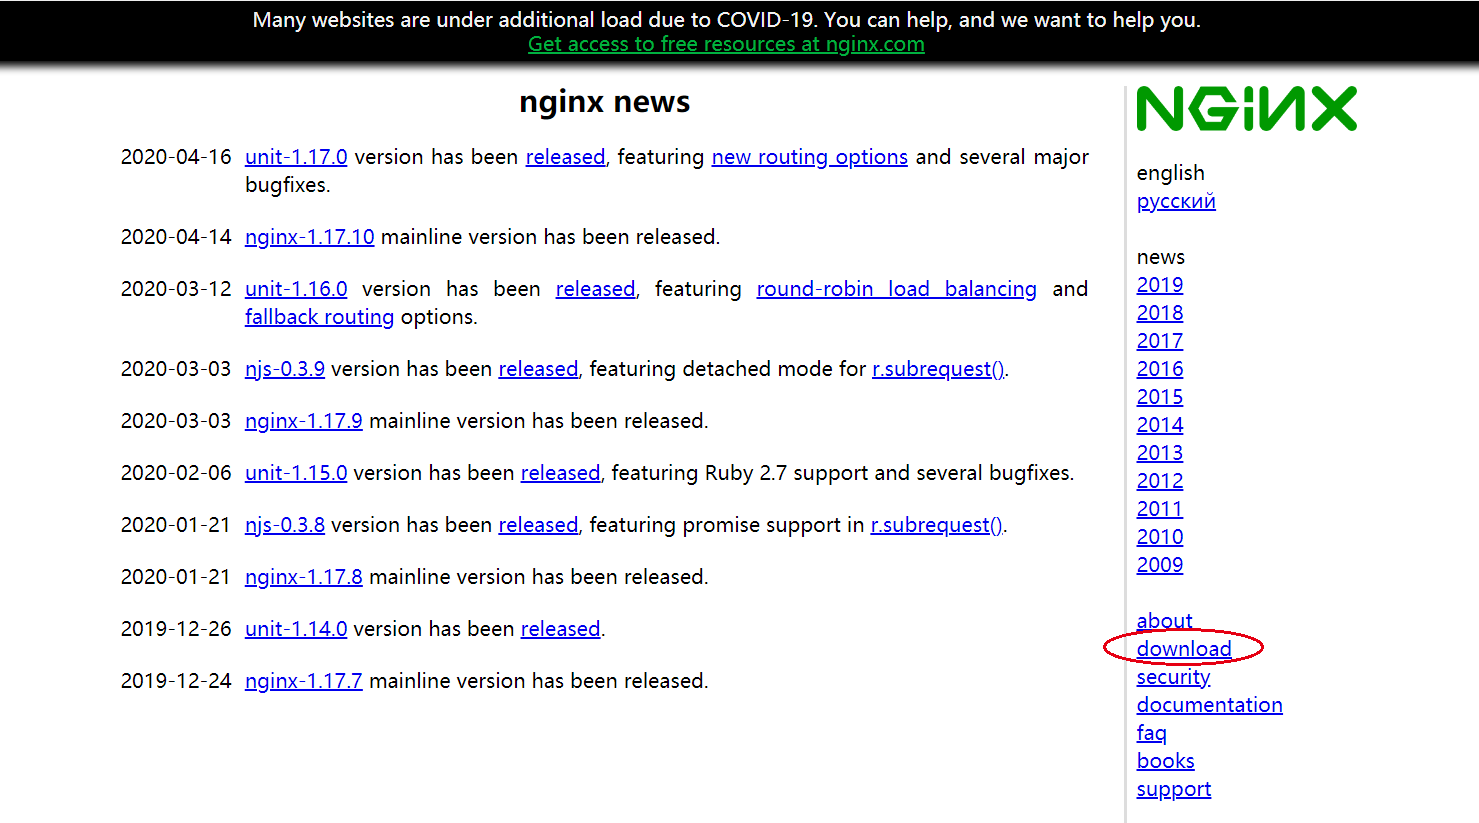
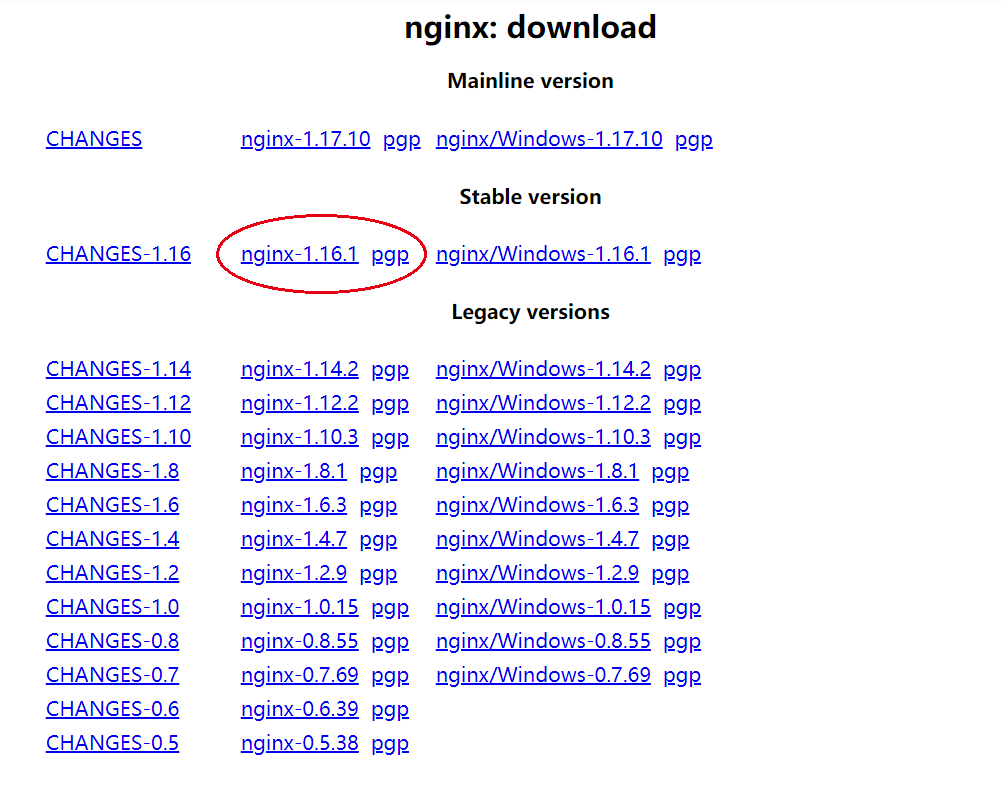
1、去官网 http://nginx.org/下载对应的nginx包,使用稳定版本
2、下载后上传到阿里云服务器
3、安装依赖环境
(1)、安装gcc环境
yum install gcc-c++
(2)、安装PCRE库,用于解析正则表达式
yum install -y pcre pcre-devel
(3)、zlib压缩和解压缩依赖
yum install -y zlib zlib-devel
(4)、SSL 安全的加密的套接字协议层,用于HTTP安全传输,也就是https
yum install -y openssl openssl-devel
4、解压
cd /usr/local/nginx/
tar -zxvf nginx-1.16.1.tar.gz
5、编译之前,先创建nginx临时目录,如果不创建,在启动nginx的过程中会报错
mkdir /var/temp/nginx -p
6、在nginx目录,输入如下命令进行配置,目的是为了创建makefile文件
./configure --prefix=/usr/local/nginx --pid-path=/var/run/nginx/nginx.pid --lock-path=/var/lock/nginx.lock --error-log-path=/var/log/nginx/error.log --http-log-path=/var/log/nginx/access.log --with-http_gzip_static_module --http-client-body-temp-path=/var/temp/nginx/client --http-proxy-temp-path=/var/temp/nginx/proxy --http-fastcgi-temp-path=/var/temp/nginx/fastcgi --http-uwsgi-temp-path=/var/temp/nginx/uwsgi --http-scgi-temp-path=/var/temp/nginx/scgi
配置命令:
| 命令 | 解释 |
| –prefix | 指定nginx安装目录 |
| –pid-path | 指向nginx的pid |
| –lock-path | 锁定安装文件,防止被恶意篡改或误操作 |
| –error-log | 错误日志 |
| –http-log-path | http日志 |
| –with-http_gzip_static_module | 启用gzip模块,在线实时压缩输出数据流 |
| –http-client-body-temp-path | 设定客户端请求的临时目录 |
| –http-proxy-temp-path | 设定http代理临时目录 |
| –http-fastcgi-temp-path | 设定fastcgi临时目录 |
| –http-uwsgi-temp-path | 设定uwsgi临时目录 |
| –http-scgi-temp-path | 设定scgi临时目录 |
7、make编译和安装(目录下)
cd /usr/local/nginx/nginx-1.16.1
make
make install
8、进入sbin目录启动nginx
cd /usr/local/nginx/
ll
cd sbin
./nginx
停止:./nginx -s stop
重新加载:./nginx -s reload
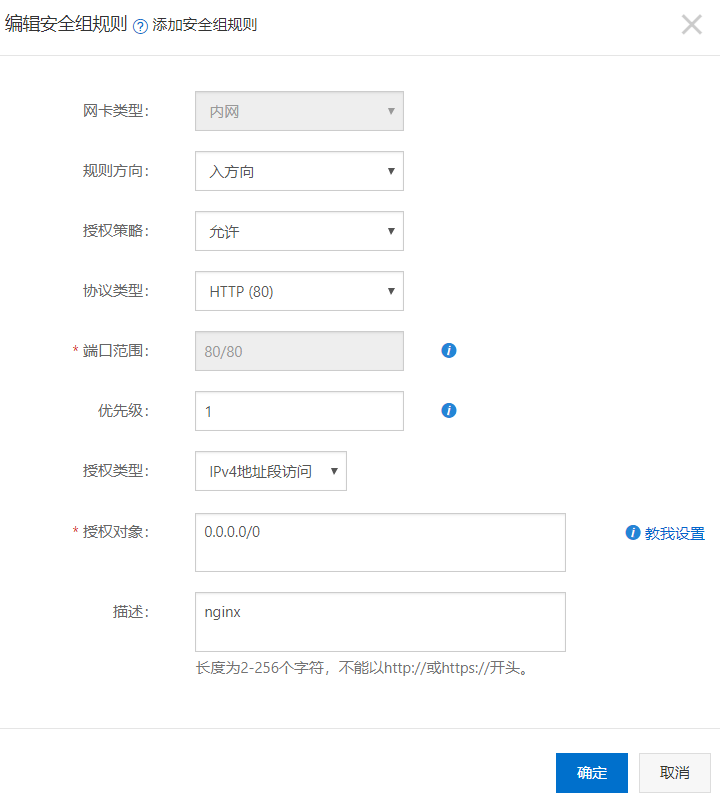
9、阿里云配置80端口
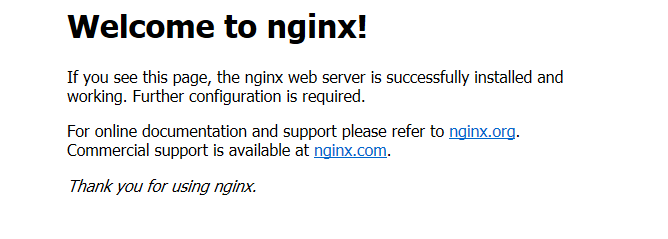
10、打开浏览器,访问外网ip即可打开nginx默认页面,显示如下便表示安装成功