1idea-new-project-spring initializr
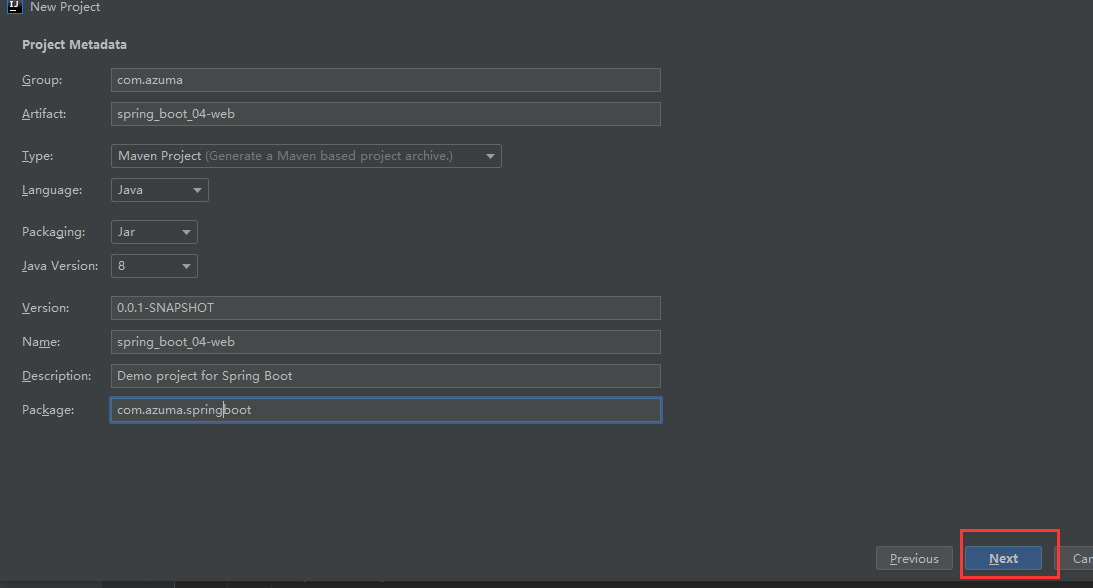
2.选中web功能。然后next默认创建工程

3.所有 /webjars/** ,都去 classpath:/META-INF/resources/webjars/ 找资源;==


<!-- 引入jquery-webjar在访问的时候只需要写webjars下面资源的名称即可 https://mvnrepository.com/artifact/org.webjars/jquery –>--> <dependency> <groupId>org.webjars</groupId> <artifactId>jquery</artifactId> <version>3.3.1</version> </dependency>
4."/**" 访问当前项目的任何资源,都去(静态资源的文件夹)找映射==
"classpath:/META-INF/resources/",
"classpath:/resources/",
"classpath:/static/",
"classpath:/public/"
"/":当前项目的根路径
5.模板引擎:使用SpringBoot推荐的Thymeleaf;
6.实现用户登录功能:
(1)html页面的的form表单中设置action属性:例如:<form class="form-signin" action="dashboard.html" th:action="@{/user/login}" method="post"> 中的 th:action="@{/user/login}"
<form class="form-signin" action="dashboard.html" th:action="@{/user/login}" method="post">
(2)在controller包中新建一个logincontroller.java,并在类方法前添加@Controller注解
import org.springframework.stereotype.Controller;
import org.springframework.util.StringUtils;
import org.springframework.web.bind.annotation.*;

import javax.servlet.http.HttpSession;
import java.util.Map;

@Controller
public class LoginController {

//    @DeleteMapping
//    @PutMapping
//    @GetMapping

    //@RequestMapping(value = "/user/login",method = RequestMethod.POST)
    @PostMapping(value = "/user/login")
    public String login(@RequestParam("username") String username,
                        @RequestParam("password") String password,
                        Map<String,Object> map, HttpSession session){
        if(!StringUtils.isEmpty(username) && "123456".equals(password)){
            //登陆成功,防止表单重复提交,可以重定向到主页
            session.setAttribute("loginUser",username);
            return "dashboard";
        }else{
            //登陆失败

            map.put("msg","用户名密码错误");
            return  "login";
        }

    }
}
<input type="text" name="username" class="form-control" placeholder="Username" th:placeholder="#{login.username}" required="" autofocus="">
同理,密码同样处理
<input type="password" name="password" class="form-control" placeholder="Password" th:placeholder="#{login.password}" required="">
(4)禁用缓存后,页面会实时生效,方便处理,在src/main/resources/application.properties中设置,页面修改完成以后ctrl+f9:重新编译
# 禁用缓存
spring.thymeleaf.cache=false
(5)实现显示登录错误信息效果,在如下处插入一个P标签 <p style="color: red" th:text="${msg}" th:if="${not #strings.isEmpty(msg)}"></p>
    <h1 class="h3 mb-3 font-weight-normal" th:text="#{login.tip}">Please sign in</h1>
    <!--判断-->
    <p style="color: red" th:text="${msg}" th:if="${not #strings.isEmpty(msg)}"></p>
    <label class="sr-only" th:text="#{login.username}">Username</label>
(6)重定向的使用,在 src/main/java/com/azuma/springboot/config/MyMvcConfig.java中的addViewControllers方法添加一个识图解释器:registry.addViewController("/main.html").setViewName("dashboard")
            @Override
            public void addViewControllers(ViewControllerRegistry registry) {
                registry.addViewController("/").setViewName("login");
                registry.addViewController("/index.html").setViewName("login");
                //添加视图解释器
                registry.addViewController("/main.html").setViewName("dashboard");
            }
(7)然后在src/main/java/com/azuma/springboot/controller/LoginController.java中的login方法中,在登录成功处进行重定向
    @PostMapping(value = "/user/login")
    public String login(@RequestParam("username") String username,
                        @RequestParam("password") String password,
                        Map<String,Object> map, HttpSession session){
        if(!StringUtils.isEmpty(username) && "123456".equals(password)){
            //登陆成功,防止表单重复提交,可以重定向到主页
            session.setAttribute("loginUser",username);
            return "redirect:/main.html";
        }else{
            //登陆失败

            map.put("msg","用户名密码错误");
            return  "login";
        }

    }
(8)启动浏览器,输入http://localhost:8080/crud/ 进行登录测试
7.添加用户登录拦截功能
(1)在src/main/java/com/azuma/springboot/controller/LoginController.java的login方法中添加一个session(上面已经添加过了)
session.setAttribute("loginUser",username);
(2)添加一个拦截器的类:src/main/java/com/azuma/springboot/component/LoginHandlerInterceptor.java
package com.azuma.springboot.component;

import org.springframework.web.servlet.HandlerInterceptor;
import org.springframework.web.servlet.ModelAndView;

import javax.servlet.http.HttpServletRequest;
import javax.servlet.http.HttpServletResponse;

/**
 * 登陆检查,
 */
public class LoginHandlerInterceptor implements HandlerInterceptor {
    //目标方法执行之前
    @Override
    public boolean preHandle(HttpServletRequest request, HttpServletResponse response, Object handler) throws Exception {
        Object user = request.getSession().getAttribute("loginUser");
        if(user == null){
            //未登陆,返回登陆页面
            request.setAttribute("msg","没有权限请先登陆");
            request.getRequestDispatcher("/index.html").forward(request,response);
            return false;
        }else{
            //已登陆,放行请求
            return true;
        }

    }

    @Override
    public void postHandle(HttpServletRequest request, HttpServletResponse response, Object handler, ModelAndView modelAndView) throws Exception {

    }

    @Override
    public void afterCompletion(HttpServletRequest request, HttpServletResponse response, Object handler, Exception ex) throws Exception {

    }
}
(3)拦截器类写好后要记得在src/main/java/com/azuma/springboot/config/MyMvcConfig.java中进行配置(注意在Spring 5.0 中,已经将 WebMvcConfigurerAdapter 抽象类加上 @Deprecated 注解 记为过时)所以src/main/java/com/azuma/springboot/config/MyMvcConfig.java中的WebMvcConfigurerAdapter被划掉了
解决方法:
spring5以上版本不建议使用,所以把原来的继承 WebMvcConfigurerAdapter改为

public class CustomWebConigurer implements WebMvcConfigurer
可以实现相同的功能。

是1.8以后接口中可以不必实现接口的抽象方法才变化的。

WebMvcConfigurerAdapter 其实也是实现了 WebMvcConfigurer接口的
(4)由上可知,修改:src/main/java/com/azuma/springboot/config/MyMvcConfig.java中的extend WebMvcConfigurerAdapter修改成implements WebMvcConfigurer
package com.azuma.springboot.config;

import com.azuma.springboot.component.LoginHandlerInterceptor;
import com.azuma.springboot.component.MyLocaleResolver;
import org.springframework.context.annotation.Bean;
import org.springframework.context.annotation.Configuration;
import org.springframework.web.servlet.LocaleResolver;
import org.springframework.web.servlet.config.annotation.InterceptorRegistry;
import org.springframework.web.servlet.config.annotation.ViewControllerRegistry;
import org.springframework.web.servlet.config.annotation.WebMvcConfigurer;

//使用WebMvcConfigurerAdapter可以来扩展SpringMVC的功能
//@EnableWebMvc   不要接管SpringMVC
@Configuration
public class MyMvcConfig implements WebMvcConfigurer {


    @Override
    public void addViewControllers(ViewControllerRegistry registry) {
       // super.addViewControllers(registry);
        //浏览器发送 /atguigu 请求来到 success
        registry.addViewController("/azuma").setViewName("success");
    }

    //所有的WebMvcConfigurerAdapter组件都会一起起作用
    @Bean //将组件注册在容器
    public WebMvcConfigurer WebMvcConfigurer(){
        WebMvcConfigurer adapter = new WebMvcConfigurer() {
            @Override
            public void addViewControllers(ViewControllerRegistry registry) {
                registry.addViewController("/").setViewName("login");
                registry.addViewController("/index.html").setViewName("login");
                registry.addViewController("/main.html").setViewName("dashboard");
            }

    //注册拦截器,配置过滤静态资源
    //静态资源;  *.css , *.js
    //SpringBoot已经做好了静态资源映射
     @Override
     public void addInterceptors(InterceptorRegistry registry) {
                registry.addInterceptor(new LoginHandlerInterceptor())
                        .addPathPatterns("/**")
                        .excludePathPatterns("/index.html","/","/user/login","/static/**", "/webjars/**", "/asserts/**");
            }

        };
        return adapter;
    }

    @Bean
    public LocaleResolver localeResolver(){

        return new MyLocaleResolver();
    }


}