文章目录
本章包括:
- 自动配置spring security;
- 定义通用用户存储;
- 订制登录页面;
- 对付CSRF攻击;
- 了解你的用户。
1. 启用spring security
在pom.xml当中配置
<dependency>
	<groupId>org.springframework.boot</groupId>
	<artifactId>spring-boot-starter-security</artifactId>
</dependency>
需要做以下三件事:
- 提供一个登录页面;
- 提供一个注册页面;
- 不同的访问路径需要配置不同的规则,例如登录页面和注册页面就不需要任何验证。
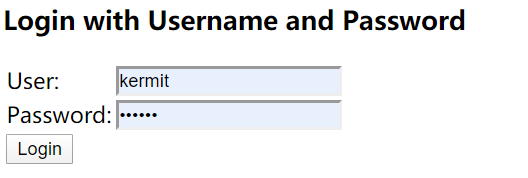
启动工程后,登录页面出现以下画面:
2. 配置spring security
security支持java代码配置。
package tacos.security;
import org.springframework.context.annotation.Bean;
import org.springframework.context.annotation.Configuration;
import org.springframework.security.config.annotation.web
.configuration.EnableWebSecurity;
import org.springframework.security.config.annotation.web
.configuration.WebSecurityConfigurerAdapter;
@Configuration
@EnableWebSecurity
public class SecurityConfig extends WebSecurityConfigurerAdapter {
}
这是一个简易的配置方式。
spring security支持以下几种用户存储:
- 内存数据库用户存储;
- JDBC-based 用户存储;
- LDAP-backed 用户存储;
- 定制的用户存储服务。
无论你选择哪种方式,覆写以下方法:
@Override
protected void configure(AuthenticationManagerBuilder auth) throws Exception {
}
2.1 内存数据库用户存储
@Configuration
@EnableWebSecurity
public class SecurityConfig extends WebSecurityConfigurerAdapter {

	@Override
	protected void configure(AuthenticationManagerBuilder auth) throws Exception {
		auth.inMemoryAuthentication().withUser("buzz").password("infinity").authorities("ROLE_USER").and()				.withUser("woody").password("bullseye").authorities("ROLE_USER");
	}
}
这是非常简单的方式,仅适用于开发测试或者非常简单的应用。缺点是不易修改,每次修改得重新启动应用。
2.2 JDBC-based 用户存储
@Autowired
DataSource dataSource;
@Override
protected void configure(AuthenticationManagerBuilder auth)
throws Exception {
	auth
	.jdbcAuthentication()
	.dataSource(dataSource);
}
