Reids简单介绍
Redis是一个基于内存的单线程高性能key-value型数据库,读写性能优异。
Reids的安装和使用
官网http://redis.io/提供的是linux版本的,如果需要windows版本需要从网上下载。官网下载是在太慢了,我足足花了半小时。为了方便读者获取,我将相关的资源放在了公众号上,大家可以关注下面的公众号下载。

双击redis-server.exe启动服务,服务启动成功图如下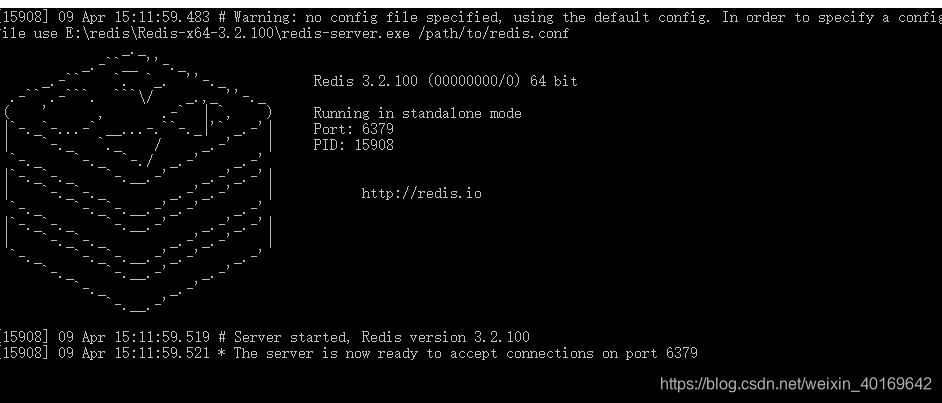
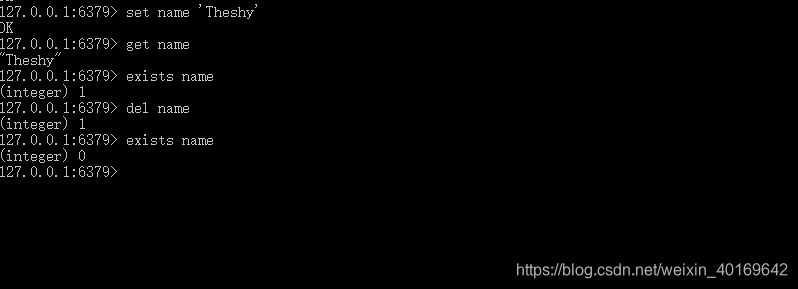
双击redis-cli.exe进行测试(列出String,List和Set的常用操作)
String:
添加和更新:set name ‘Theshy’
查询:get name
查询对应的key是否存在(0不存在,其它就存在):exists name
删除:del name
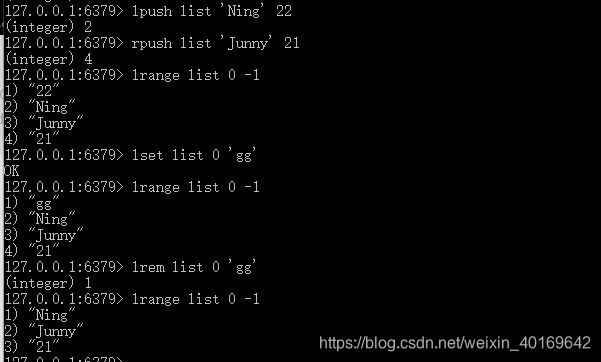
List:
头部添加:lpush list ‘Ning’ 22
尾部添加:rpush list ‘Junny’ 21
查询集合:lrange list 0 - 1
更新index为0的值:lset list 0 ‘gg’
删除index为0的值:lrem list 0 ‘gg’
通用的其它指令:
列出所有key:keys *
清空所有:flushall
SpringBoot整合Redis
- 引入依赖
在Spring Boot 集成 Redis 首先需要在 pom xml 文件中引入所需的依赖,具体代码如下:
		<dependency>
			<groupId>org.springframework.boot</groupId>
			<artifactId>spring-boot-starter-data-redis</artifactId>
		</dependency>
- 添加缓存配置(自行选择自己需要的配置方式)
properties配置文件方式
### redis 缓存配置
#默认redis数据库为 0
spring.redis.database=0
#服务器地址,默认为localhost
spring.redis.host=localhost
#链接端口,默认为 6379
spring.redis.port=6379
#redis密码默认为空
spring.redis.password=
yml配置文件方式
#缓存配置
spring:
  redis:
    #默认redis数据库为 0
    database: 0
    #服务器地址,默认为localhost
    host: localhost
    #链接端口,默认为 6379
    port: 6379
    #redis密码默认为空
    password:
- 测试
在测试类添加如下代码:
@RunWith(SpringRunner.class)
@SpringBootTest
@EnableAutoConfiguration
public class SecurityApplicationTests {
@Resource
private RedisTemplate redisTemplate;
@Test
public void contextLoads() {
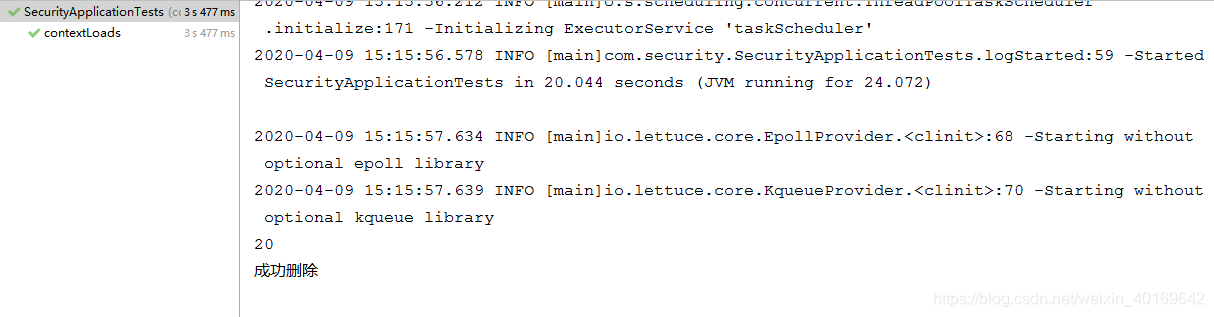
//增加一组键值对数据
redisTemplate.opsForValue().set("Jklove",20);
Integer age= (Integer) redisTemplate.opsForValue().get("Jklove");
System.out.println(age);
if(redisTemplate.delete("Jklove")){
System.out.println("成功删除");
}
}
}
运行效果图:
今天的内容分享到这里就结束了,感谢耐心阅读。
每天进步一点点,开心也多一点点
