python爬虫教你如何实现电脑开机之后自动发送近七日天气信息到QQ邮箱当中
文章目录
1.项目的介绍
今天闲来无事,于是就想着用python怎样才能使电脑自动发送消息到手机上呢!于是就做出来这个小的项目来。
1.1需要的模块
selenium、time、win32api、win32con、bs4、urllib、requests、json、pyinstaller
对于win32con、win32api这两个模块
需要安装pywin32
安装代码为:
pip install pywin32
安装pyinstaller这个打包的模块,也许使用pip install pyinstaller会安装不成功,如果没有成功,建议看一下这位大佬的这篇博客:怎样安装pyinstaller模块
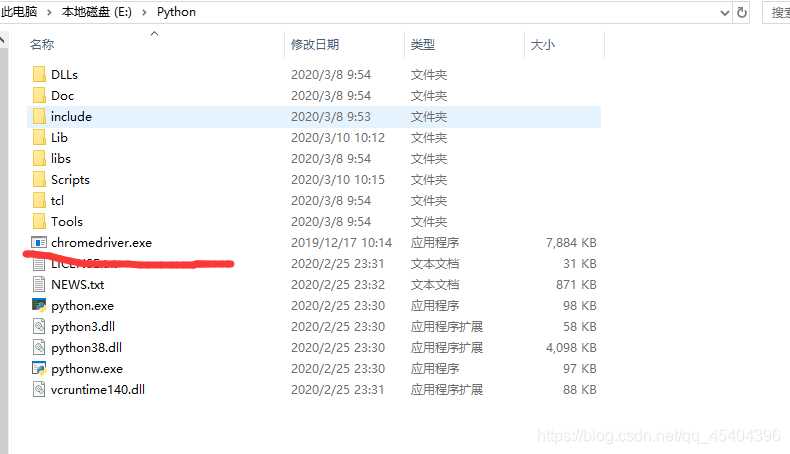
要用selenium来调用浏览器需要安装chromedriver.exe,下载网址为:下载chromedriver.exe,找到与自己的谷歌浏览器相近的版本下载,并将chromedriver.exe放到Python文件夹下,如:
谷歌浏览器版本的查看:
点击谷歌浏览器右上方,点击帮助,里面有个关于谷歌浏览器版本的按钮,点击进入即可发现谷歌浏览器的版本。
2.项目的构建过程
2.1爬取各个地区的tid,并写到一个.text文件中
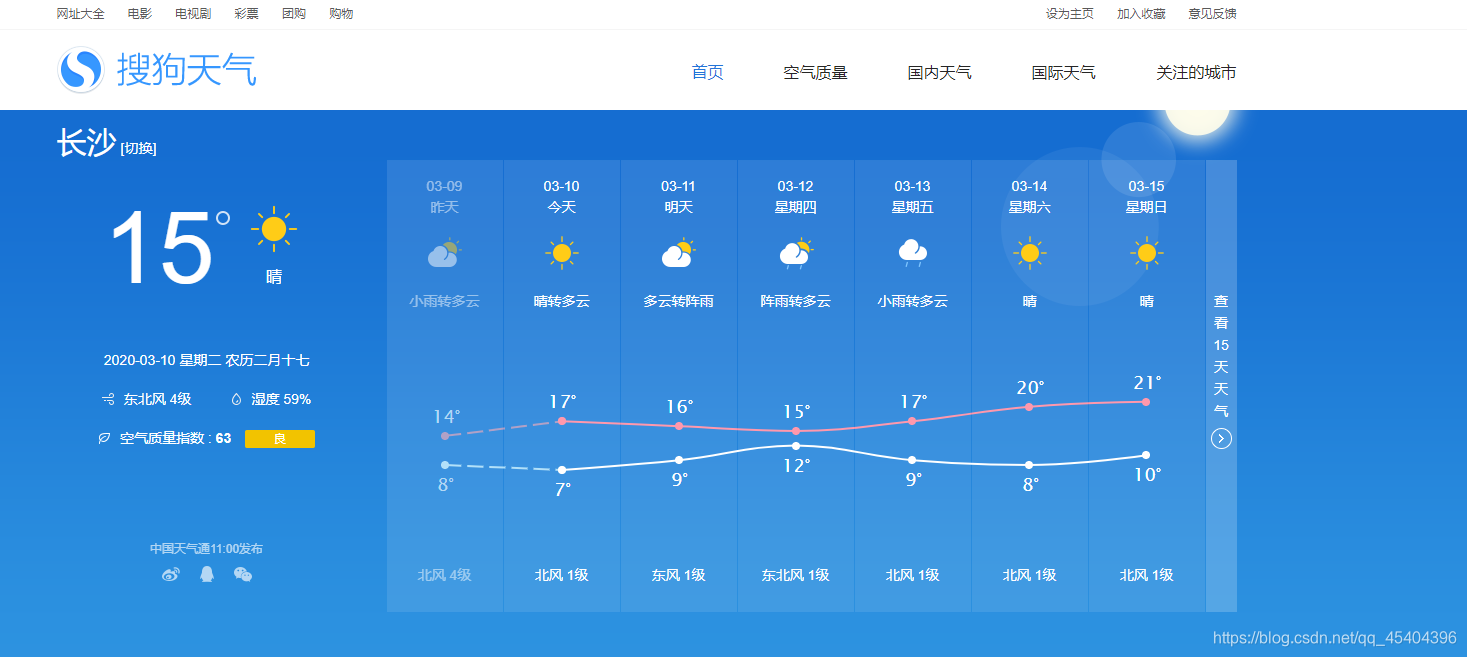
这里我爬取的天气信息来自于这个网址:https://tianqi.sogou.com/
搜狗天气
鼠标右键点击检查,点击Network,点击XHR,按F5刷新一下,之后点击getpos,来到这个界面
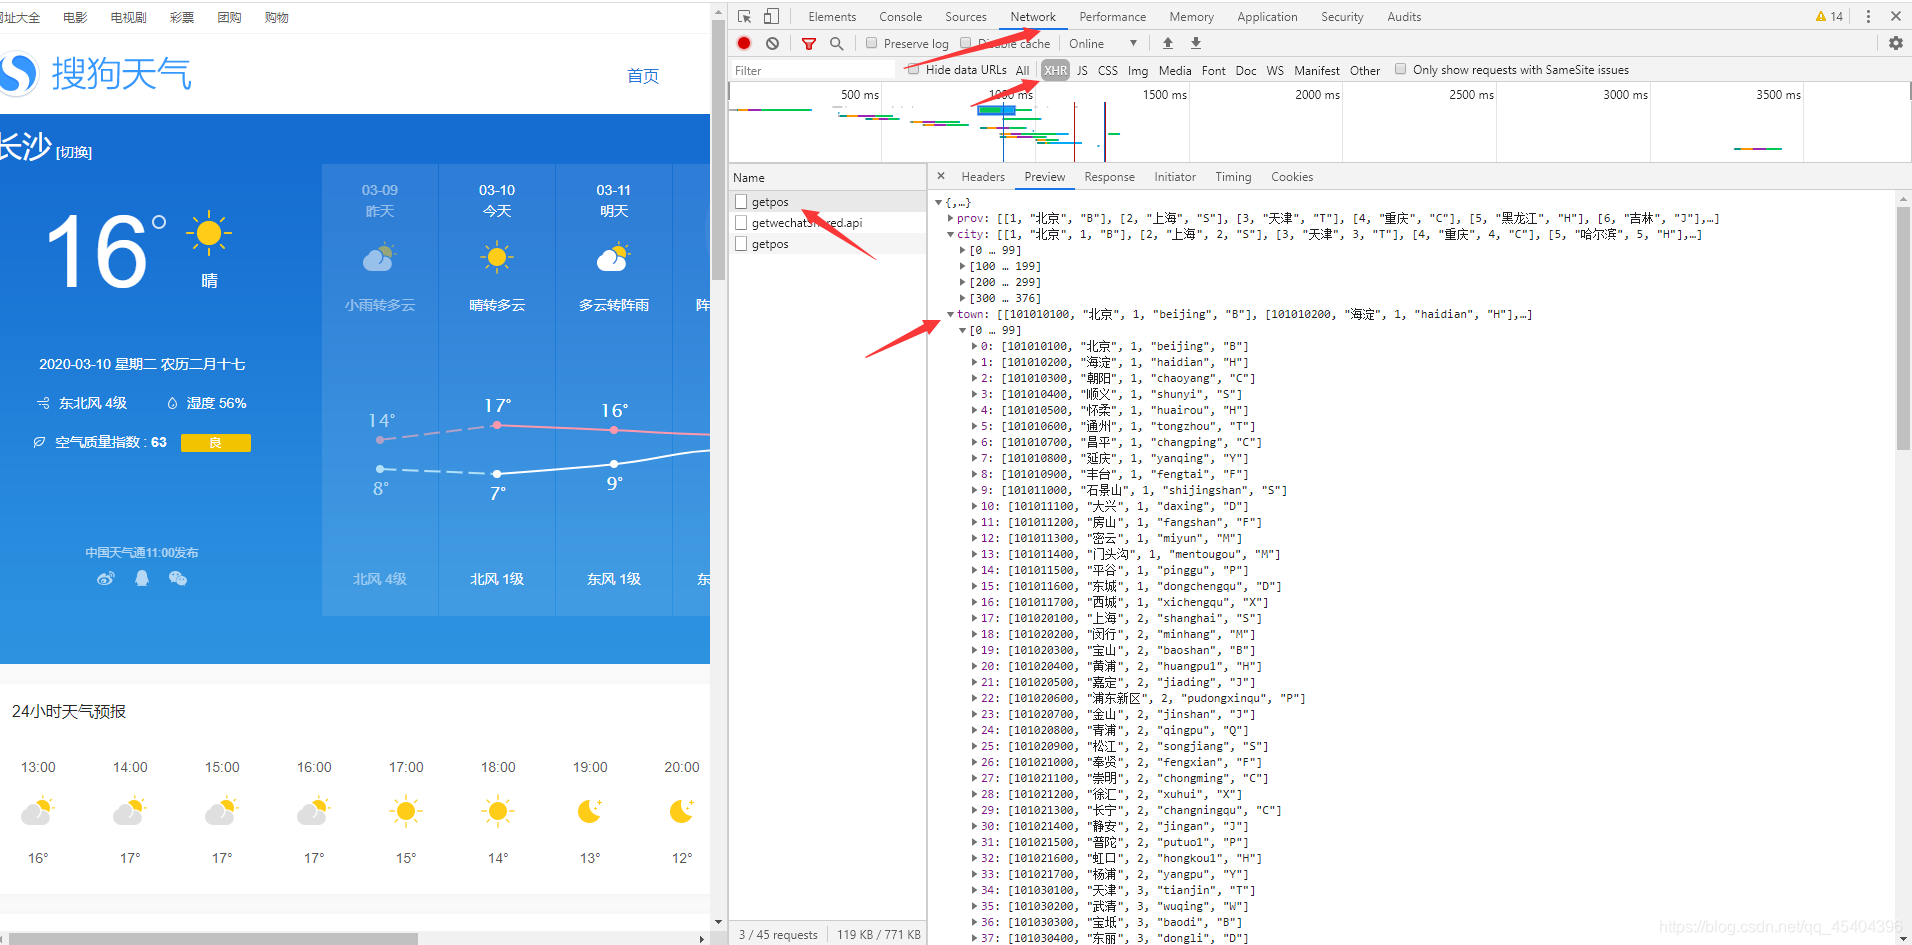
我们所需要的信息就是这个town下面的数据,,我们只需要再进一步处理,得到tid和与之相应的城市名,然后将得到这两个数据写到一个.text的文件当中。
代码如下:
wenti_1.py
import requests
import json

url='http://tianqi.sogou.com/site/getpos'

json_1=requests.get(url=url)

dict_1=json.loads(json_1.content)

list_citys=dict_1['town']


with open(file='./citys.text',mode='a',encoding='utf-8') as f:
	for list_1 in list_citys:
		f.write(str(list_1[0])+'\t'+list_1[1]+'\n')
2.2 运用字典,根据输入的城市名称,得到tid,构建天气信息网址,并爬取相对应的天气信息
我们点击下面搜狗天气下面的相关地区,来到一个新的界面(也许一点击那个搜狗天气就能发现那个网址)
可以发现,原来这个界面的网址为 http://tianqi.sogou.com/?tid=%s,这个tid后面的数据就是我们前面已经爬到的.text文件当中的数据。
我们只需在这个网址下面将相对应的天气信息爬取即可;
wenti_2.py
import requests
from urllib import parse
from bs4 import BeautifulSoup


def get_weather():
	with open(file='./citys.text',mode='r',encoding='utf-8') as f:
		str_1=f.read()

	list_1=str_1.split('\n')[:-1]   # 将字符串数据转换成列表数据
	dict_city={}
	for str_2 in list_1:
		list_2=str_2.split('\t')
		dict_city[list_2[1]]=list_2[0]   # 得到城市名与id相匹配的字典

	url='http://tianqi.sogou.com/?%s'
	try:   # 防止用户输入错误而导致程序出错,如果输入出错,程序会输出当地的天气信息
		city_name=''  # 默认情况下搜得到天气信息为当地,也可以自行设置
		# 如 city_name='北京'  得到的天气信息是北京的
		str_3=parse.urlencode({'tid':dict_city[city_name]})
		url=url%(str_3)

	except Exception as e:
		print(e)
	finally:
		print(url)
		content=requests.get(url=url).content
		soup=BeautifulSoup(content,'lxml')
		list_weather=soup.select('ul.r-weather>li')
		list_weather_sum=[]
		for str_1 in list_weather:
			list_1=str_1.select('span>p')
			list_weather_1=[]   # 某一天的天气数据
			for list_3 in list_1:
				list_weather_1.append(list_3.get_text())
			list_weather_sum.append(list_weather_1)  # 一周的天气数据

	return list_weather_sum
对了,这个代码中city_name=’'里面可以添加自己当地的名称,最小可以填到县级,也可以不写,不写的话就是自己当地的市。
2.3 运用selenium实现发送QQ邮件到手机上
我们点击这个网址来到这个界面:
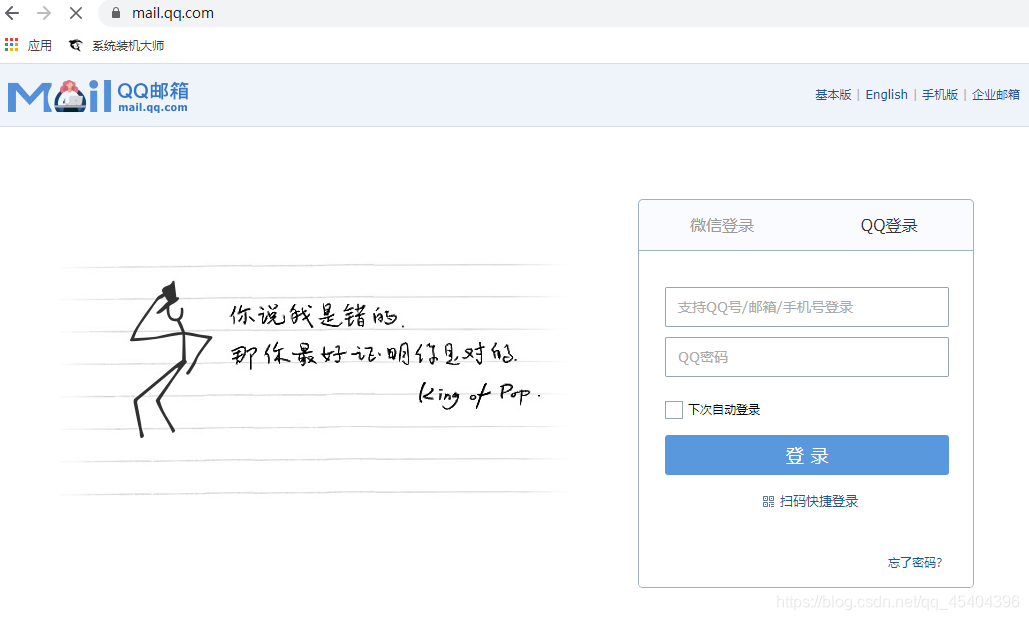
然后鼠标右键进行检查,可发现输入 QQ号/邮箱/手机号的这个输入框为
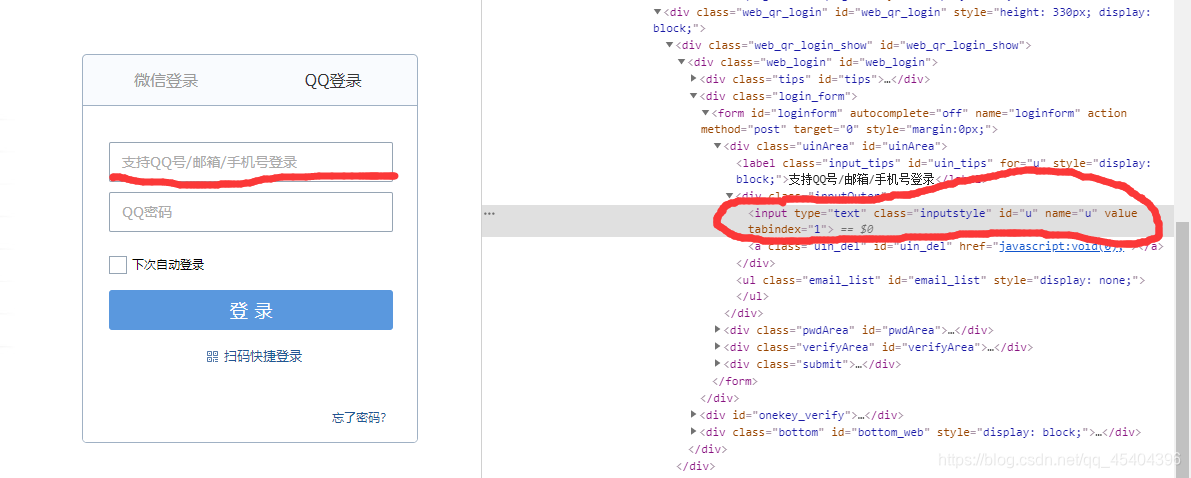
可以发现这个输入框的id=”u“
同样我们也可得到QQ密码这个输入框 id=”p“ 和登录这个按钮的id=”login_button“
这个我们就可以来到这个界面:
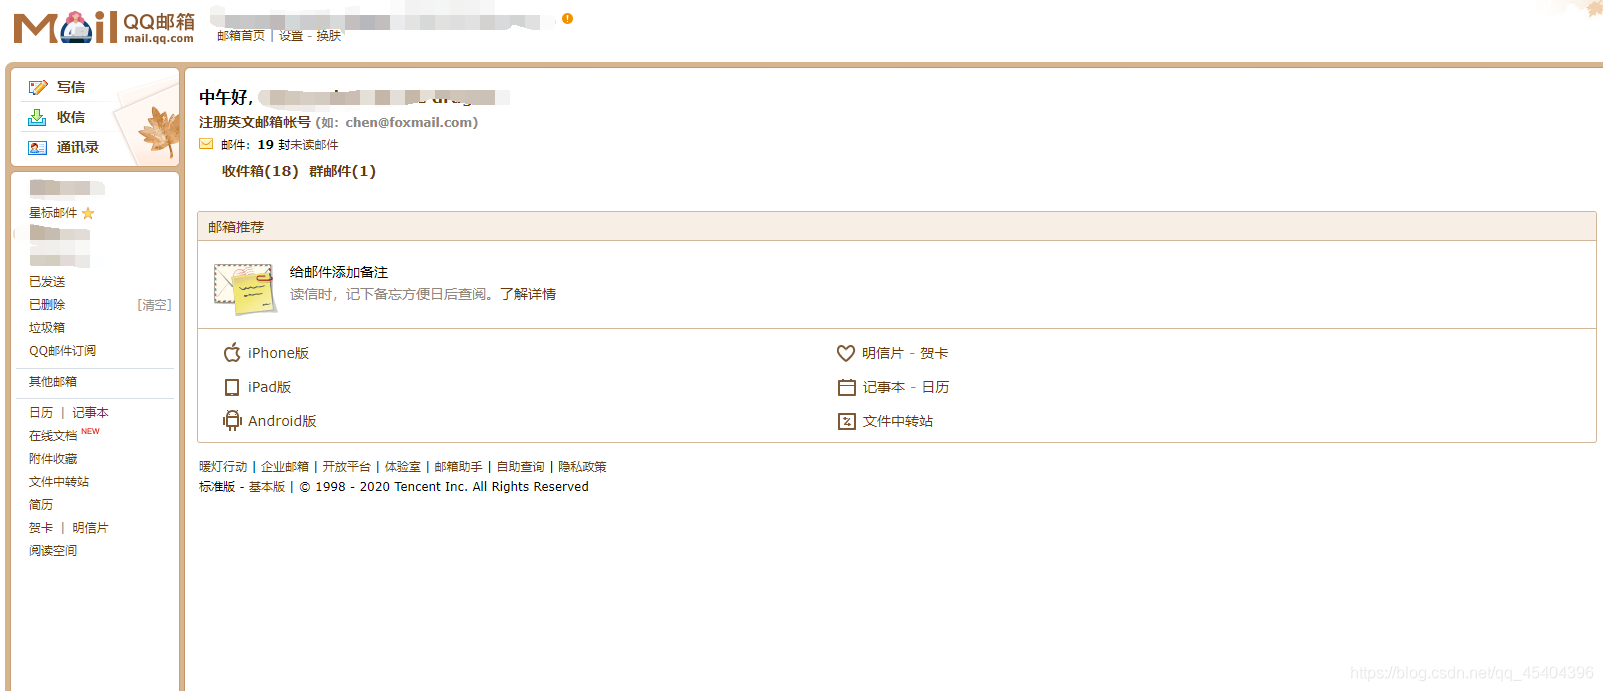
之后,我们找到自己写信这个链接的id=”composebtn“,就可以来到这个界面
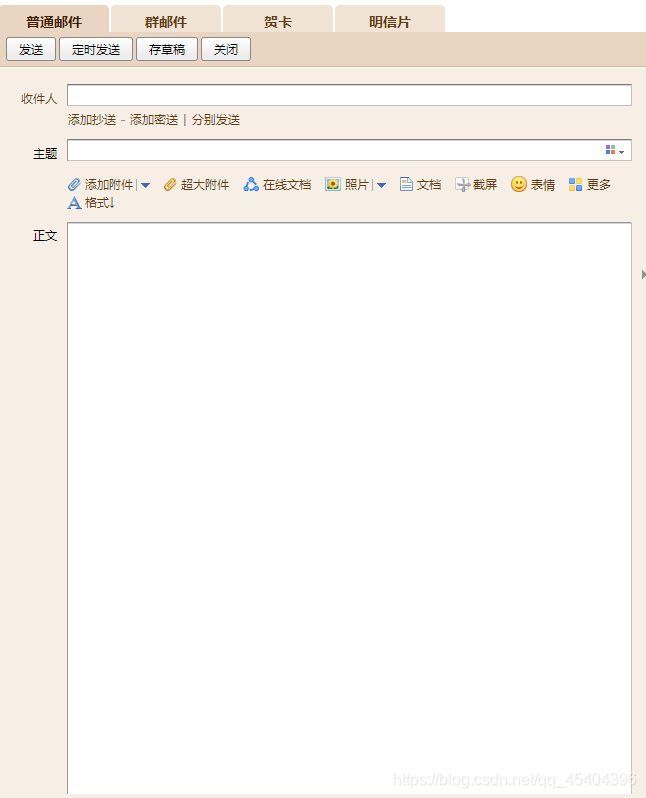
然而想找到这个收件人的这个与之相应的信息,却找不到了。
我们可以点击检查,看一下他的代码,搜索iframe,发现原来这个网址有几个这样的框架,找到收件人相对应的信息应该在这几个框架的一个
driver.switch_to.frame('mainFrame')
这样我们就可以得到相对应的信息了。
wenti_4.py
from selenium import webdriver
import time
from wenti_2 import get_weather


def Run():
    weather_information=get_weather()   # 得到是一个列表

    time.sleep(5) # 将天气信息爬到之后休眠5秒
    str_1=''
    for i in range(len(weather_information)):
        for str_2 in weather_information[i]:
            str_1+=(str_2+',')
        str_1+='\n'

    driver=webdriver.Chrome(executable_path='E:/Python/chromedriver.exe')  # /chromedriver.exe的存放路径
    driver.implicitly_wait(30)
    driver.get(url='https://mail.qq.com/')
    driver.switch_to.frame('login_frame')
    time.sleep(2)
    driver.find_element_by_id('u').send_keys('****************')  # 这个里面填自己QQ或者QQ邮箱号
    time.sleep(2)
    driver.find_element_by_id('p').send_keys('****************')   # 这个里面要填自己的QQ邮箱密码
    time.sleep(2)
    driver.find_element_by_id('login_button').click()
    time.sleep(2)
    driver.find_element_by_id('composebtn').click()
    time.sleep(2)
    driver.switch_to.frame('mainFrame')
    driver.find_element_by_link_text('**********************').click()  # 这里需要填发送给谁的QQ号
    time.sleep(5)
    driver.find_element_by_id('subject').send_keys('今日天气')
    time.sleep(5)
    content=driver.find_element_by_tag_name('iframe')
    driver.switch_to.frame(content)

    driver.find_element_by_xpath('//body').send_keys(str_1)

    time.sleep(5)
    driver.switch_to.parent_frame()
    driver.find_element_by_link_text('发送').click()
    time.sleep(5)

    driver.close()


if __name__ == '__main__':
    Run()
2.4 运用代码实现打包
我们来到这个文件下:
按win+R 输入cmd
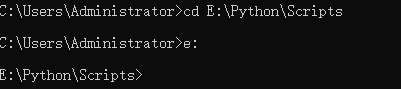
输入pyinstaller -F wenti_4.py的存放路径 即可
之后可以发现在这个文件下面多了一个wenti_4.exe的文件

然后将这个文件复制到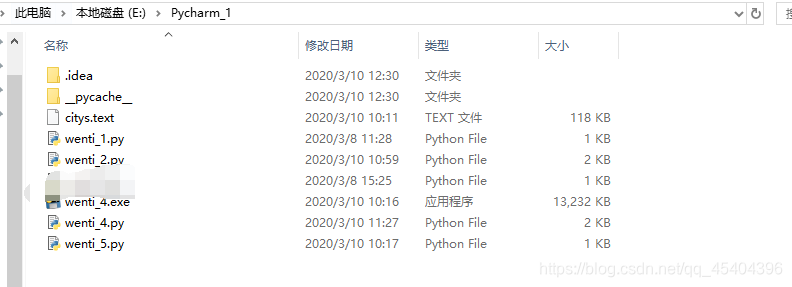
运行一下这个.exe,可以运行。
运行过程最好关闭杀毒软件、防火墙和QQ这个软件。
运行成功后,如果收件人是自己的QQ号,可以发现在自己手机上多了一个邮件,打开邮件,里面就是最近七天的天气信息。
2.5 将打包好的程序设置成自启程序
wenti_5.py
import win32api
import win32con


def AutoRun():
    exe_name = 'wenti_4'
    exe_path = 'E:\Pycharm_1\wenti_4.exe'

    KeyName = 'Software\Microsoft\Windows\CurrentVersion\Run'

    try:
        key_1= win32api.RegOpenKey(win32con.HKEY_CURRENT_USER,  KeyName, 0,  win32con.KEY_ALL_ACCESS)
        win32api.RegSetValueEx(key_1, exe_name, 0, win32con.REG_SZ, exe_path)
        win32api.RegCloseKey(key)
    except:
        print('出错了!')

if __name__=='__main__':
    AutoRun()
将相对应的路径路径添加上去,运行一下代码,然后重新启动一下电脑,最终会收到一邮件。
3.项目的最终代码
代码我都已经上传了,最终目录下的文件为:
4.项目的改进
1.我觉得这个程序还可以改进一下,使自己的电脑每天自动开机发送天气信息到手机上;如果大家知道怎样改进,欢迎留言,谢谢!
2.这个爬取的天气的信息还不很完整,没有温度,如果大家有什么好的建议,欢迎留言。
3.文章中描述不清的地方,希望大家理解,我会好好改正的。
