代码:

---
代码:
注解:

组合注解。

---
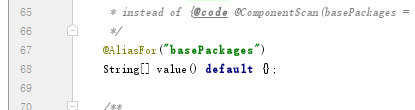
其他的一些重要的注解:

就是@Configuration+元注解。所以说这个本身就是一个javaconfig。

点进去:

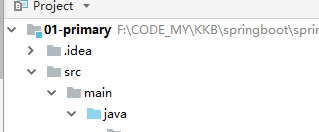
@Repeatable:表示是可以重复出现的。
重要的属性:

不指定的话默认扫描:这个注解所在类所在的包和子孙的包。
---
重点:

一类:@EnableXXX。

包含三种:

一般都会包含这个:


---
深入的解析:

---

我们先看下@Import:
第一步:
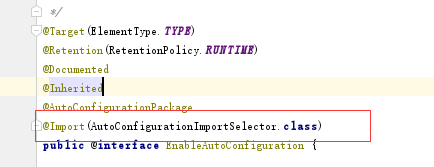
AutoConfigurationPackage:我们自己写的
AutoConfigurationImportSelector:系统的
第二步:获取候选的配置

第三步:

第四步:

第一个我们可以自己定义自己的配置文件。

这个文件夹下面是所有需要装配的配置:

看下常量是什么?

---
AutoConfigurationPackage:


在基本包下创建对象注册的。
--------------------------------
下半节课
---------------------------------
yml的加载:
第一步:

第二步:

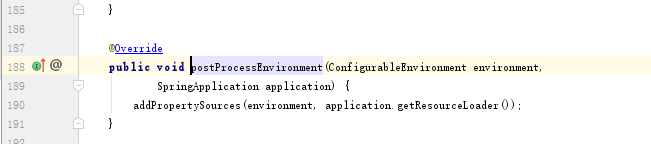
第三步,核心方法:
public ConfigurableApplicationContext run(String... args) {
		StopWatch stopWatch = new StopWatch();
		stopWatch.start();
		ConfigurableApplicationContext context = null;
		Collection<SpringBootExceptionReporter> exceptionReporters = new ArrayList<>();
		configureHeadlessProperty();
		SpringApplicationRunListeners listeners = getRunListeners(args);
		listeners.starting();
		try {
			ApplicationArguments applicationArguments = new DefaultApplicationArguments(
					args);
			ConfigurableEnvironment environment = prepareEnvironment(listeners,
					applicationArguments);
			configureIgnoreBeanInfo(environment);
			Banner printedBanner = printBanner(environment);
			context = createApplicationContext();
			exceptionReporters = getSpringFactoriesInstances(
					SpringBootExceptionReporter.class,
					new Class[] { ConfigurableApplicationContext.class }, context);
			prepareContext(context, environment, listeners, applicationArguments,
					printedBanner);
			refreshContext(context);
			afterRefresh(context, applicationArguments);
			stopWatch.stop();
			if (this.logStartupInfo) {
				new StartupInfoLogger(this.mainApplicationClass)
						.logStarted(getApplicationLog(), stopWatch);
			}
			listeners.started(context);
			callRunners(context, applicationArguments);
		}
		catch (Throwable ex) {
			handleRunFailure(context, ex, exceptionReporters, listeners);
			throw new IllegalStateException(ex);
		}

		try {
			listeners.running(context);
		}
		catch (Throwable ex) {
			handleRunFailure(context, ex, exceptionReporters, null);
			throw new IllegalStateException(ex);
		}
		return context;
	}
第四步:
![]()
第五步:

第六步:

第七步:广播事件

第八步:


第九步:

第十步:

第十一步:

第十二步:

第十三步:

文件的扩展名。包括yml等。

一路的load。


第十四步:

看下值。

加载到了内存了。
---
springboot与redis整合:
第一步:pom加启动器:https://blog.csdn.net/qq_36781505/article/details/86612988
第二步:找自动装配

第三步:

没有redisTemplate就自动创建。
第四步:这个意思是当类路径下有这个类的时候才会创建这个对象。

![]()
这个就是配置文件。
![]()
导入配置类。
---
整合mybatis,这次是没有自动配置的,我们如何配置呢?
代码:
第一步:导入依赖
<!--mybatis与Spring Boot整合依赖-->
        <dependency>
            <groupId>org.mybatis.spring.boot</groupId>
            <artifactId>mybatis-spring-boot-starter</artifactId>
            <version>1.3.2</version>
        </dependency>
第二步:我们发现一个问题,是没有所谓的spring-factorys的。
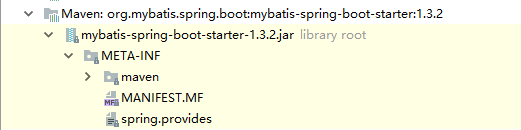
我们去pom找下:点进去starter
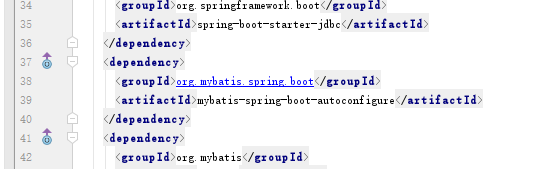
找到了:


结合我们之前的加载了两个自动配置,一个是系统的,一个是我们自动配置的。

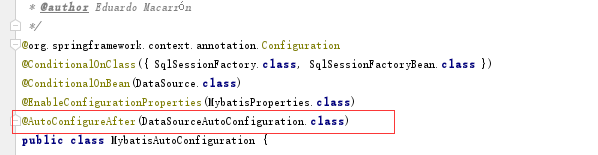
这个就是控制加载顺序的。
---
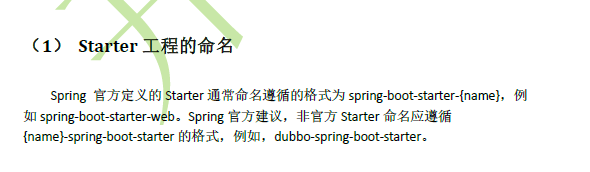
自定义一个starter。

第一步:写代码
第二步:使用
代码:

使用:导入依赖

第三步:调用

