任务9:客户端集成IdentityServer
新建 API 项目
dotnet new webapi --name ClientCredentialApi
控制器添加验证
using Microsoft.AspNetCore.Authorization;

namespace ClientCredentialApi.Controllers
{
    [ApiController]
    [Route("[controller]")]
    [Authorize]
    public class WeatherForecastController : ControllerBase
添加验证之后这个 API 就无法访问,需要添加认证授权模式
因为这是客户端,所以只需要添加 IdentityServer4.AccessTokenValidation
添加 Nuget 包之后
dotnet restore
注册服务
services.AddAuthentication("Bearer")
        .AddIdentityServerAuthentication(options => {
            options.Authority = "http://localhost:5000";// 获取授权地址
            options.RequireHttpsMetadata = false;
            options.ApiName = "api";
        });
使用服务
app.UseAuthentication();
在 Program.cs 中配置启动端口
webBuilder.UseUrls("http://localhost:5001");
启动程序
dotnet run
访问地址
http://localhost:5001/weatherforecast

返回 401,未授权
VS Code 添加另一个控制台,启动 IdentityServerCenter
访问地址
http://localhost:5000/.well-known/openid-configuration
获取 token_endpoint
"token_endpoint": "http://localhost:5000/connect/token",
通过 Postman 获取 token
使用 Post 的方式访问 token_endpoint
http://localhost:5000/connect/token
Body 添加三个参数(参数在 IdentityServerCenter 的 Config.cs 中定义)
发送请求获取 access_token

通过 access_token 访问客户端
访问地址
http://localhost:5001/weatherforecast
Headers 添加参数 Authorization,Value 为 Bearer + access_token
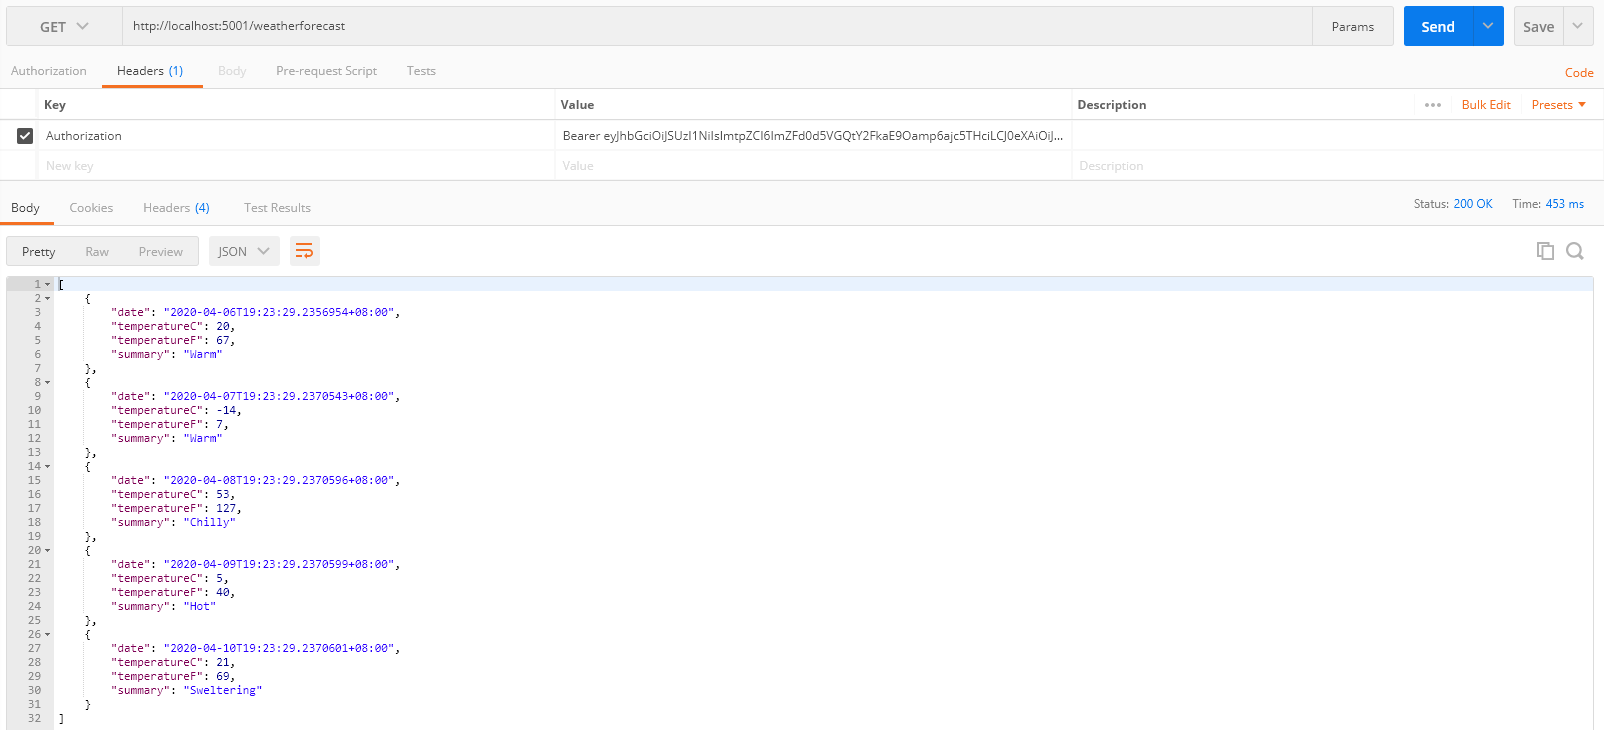
返回200,授权访问成功
课程链接
http://video.jessetalk.cn/course/explore


本作品采用知识共享署名-非商业性使用-相同方式共享 4.0 国际许可协议进行许可。
欢迎转载、使用、重新发布,但务必保留文章署名 郑子铭 (包含链接: http://www.cnblogs.com/MingsonZheng/ ),不得用于商业目的,基于本文修改后的作品务必以相同的许可发布。
如有任何疑问,请与我联系 ([email protected]) 。