自动化测试入门篇
本次实现自动化是用python语言进行实现,所以需要有一点python基础,其实python还是比较简单入门的,下面开始。
安装python,我安装的是最新版本的python,传送门https://www.python.org/ftp/python/3.6.1/python-3.6.1.exe。
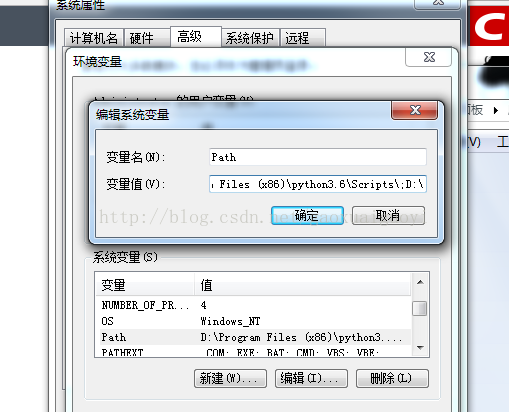
安装完毕之后,设置环境变量属性,这样可以全局操作python命令。
还需要安装一个python的万能工具pip,传送门https://pypi.python.org/pypi/pip。
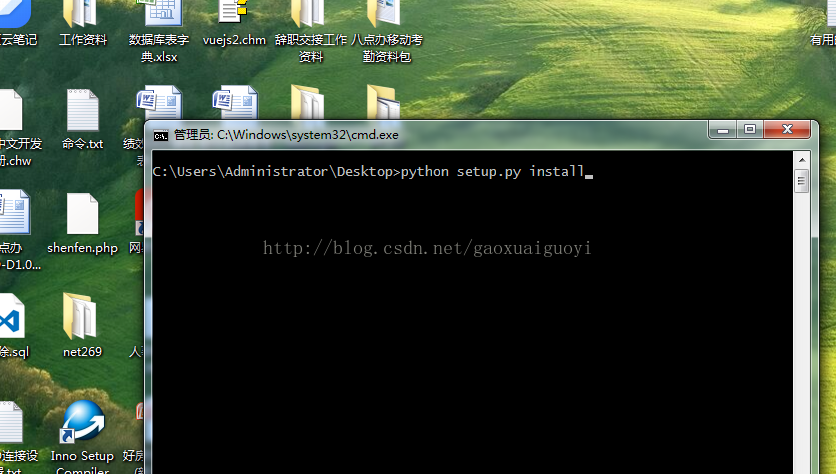
运行命令安装pip成功之后,继续安装appium。
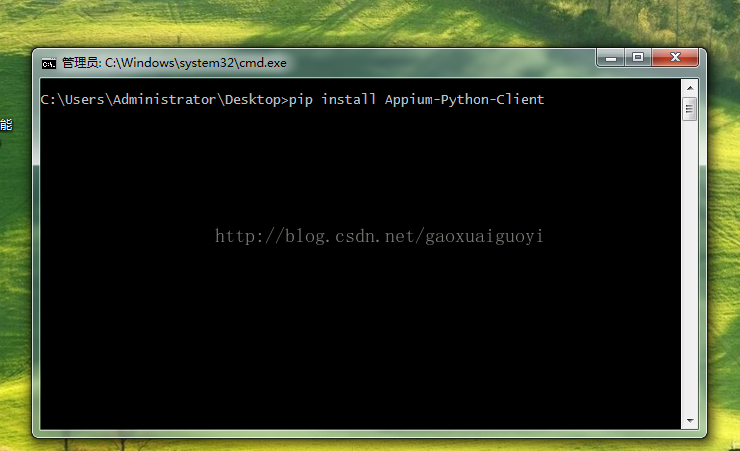
回车安装就行了,可能会等待一段时间。
安装完毕之后,可以愉快的写测试脚本了。
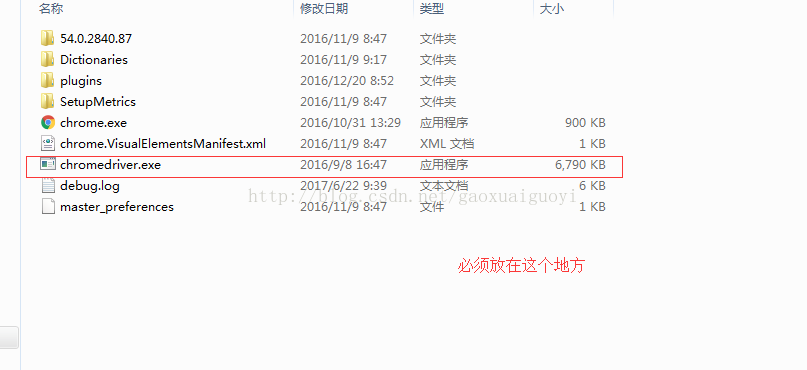
还有一个非常重要的东西就是浏览器的驱动,使用selenium打开浏览器没有驱动的话,会报错的。
谷歌对应的chromedriver.exe版本下载
我习惯使用谷歌浏览器了,所以都是谷歌。
下载驱动之后要放在你谷歌浏览器的安装根目录的下面。
工作已经准备完毕了,这次可以愉快的写代码了,上代码。
from selenium import webdriver
from selenium.webdriver.support.select import Select
import time
import unittest

class NetTest(unittest.TestCase):


    def setUp(self):

        self.driver = webdriver.Chrome('C:/Program Files (x86)/Google/Chrome/Application/chromedriver.exe')

        self.driver.get('http://net269.com/index.php')

    def test_leave(self):
            self.driver.find_element_by_xpath("//div[@class='lm-item control-r']/span[1]").click()

            self.driver.find_element_by_id('username').send_keys('15922222222')

            self.driver.find_element_by_id('password').send_keys('123456')
            # 睡眠2秒
            self.driver.find_element_by_class_name('submit').click()
            # 睡眠,不然找不到下一个元素
            time.sleep(3)
            # 继续一些操作,寻找流程申请
            self.driver.find_element_by_xpath("//div[@id='left-nav']/aside/ul/li[3]").click()
            # 睡眠,不然找不到下一个元素
            time.sleep(1)
            # 点击考勤申请
            self.driver.find_element_by_xpath("//div[@id='app']/ul[4]/li/a").click()
            # 点击新建
            self.driver.find_element_by_link_text('新建').click()
            time.sleep(1)
            # 点击请假申请
            self.driver.find_element_by_link_text('请假申请').click()
            # 填写请假数据
            time.sleep(1)
            # 1.选择审批流程
            sel = self.driver.find_element_by_id('node_name_id')
            Select(sel).select_by_index(1)
            self.driver.find_element_by_name('time').send_keys('5')
            Select(self.driver.find_element_by_name('leave_config_id')).select_by_index(1)
            self.driver.find_element_by_id('leave_date_picker_begin').send_keys('2017-06-28 13:00')
            self.driver.find_element_by_id('leave_date_picker_end').send_keys('2017-06-28 18:00')
            self.driver.find_element_by_name('reason').send_keys('有事请假,望领导批准。')
            time.sleep(3)
            self.driver.find_element_by_xpath("//div[@class='modal-footer']/button[1]").click()

    def tearDown(self):
        print('测试完毕')
        self.driver.quit()
if __name__ == '__main__':
    unittest.main()
讲真这些代码还是很简单的,稍微看下python基础就行了,放弃python2.7吧,这个脚本千万别运行,因为项目不在你本地,我只是给了一个demo而已,具体实践,要靠自己去写的,动手才可以改变自己。