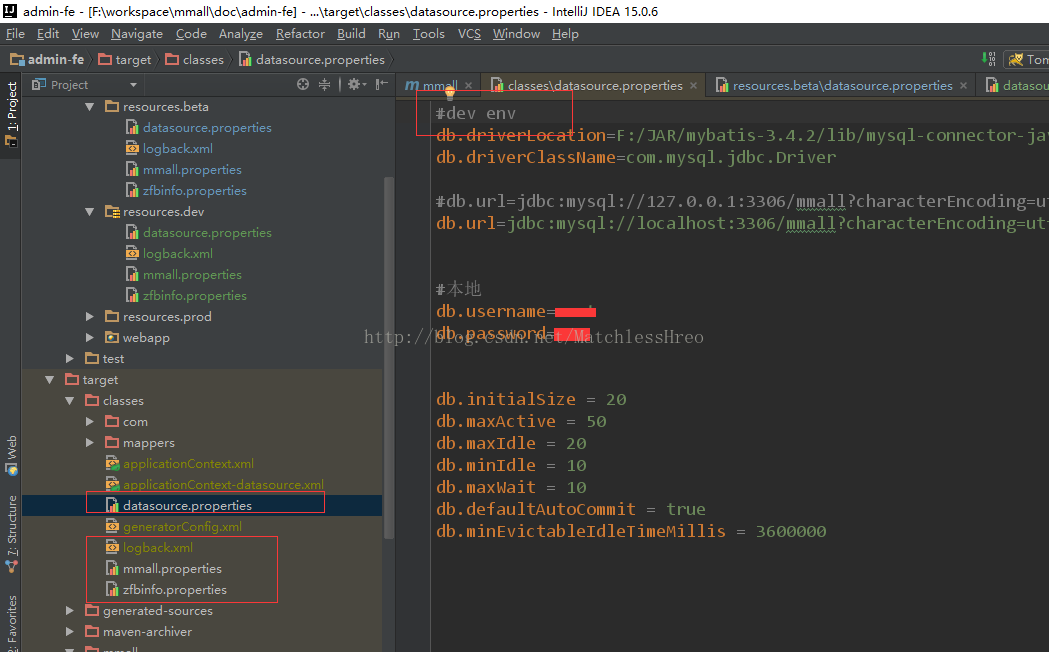
maven环境隔离在企业级开发中是必要的,通过maven命令的不同打包方式打包,打包发布不同的环境,省去了,本地环境与线上环境不同要逐个改配置文件的麻烦。比如:本地数据库和线上数据库,用户名密码的不同。(不仅仅是这些哦)如果忘记修改这些文件,就发布上线,会造成一些不必要的麻烦。
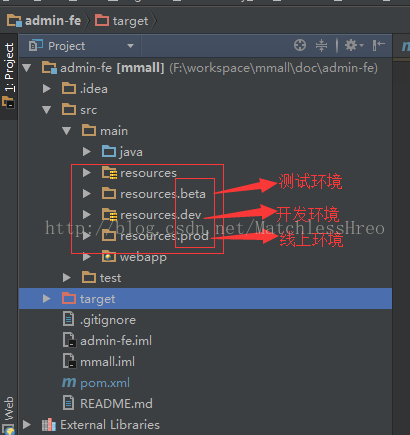
一,创建环境隔离所需的包 如下图:
resources包是以前没隔离之前的包
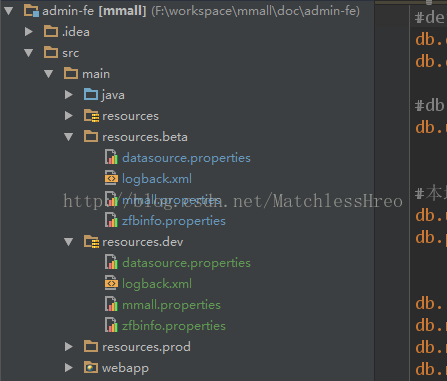
二,把需要隔离的文件放到各个package中,如图:
三,在pom.xml配置中配置隔离环境
注意:在</dependencies>之外加 <build>节点
- .....其他的坐标
- </dependencies>
- <build>
- <finalName>mmall</finalName>
- <plugins>
- <plugin>
- <groupId>org.mybatis.generator</groupId>
- <artifactId>mybatis-generator-maven-plugin</artifactId>
- <version>1.3.2</version>
- <configuration>
- <verbose>true</verbose>
- <overwrite>true</overwrite>
- </configuration>
- </plugin>
- <!-- geelynote maven的核心插件之-complier插件默认只支持编译Java 1.4,因此需要加上支持高版本jre的配置,在pom.xml里面加上 增加编译插件 -->
- <plugin>
- <groupId>org.apache.maven.plugins</groupId>
- <artifactId>maven-compiler-plugin</artifactId>
- <version>2.3.2</version>
- <configuration>
- <source>1.8</source>
- <target>1.8</target>
- <encoding>UTF-8</encoding>
- <compilerArguments>
- <extdirs>${project.basedir}/src/main/webapp/WEB-INF/lib</extdirs>
- </compilerArguments>
- </configuration>
- </plugin>
- </plugins>
- <!-<strong>-开始环境隔离!!!此节点在 <build>节点里面</strong>-->
- <span style="color:#ff0000;"><resources>
- <resource>
- <directory>src/main/resources.${deploy.type}</directory>
- <excludes>
- <!--排除jsp jsp 不用环境隔离-->
- <exclude>*.jsp</exclude>
- </excludes>
- </resource>
- <resource>
- <directory>src/main/resources</directory>
- </resource>
- </resources>
- </build>
- <!--与build同级-->
- <profiles>
- <profile>
- <id>dev</id>
- <activation>
- <activeByDefault>true</activeByDefault> <!--如果没写打包方式 这个为默认的-->
- </activation>
- <properties>
- <deploy.type>dev</deploy.type>
- </properties>
- </profile>
- <profile>
- <id>beta</id>
- <properties>
- <deploy.type>beta</deploy.type>
- </properties>
- </profile>
- <profile>
- <id>prod</id>
- <properties>
- <deploy.type>prod</deploy.type>
- </properties>
- </profile>
- </profiles></span>
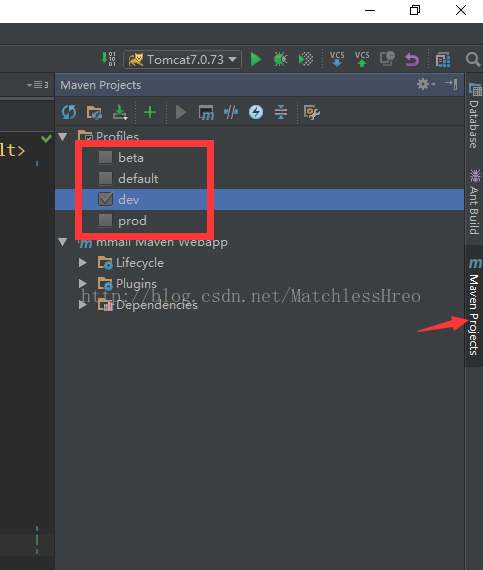
然后会出现这个:
四,运行命令
mvn clean package -Dmaven.test.skip=true -Pdev
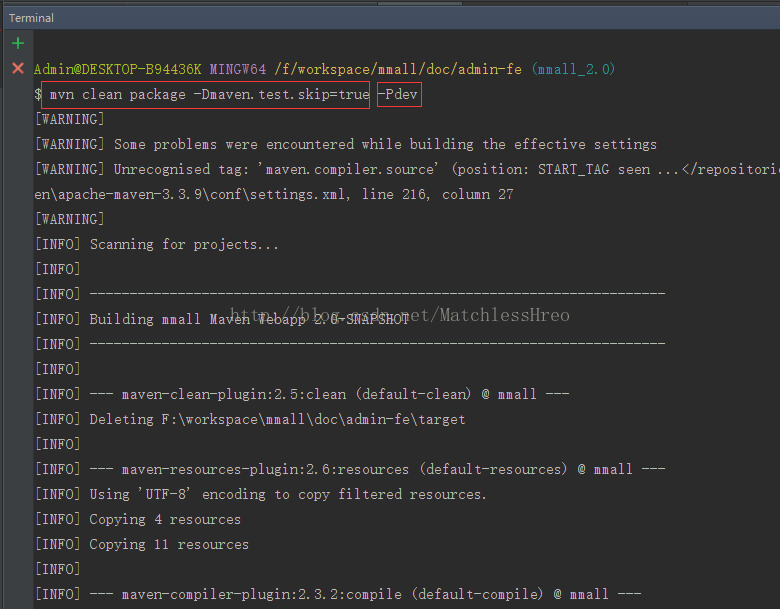
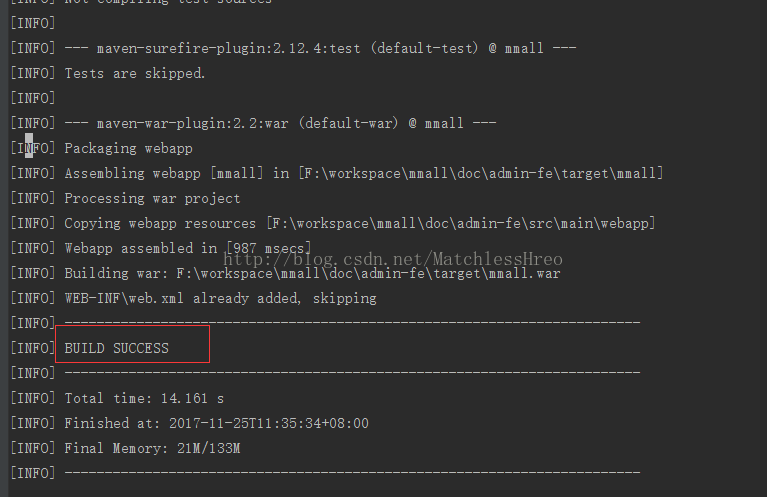
打包完成!!如下图