标签 : Java Vue Sring JPA ELementUI
作者 : Maxchen(志)
版本 : V1.0.0
日期 : 2020/2/27
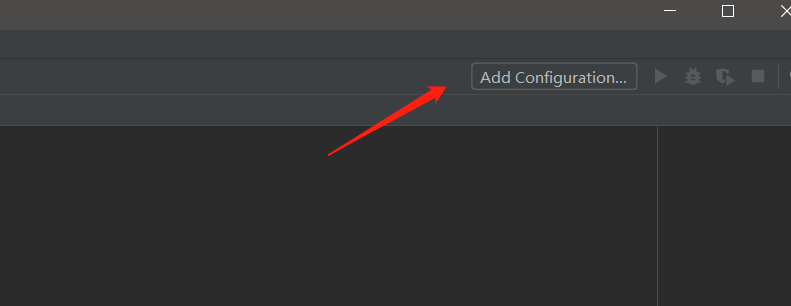
通过WebStorm来调试运行Vue
找到WebStorm右侧的Add Configuration
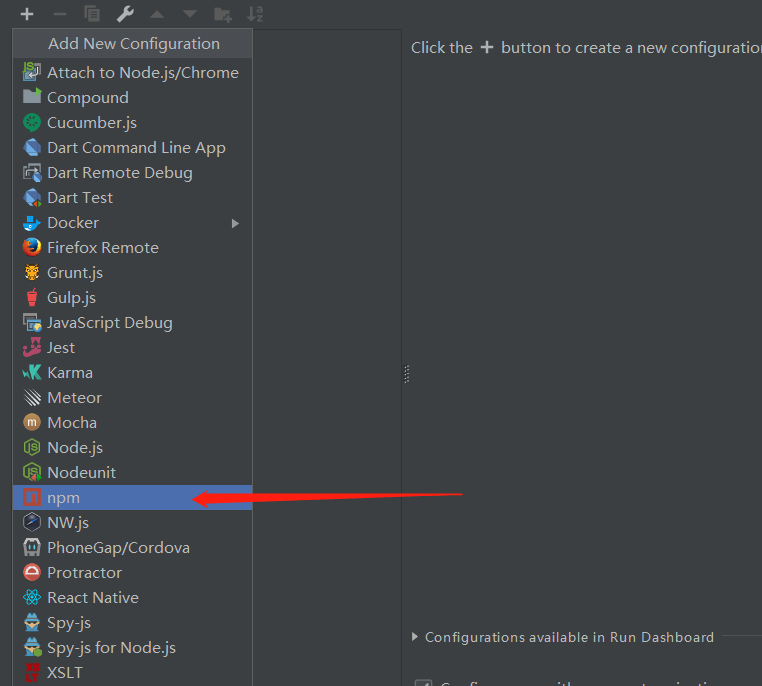
选择npm,并填写运行参数

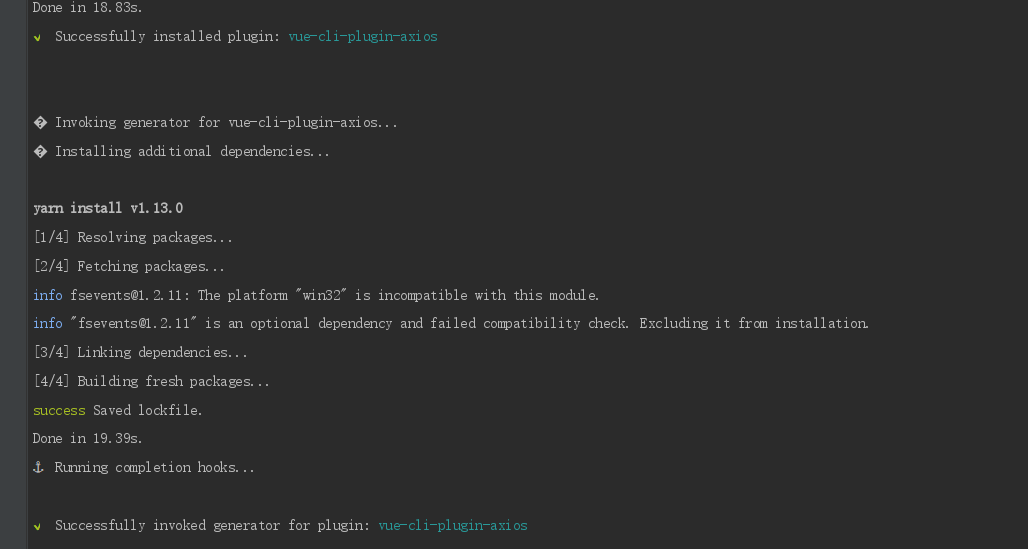
点击运行按钮且控制台打印以下信息时,说明运行成功


Vue 开发指南
1、路由配置
首先在router/index.js下新建一个测试路由
const routes = [
    ……
    //新增一个测试路由
    {
        path: '/test',
        name: 'Test',
        component: () => import('../views/Test.vue')
    }
]
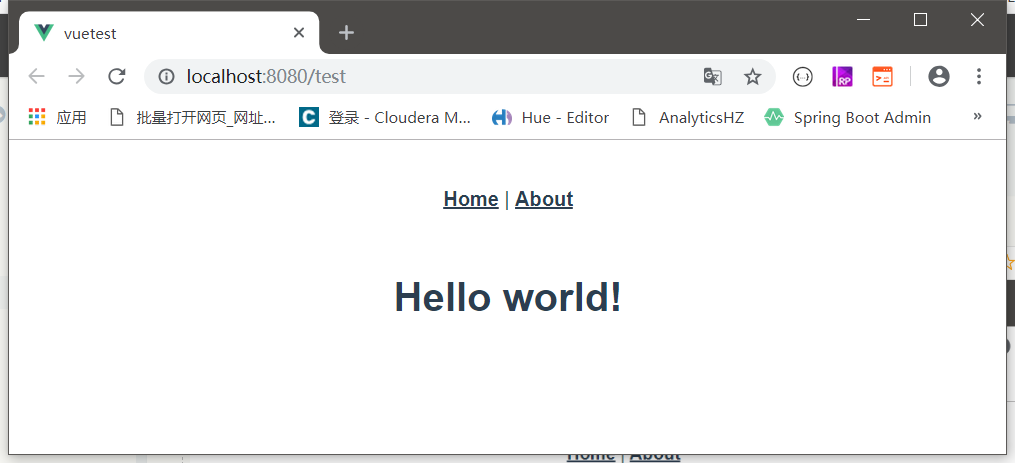
接着在views下新建一个Test.vue
<template>

    <div class="test">
        <h1> Hello world!</h1>
    </div>

</template>

<script>
    export default {
        name: "Test"
    }
</script>

<style scoped>

</style>
最后浏览器访问http://localhost:8080/test即可显示对应的内容
2、简单表格
首先在router/index.js新增一个Book路由
//新增一个Book路由
{
    path: '/book',
    name: 'Book',
    component: () => import('../views/Book.vue')
}
在views/目录下创建一个Book.vue,首先定义表头,然后通过v-for="item in xxx"遍历JSON数据返回到表格
<template>
    <div>
        <table>
            <!--表头名称-->
            <tr>
                <td>编号</td>
                <td>图片名称</td>
                <td>作者</td>
            </tr>
            <!--表内容,循环遍历books当中的内容并展示-->
            <tr v-for="item in books">
                <td>{{item.id}}</td>
                <td>{{item.name}}</td>
                <td>{{item.author}}</td>
            </tr>
        </table>
    </div>
</template>
接下来在script脚本部分造Book假数据
<script>
    export default {
        name: "Book",
        data(){
            return{
                msg:'Hello Vue',
                // Book假数据
                books:[
                    {
                        id: 1,
                        name: 'Santi',
                        author: 'Liu ci xing'
                    },
                    {
                        id: 2,
                        name: '流浪地球',
                        author: 'Liu ci xing'
                    }
                ]
            }
        }
    }
</script>
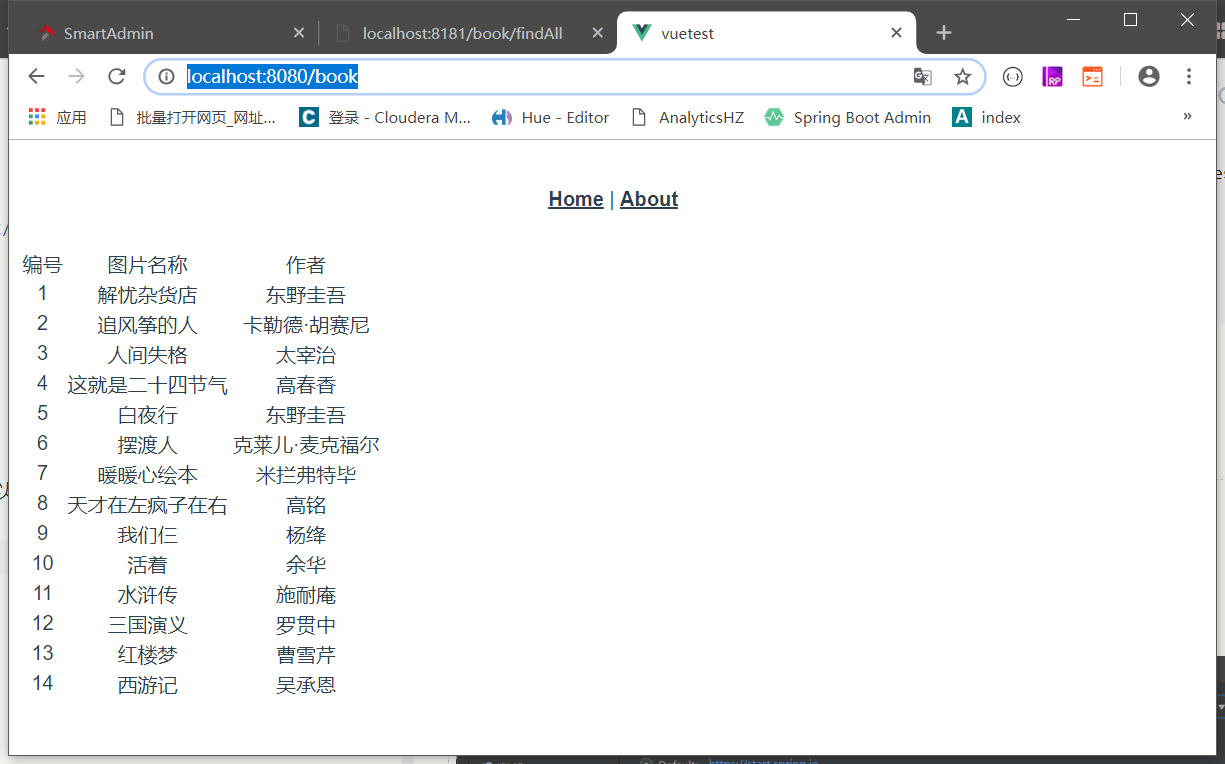
最后我们再访问http://localhost:8080/book即可看到表格(这种表格没有引用任何样式,在后续教程中为了美观会逐渐加上样式)

3、读取接口数据
首先我们需要安装axios
cnpm install axios
vue add axios
接着修改Book.vue的script部分,添加如下代码
export default {
    ……
    created(){
        const _this = this
        axios.get('http://localhost:8181/book/findAll').then(function(resp){
            console.log(resp)
            _this.books = resp.data
        })
    }
}
最后刷新页面http://localhost:8080/book,可以看到数据已经成功读取到表格中